
What factors determine Impact message visibility?
Impact messages are displayed to users within your learning application based on several targeting rules and visibility settings. This article will help you understand all the factors that determine the visibility of a message.
There are five major factors that can impact who sees your messages in the learning application.
- Message Status
- Assigned Users
- Connected Context
- Scheduled Visibility
- Tool Categories
What factors determine Impact message visibility?
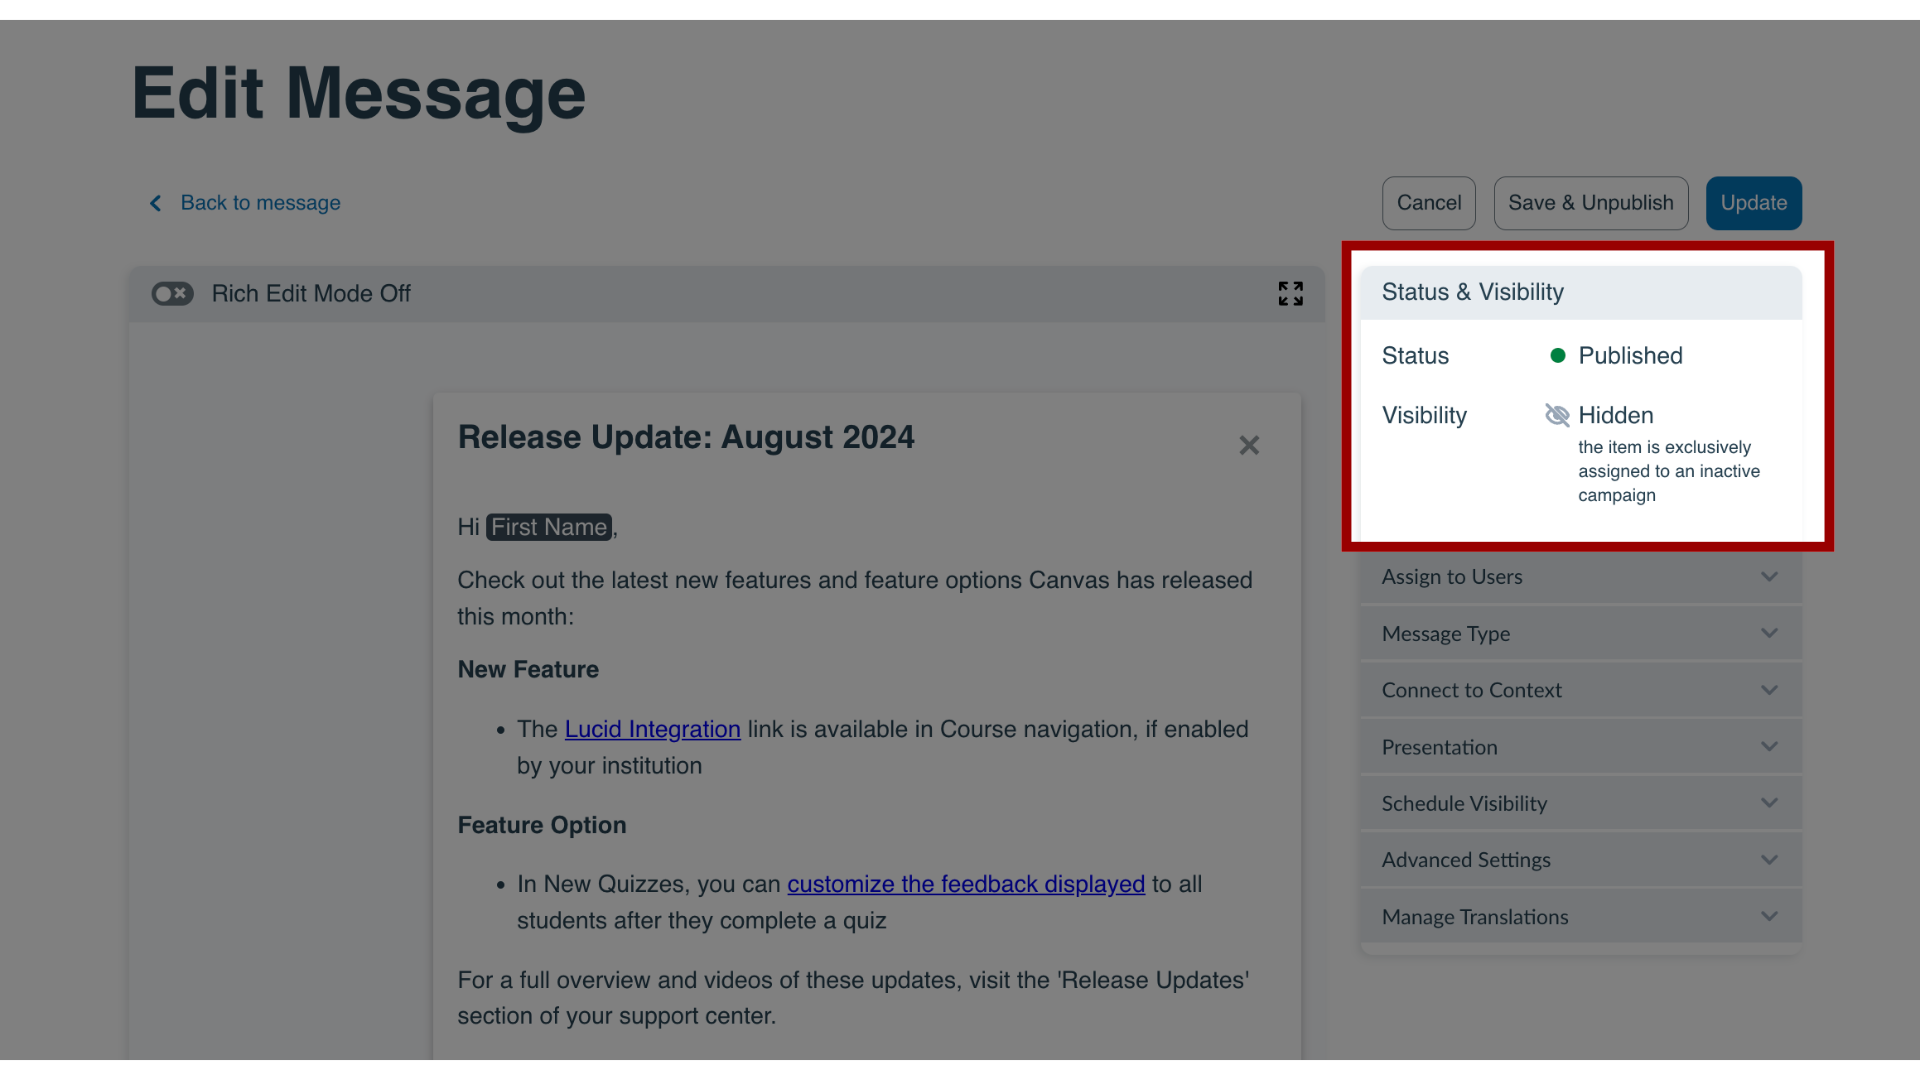
1. Message Status
If your message is still in draft mode or has been changed to draft mode, it will not be visible to any users. Messages must be published to be visible.
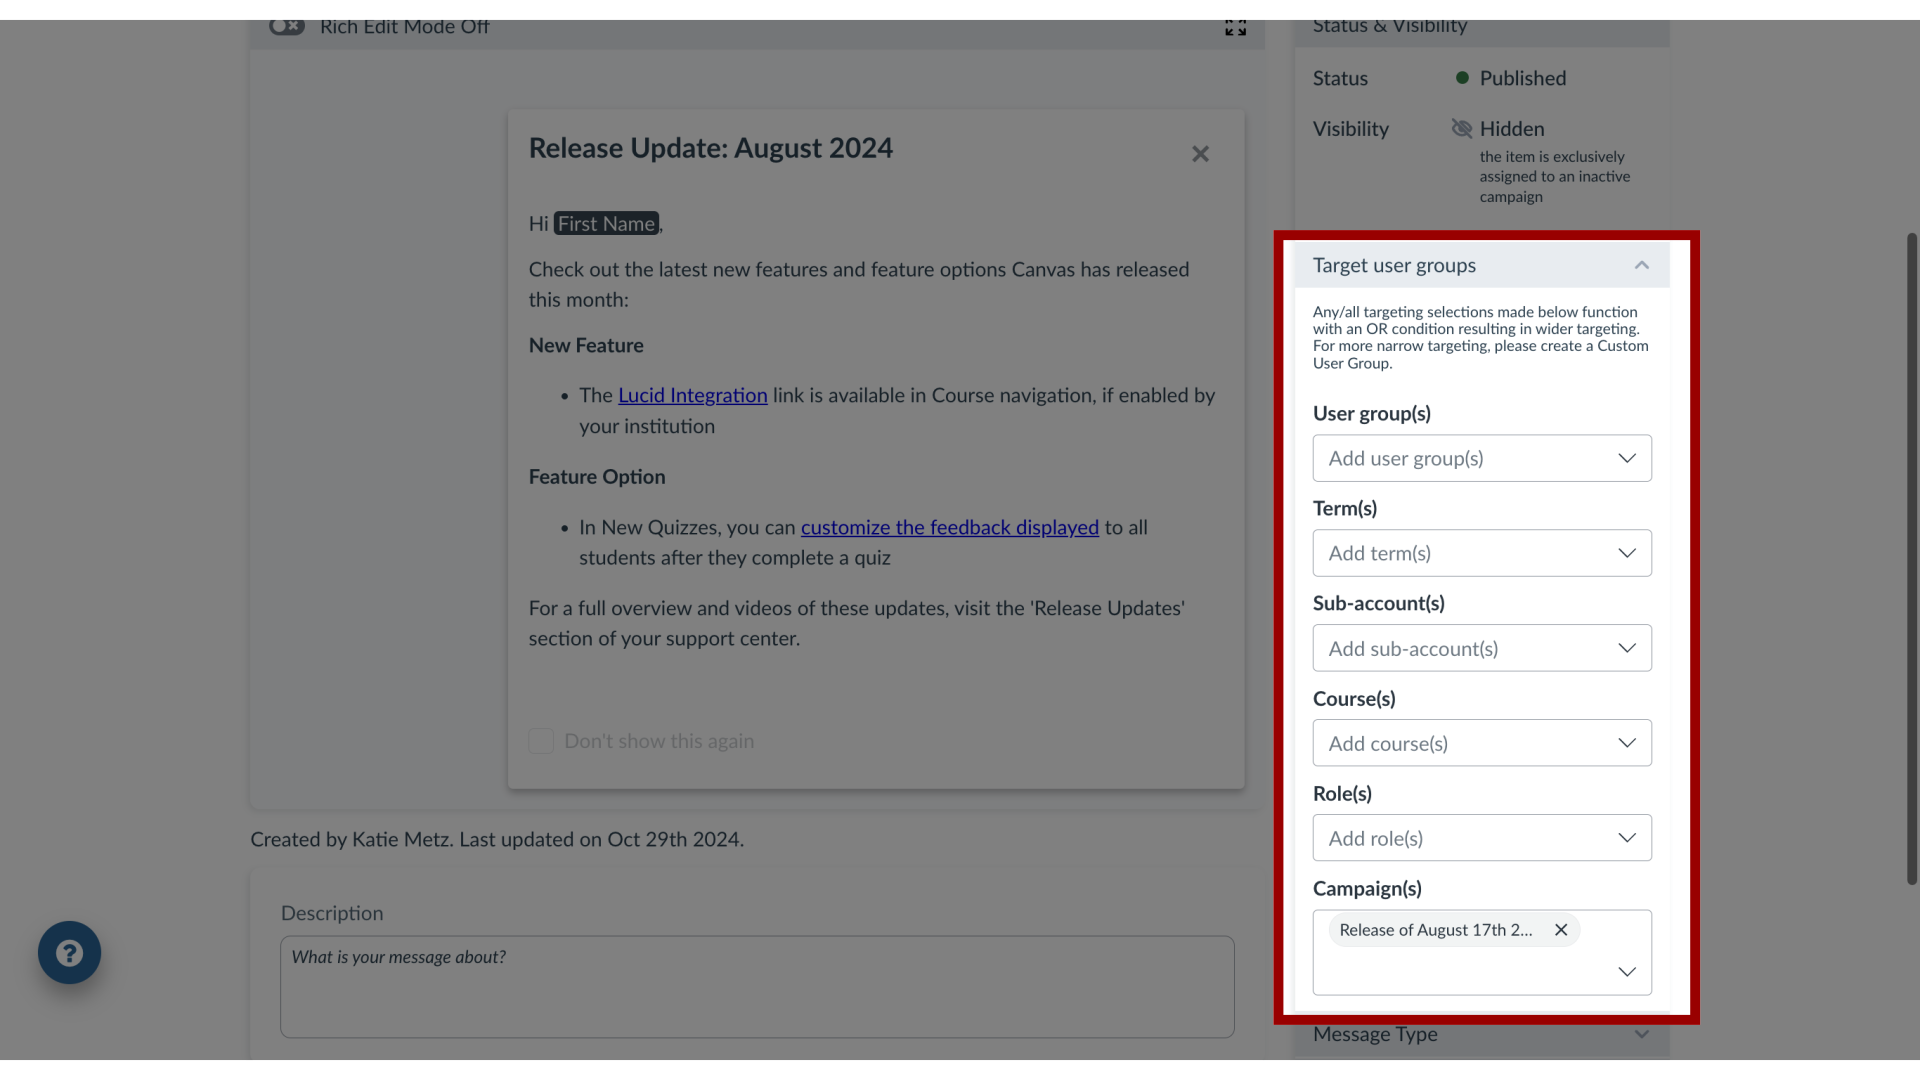
2. Target User Groups
By assigning users to a message, you control which users, groups, or campaign audiences will see your message. Users can be assigned by:
User group(s)
Term(s)
Sub-account(s)
Course(s)
Role(s)
Campaign(s)
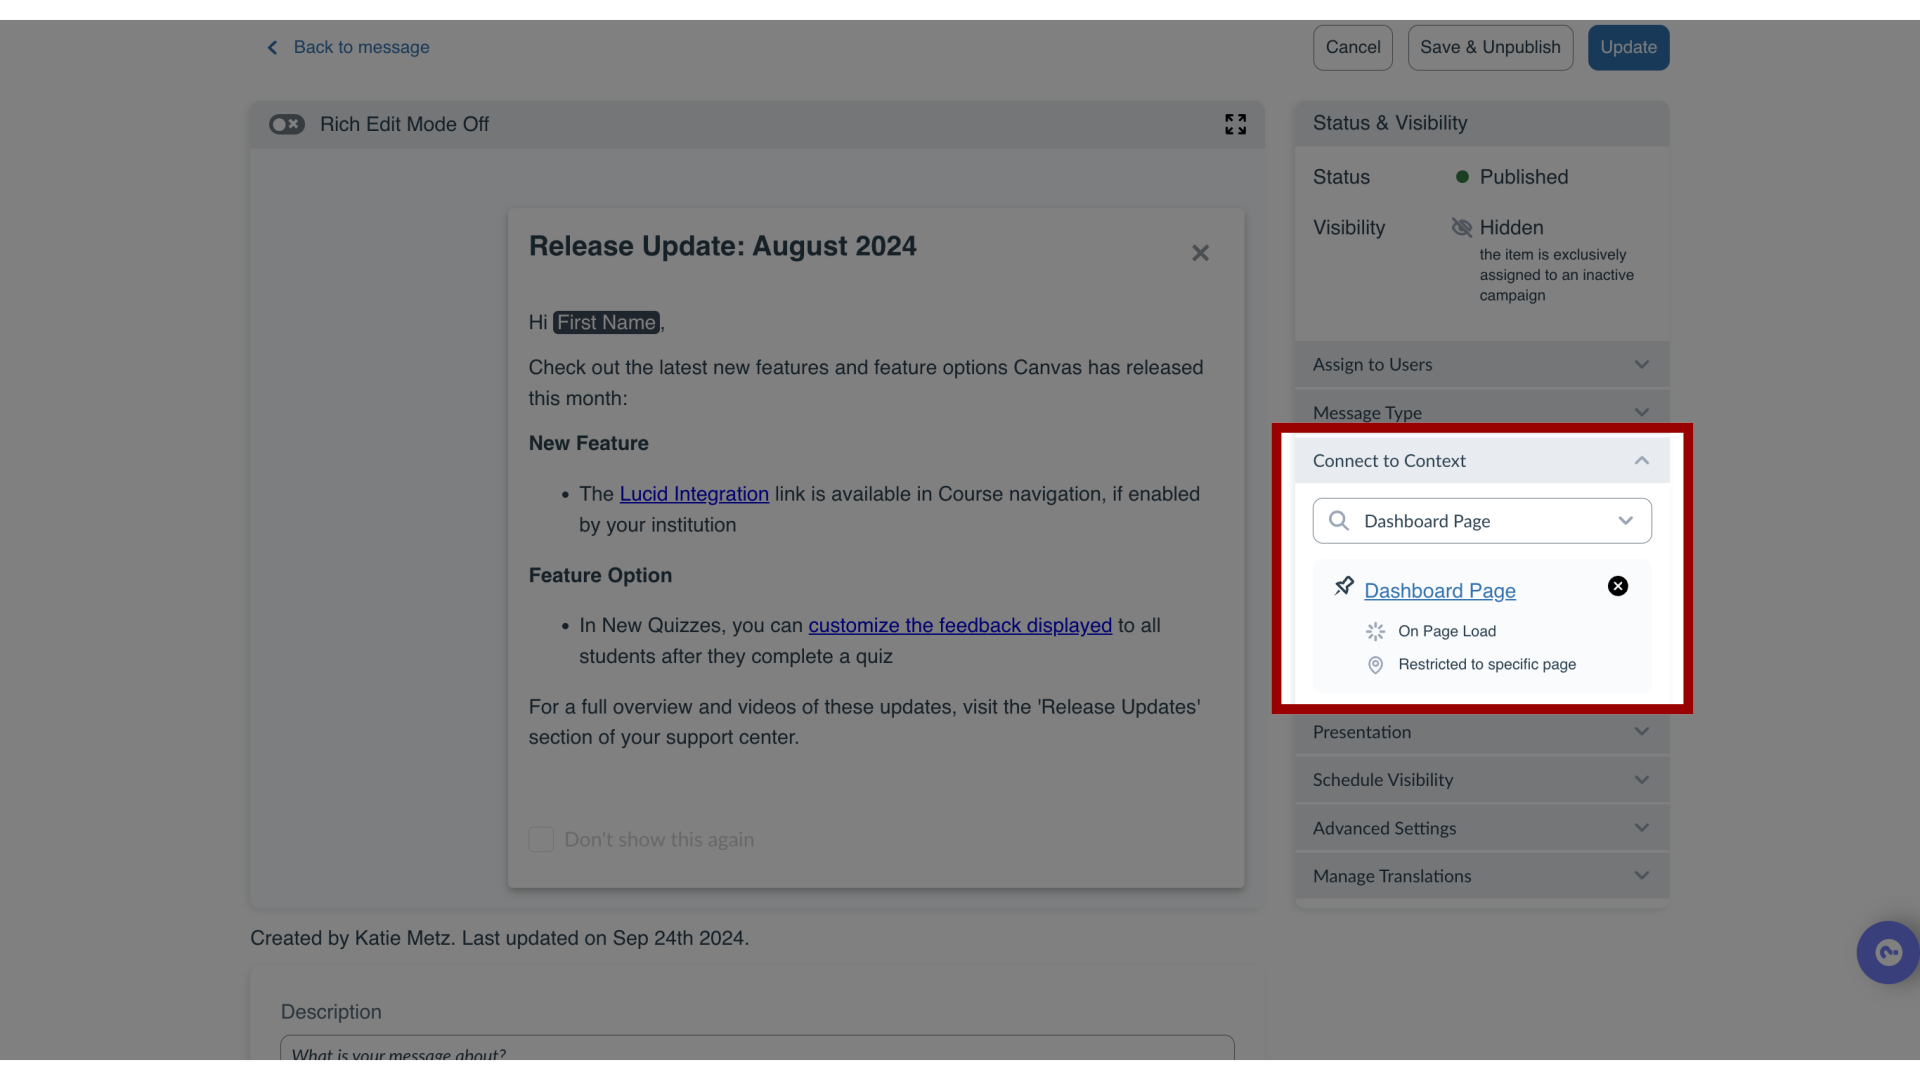
3. Connected Context
Connecting a message to a context defines which pages or elements within the learning application message will display a message. This means if you connect a message to a context that only a specific user with specific permissions can view (for example an instructor in your LMS), then only those users with access to that page/element can see the message.
Note: A context also has several display conditions like Show message on every page where this element appears, Show message only on this specific page, Show when hovering over this element, or Show when clicking on this element. You can adjust the connected context of your message in the edit message sidebar.
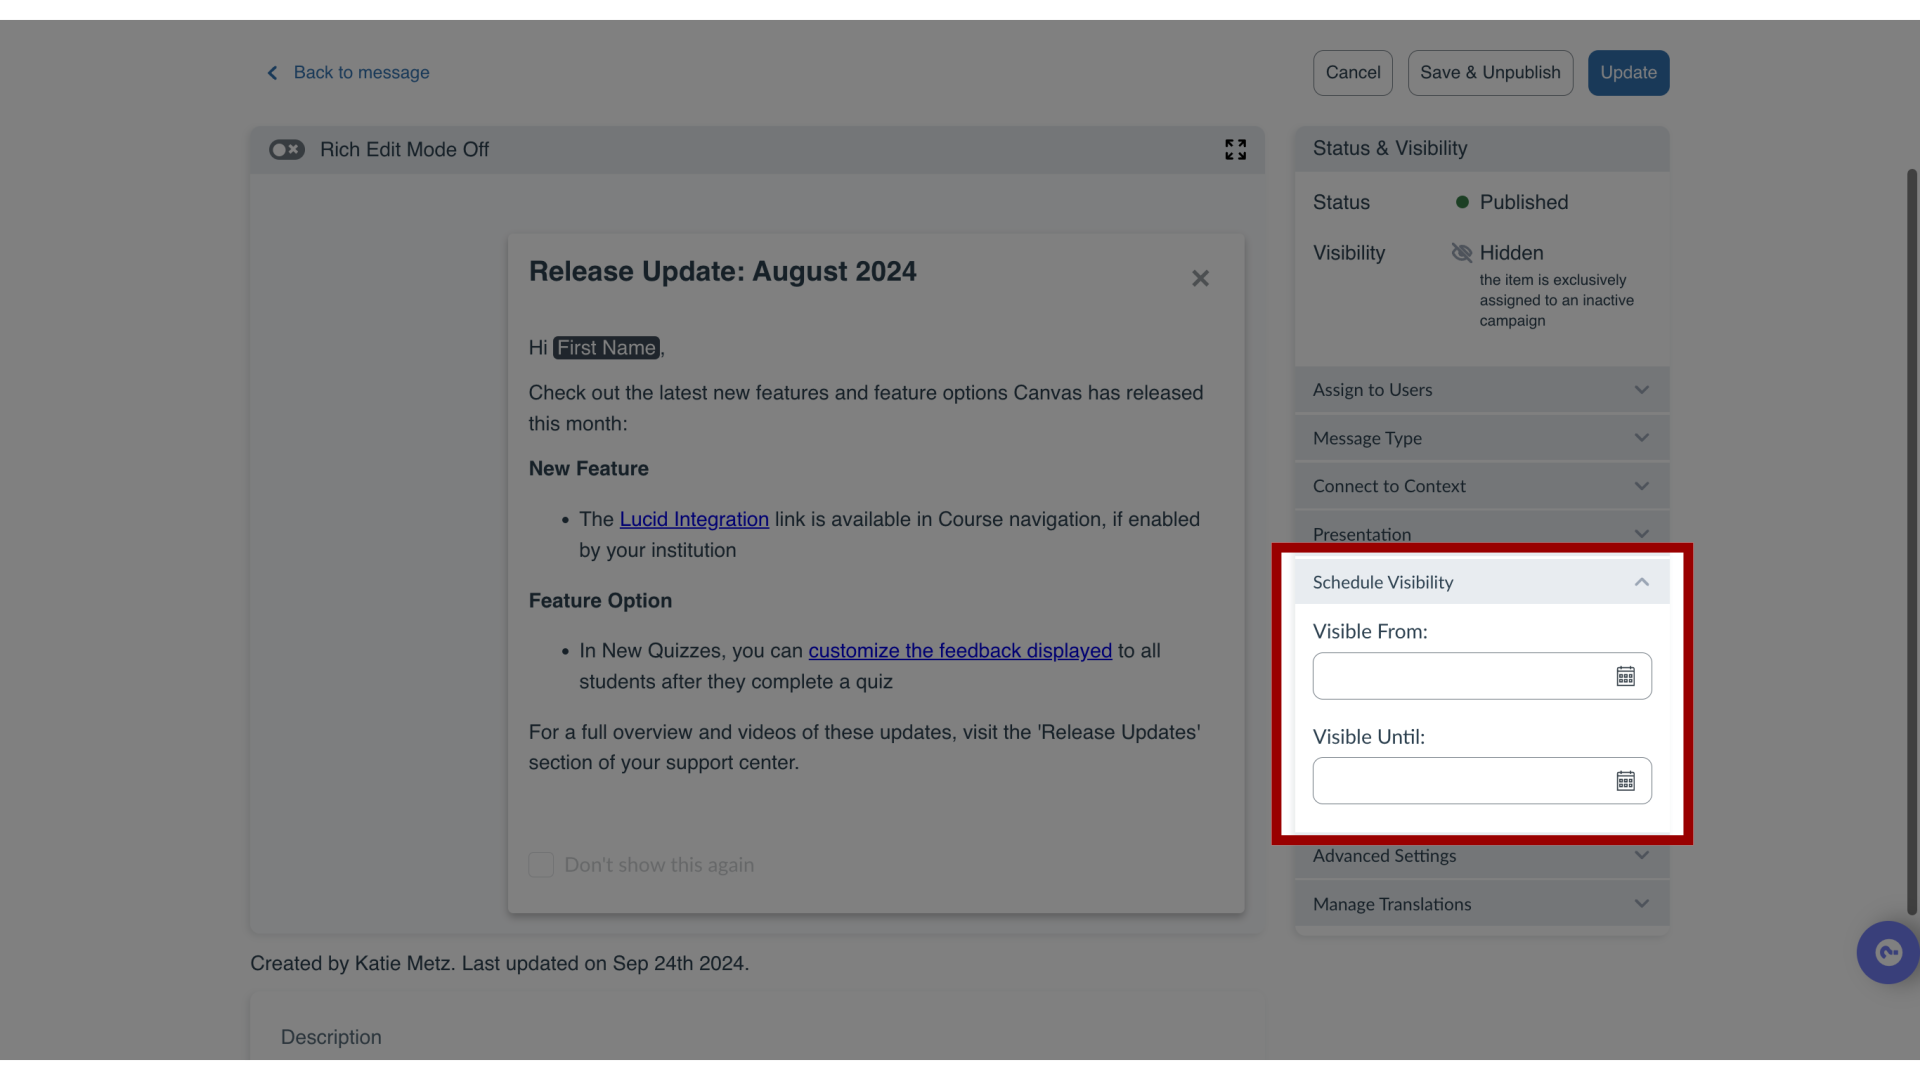
4. Scheduled Visibility
Scheduling the visibility of your message enables you to select a start date/time and end date/time during which your message will be displayed in your learning application. If all other required settings are completed and the message is published, then
The message will automatically become visible in the learning application at the scheduled Start Date and Time, or The message will automatically disappear from the learning application at the scheduled End Date and Time.
5. Tool Categories
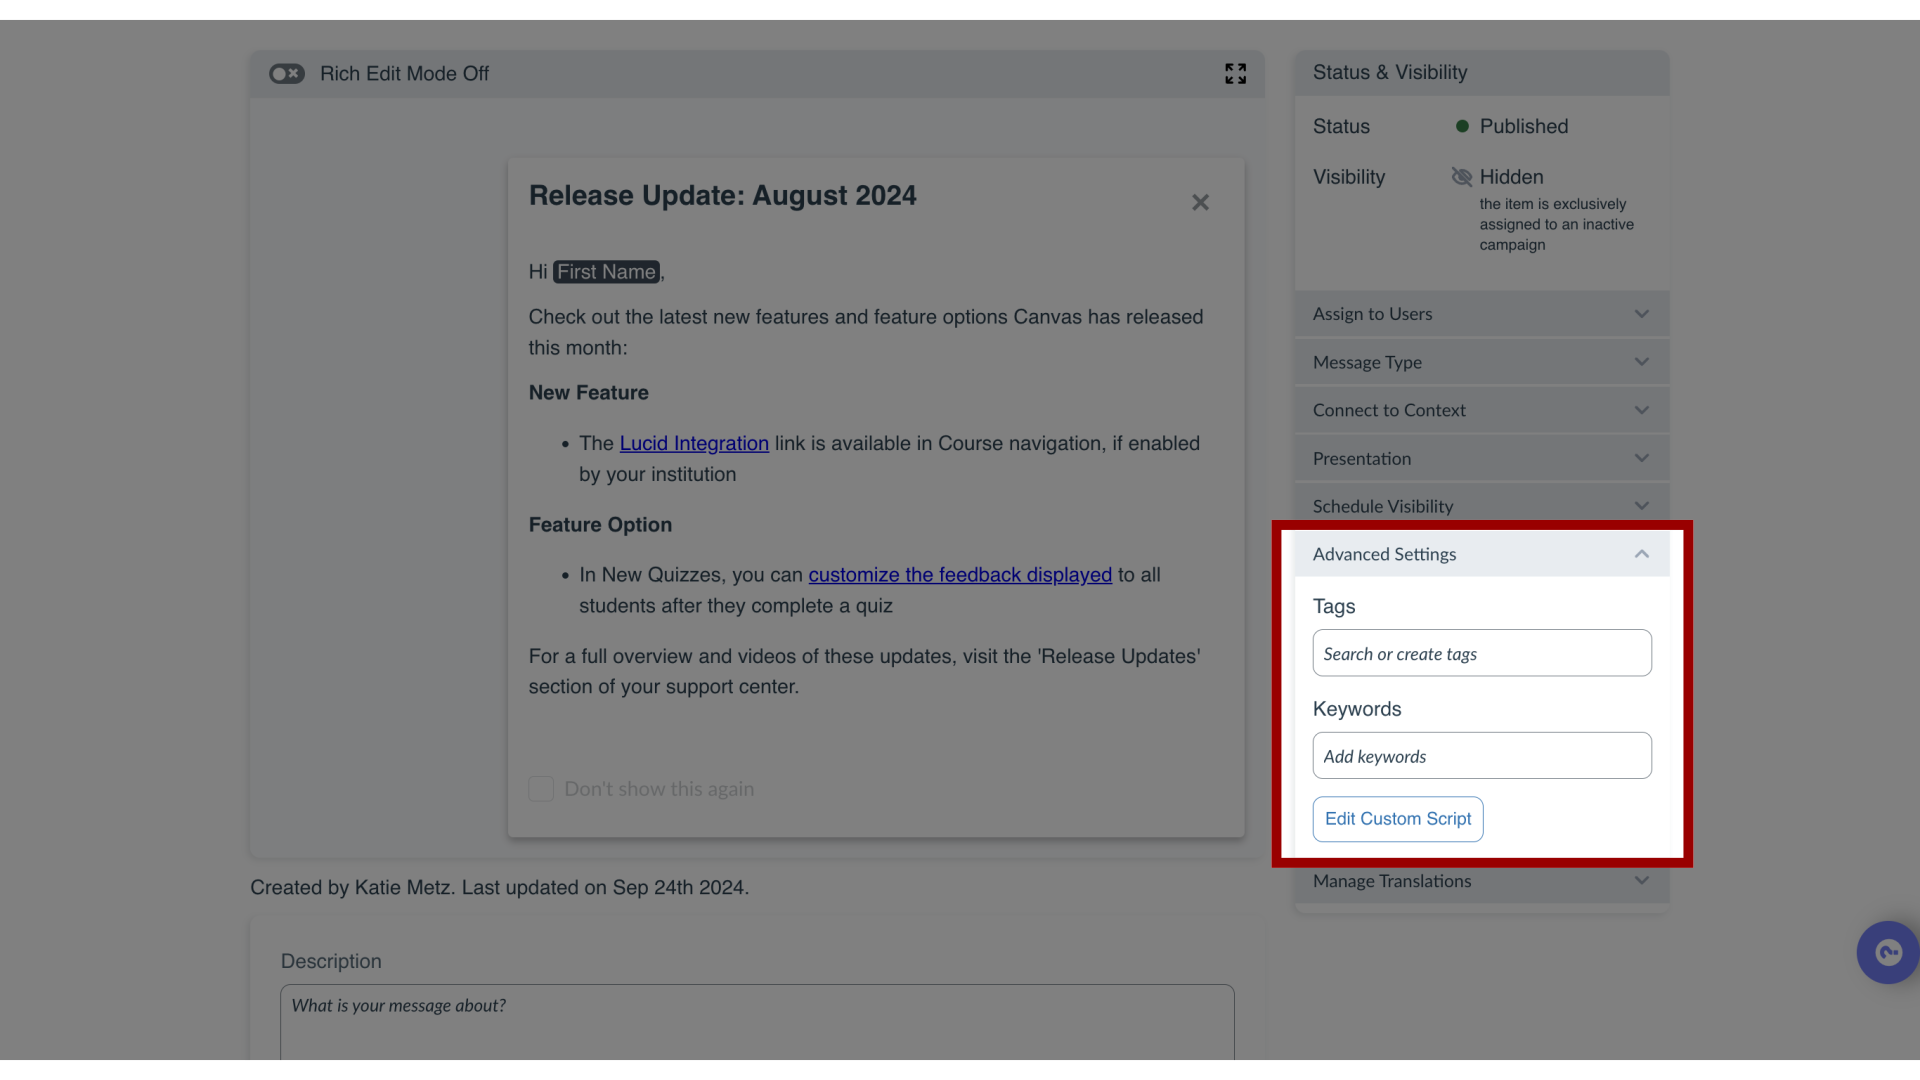
Is your message associated with a specific tool category? This is often the case with out-of-the-box messages. If your message is associated with a specific tool category and you have set that tool category to hidden, then your message will not be visible.
You can view the associated tool categories via the Edit Message under the Advanced Settings tab. You can manage tool category visibility via the Global Settings Menu, Tool Categories.
6. How do I see if a message is visible or not?
How can I debug message visibility?

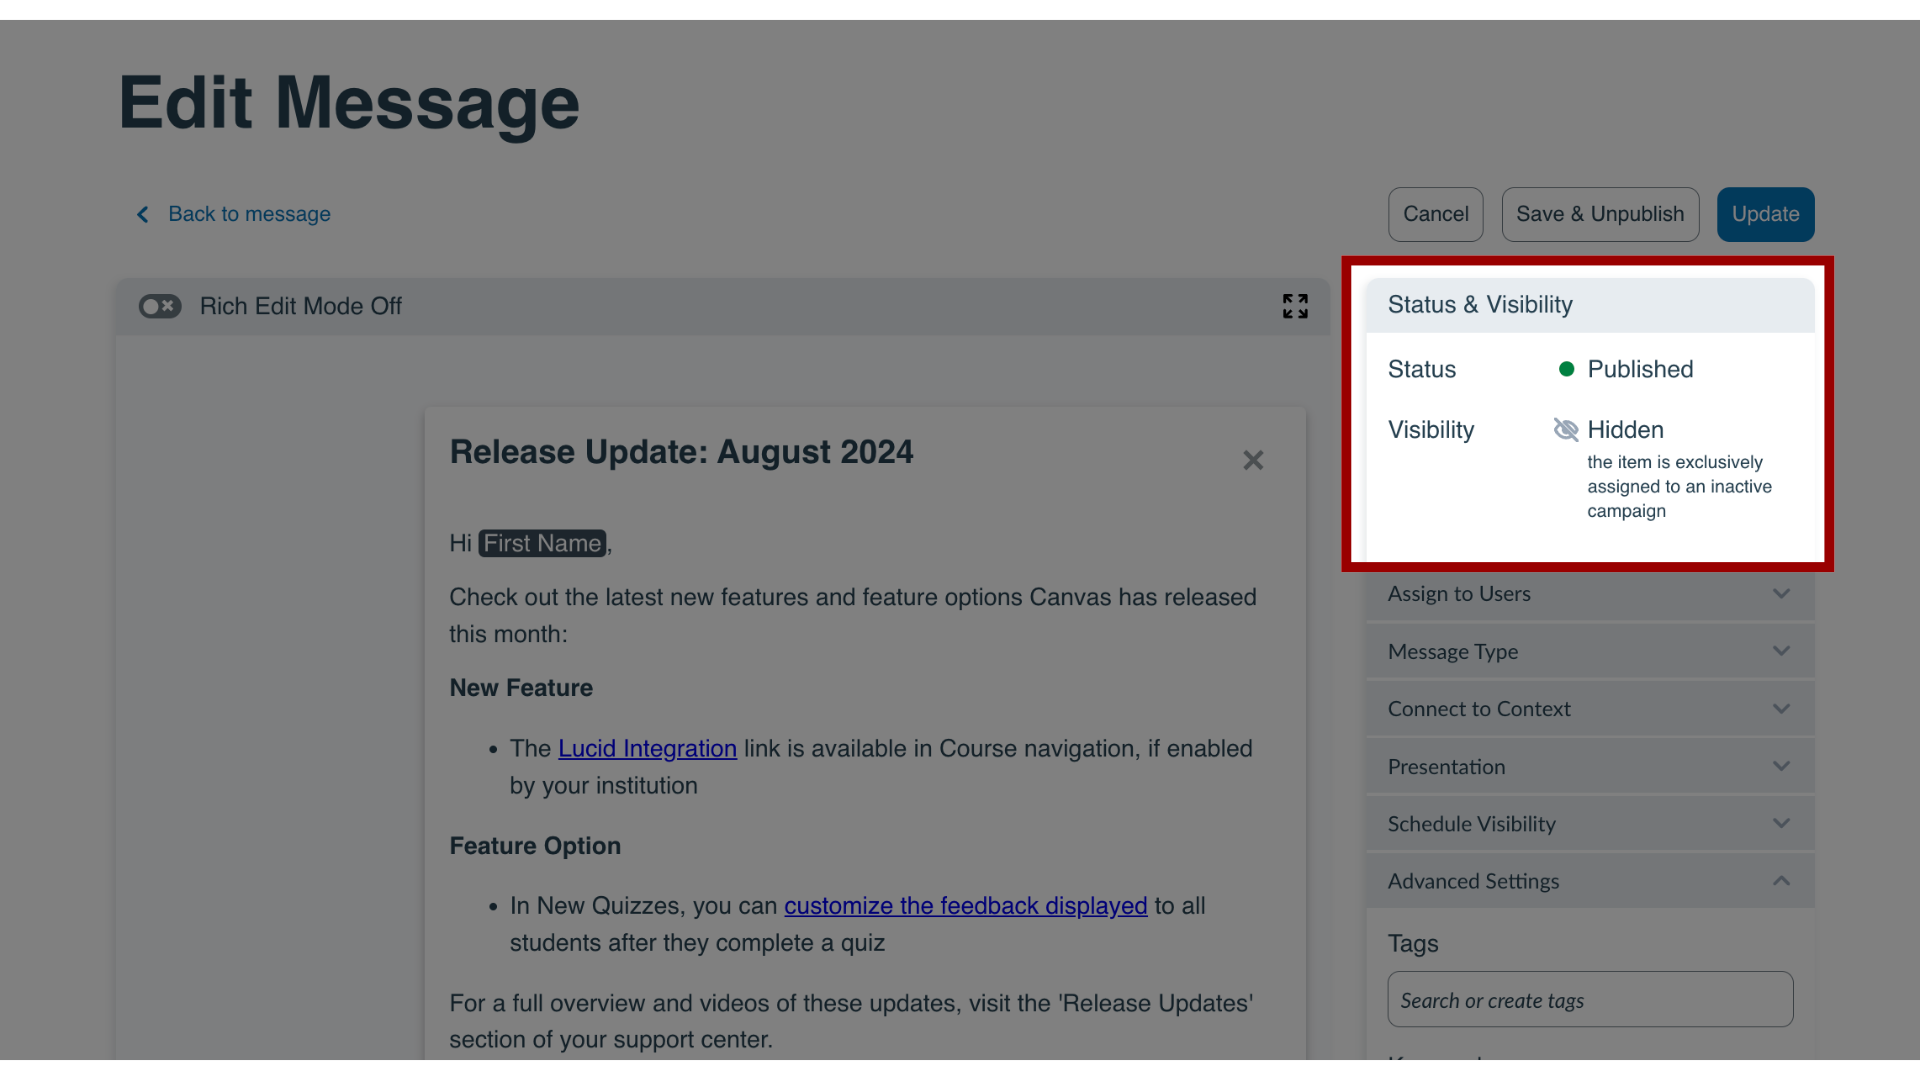
Are you having trouble understanding why your message is not visible? The Status & Visibility tab on the View Message page provides you with a quick summary of one or more reasons why your message may not be visible to users.
Here’s what you can do for each hidden by indicator:
- Hidden by draft state: Publish your message!
- Hidden by unpublished campaign: Check the “Assigned to Users” tab to see which campaign this message is connected to, then locate the relevant campaign on My Campaigns and publish it.
- Hidden by tool category: Check the “Advanced Settings” tab to see which tool category is associated with this message. Then, via the global settings menu go to the Tool Categories page, find the relevant category, and toggle on the visibility.
- Hidden by date range: Check the “Schedule Visibility” tab and review the start and end date/time selections.
