
How do I create a message from the Impact Dashboard?
With Impact, you can create messages via the inline editor directly within your learning application or via the Impact admin dashboard. This article focuses on how you can create a new message from the Impact dashboard.
How do I create a message from the Impact Dashboard?
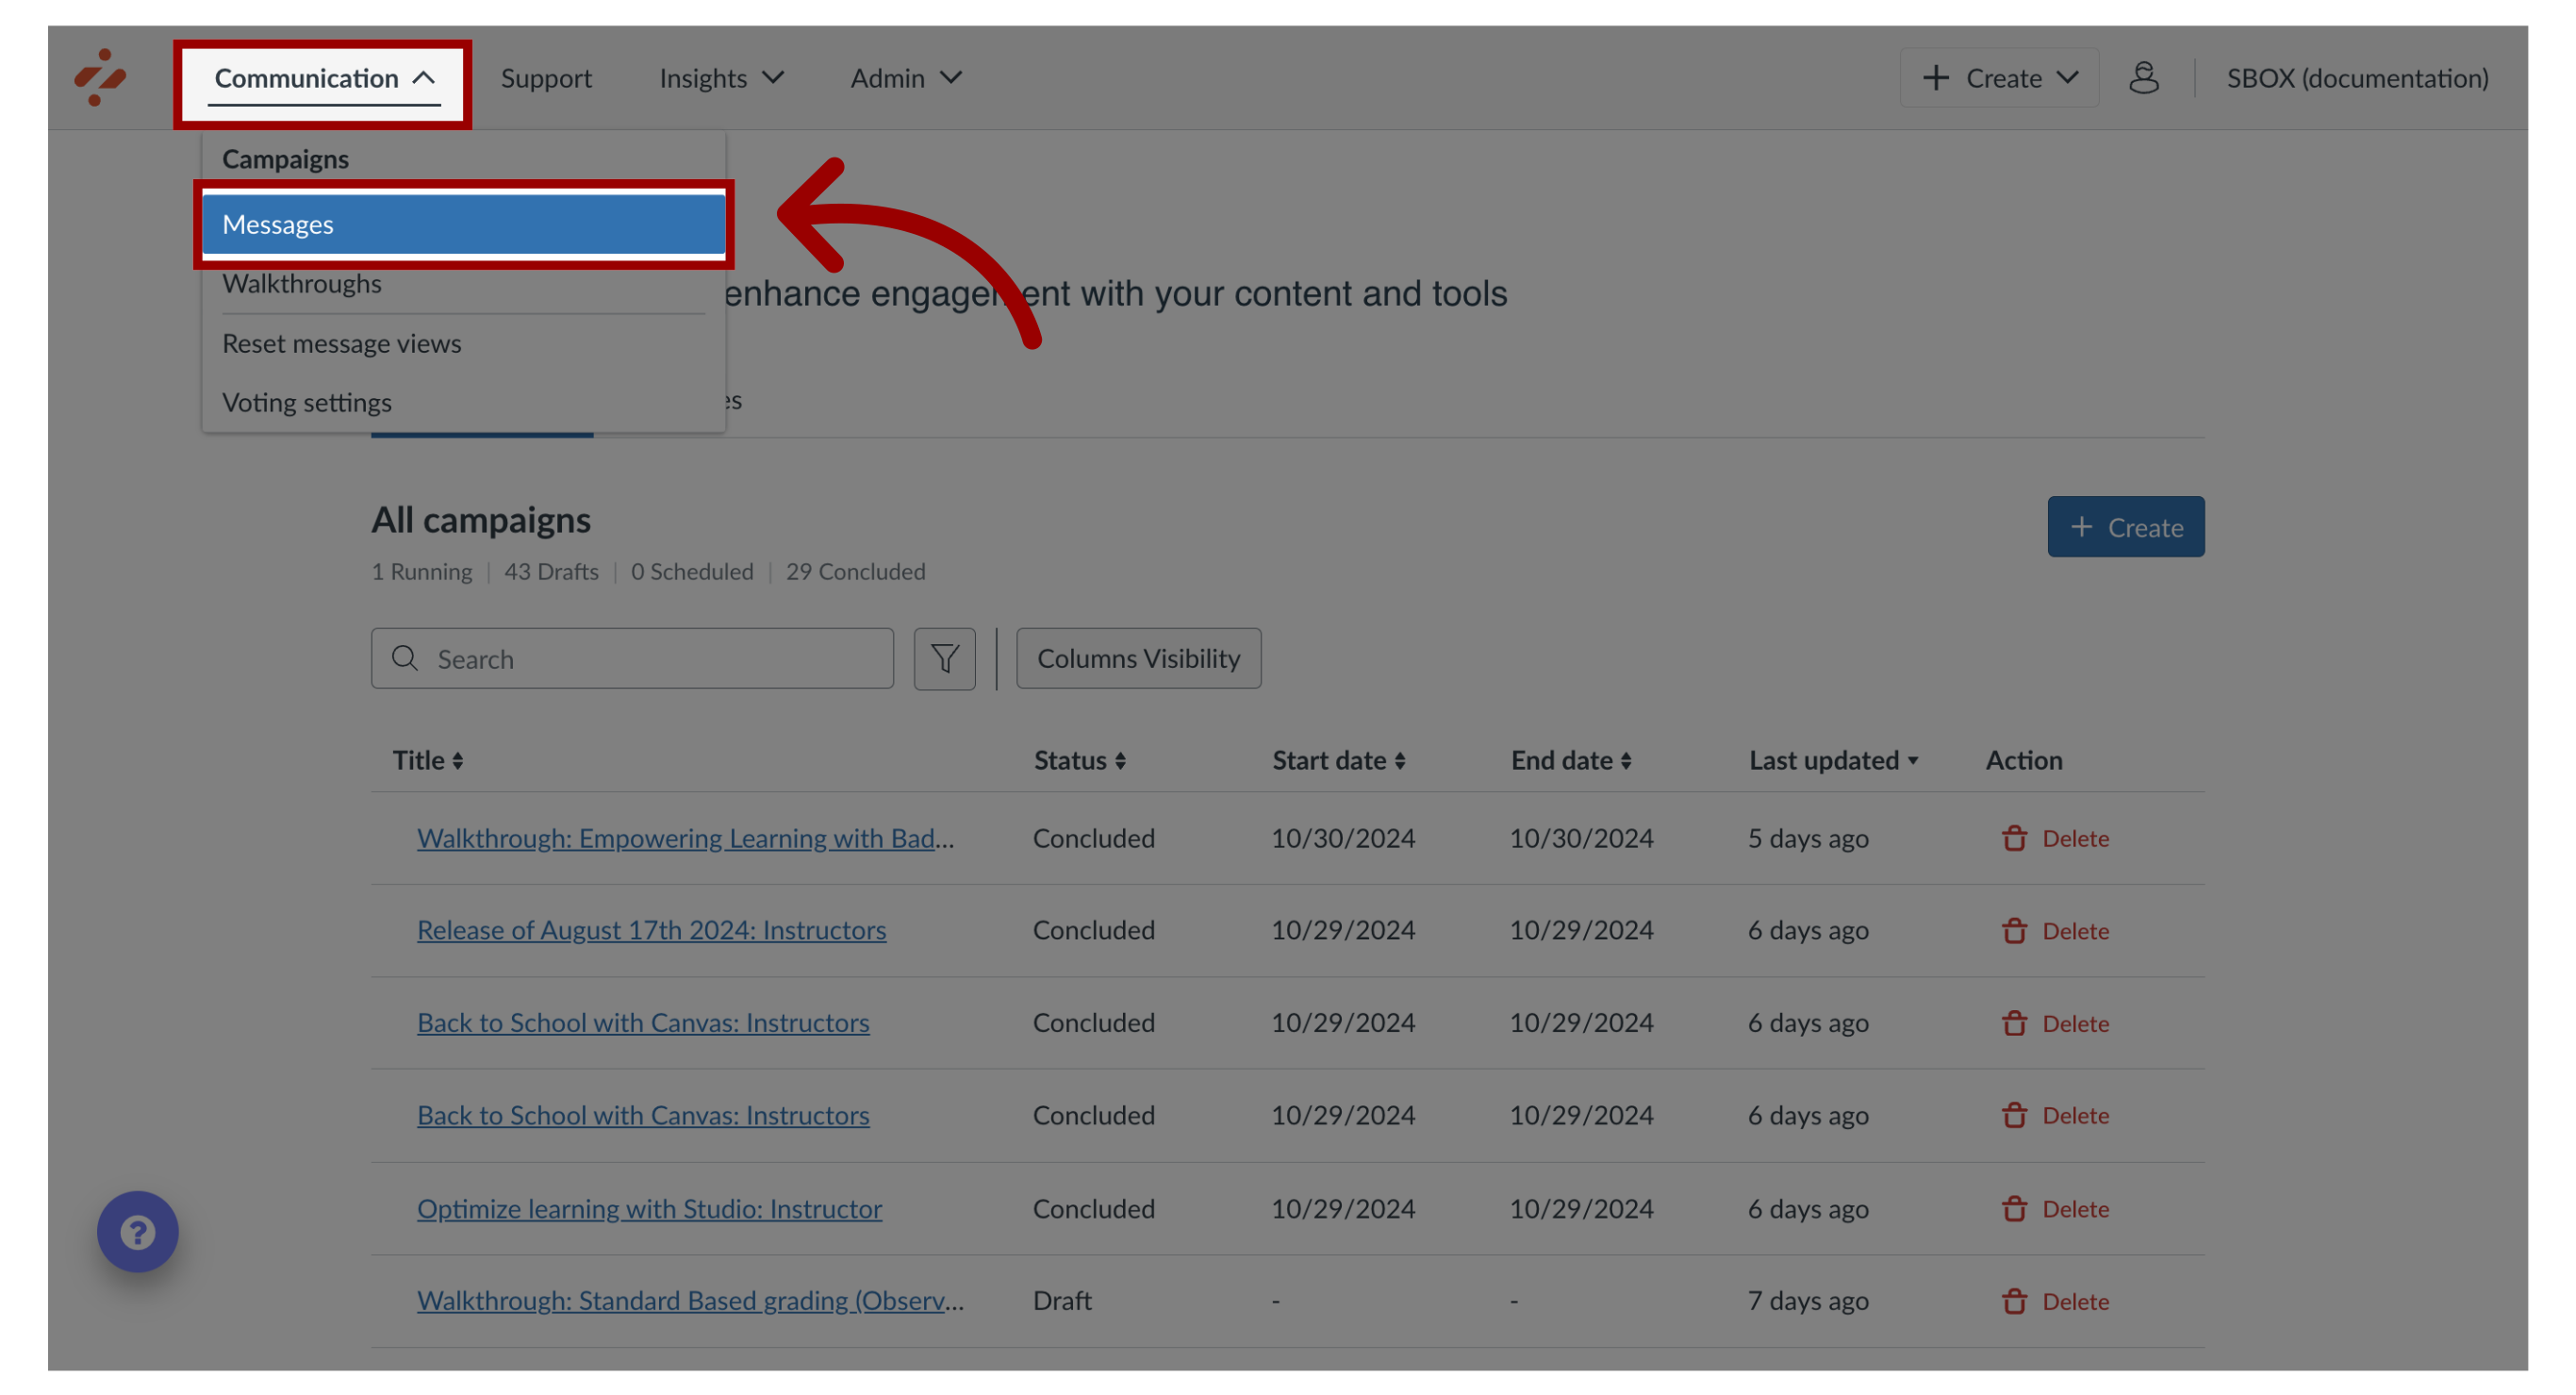
1. Open Messages
In Global Navigation, click the Communication dropdown menu. Then click the Messages link.
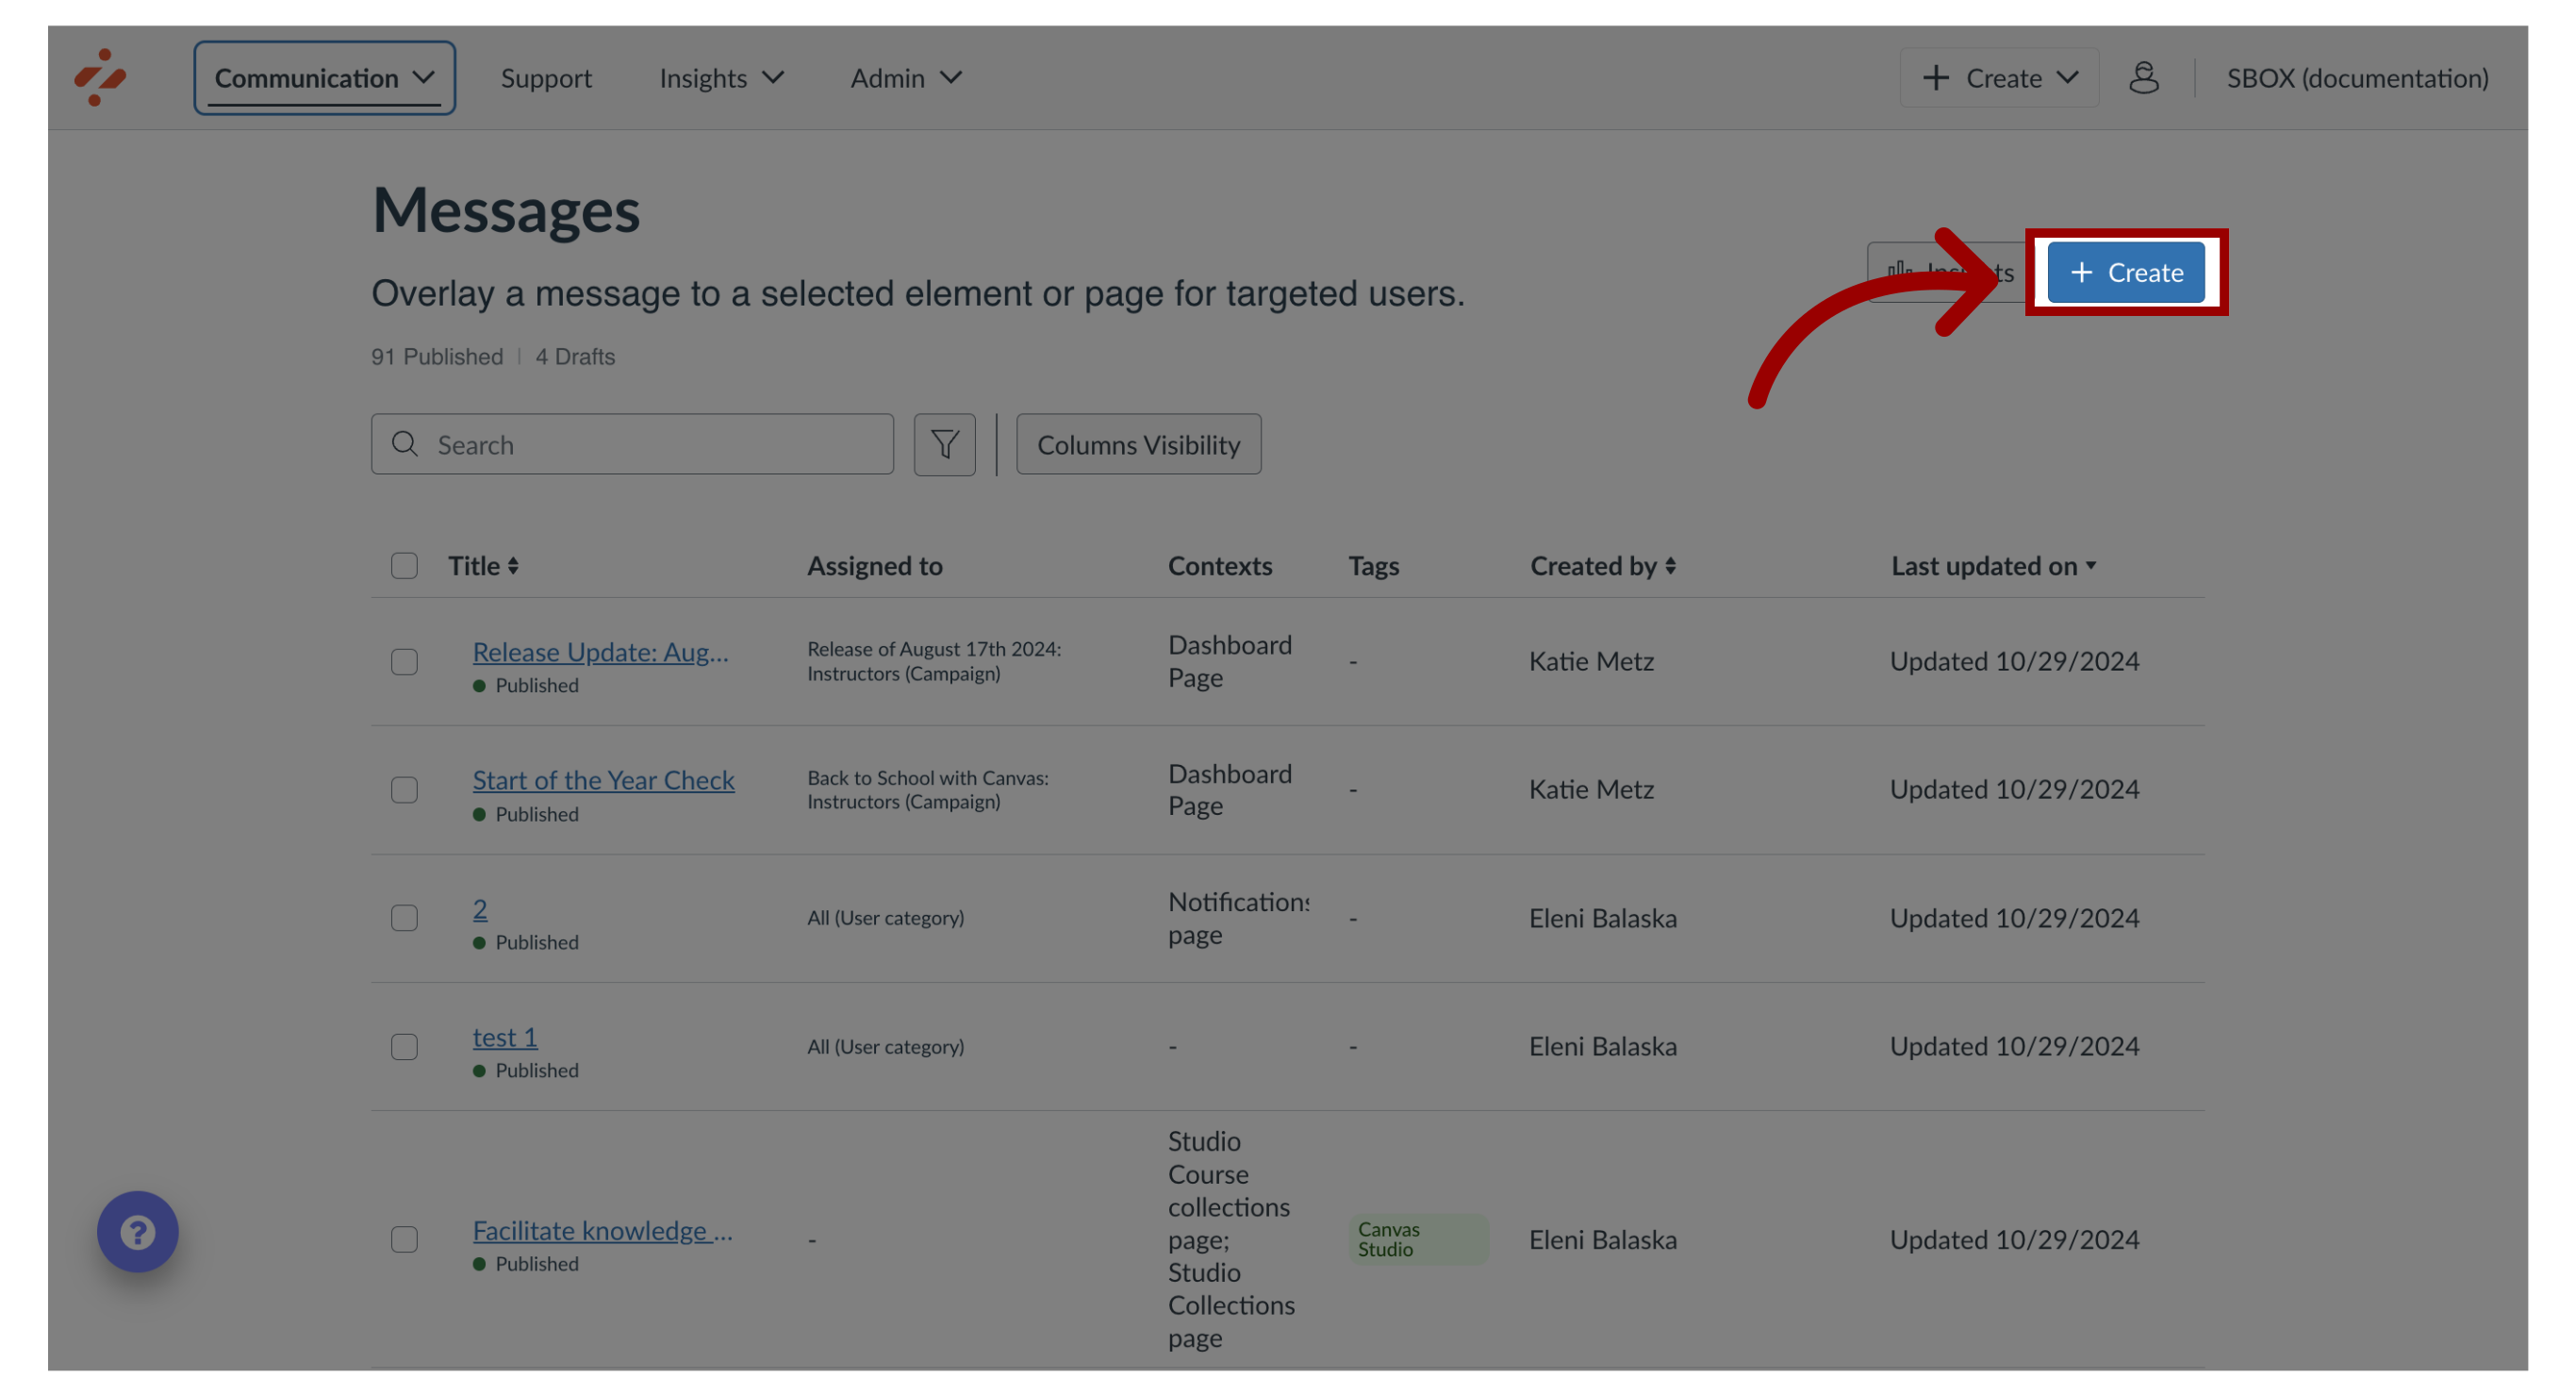
2. Create New Message
Click the Create button.
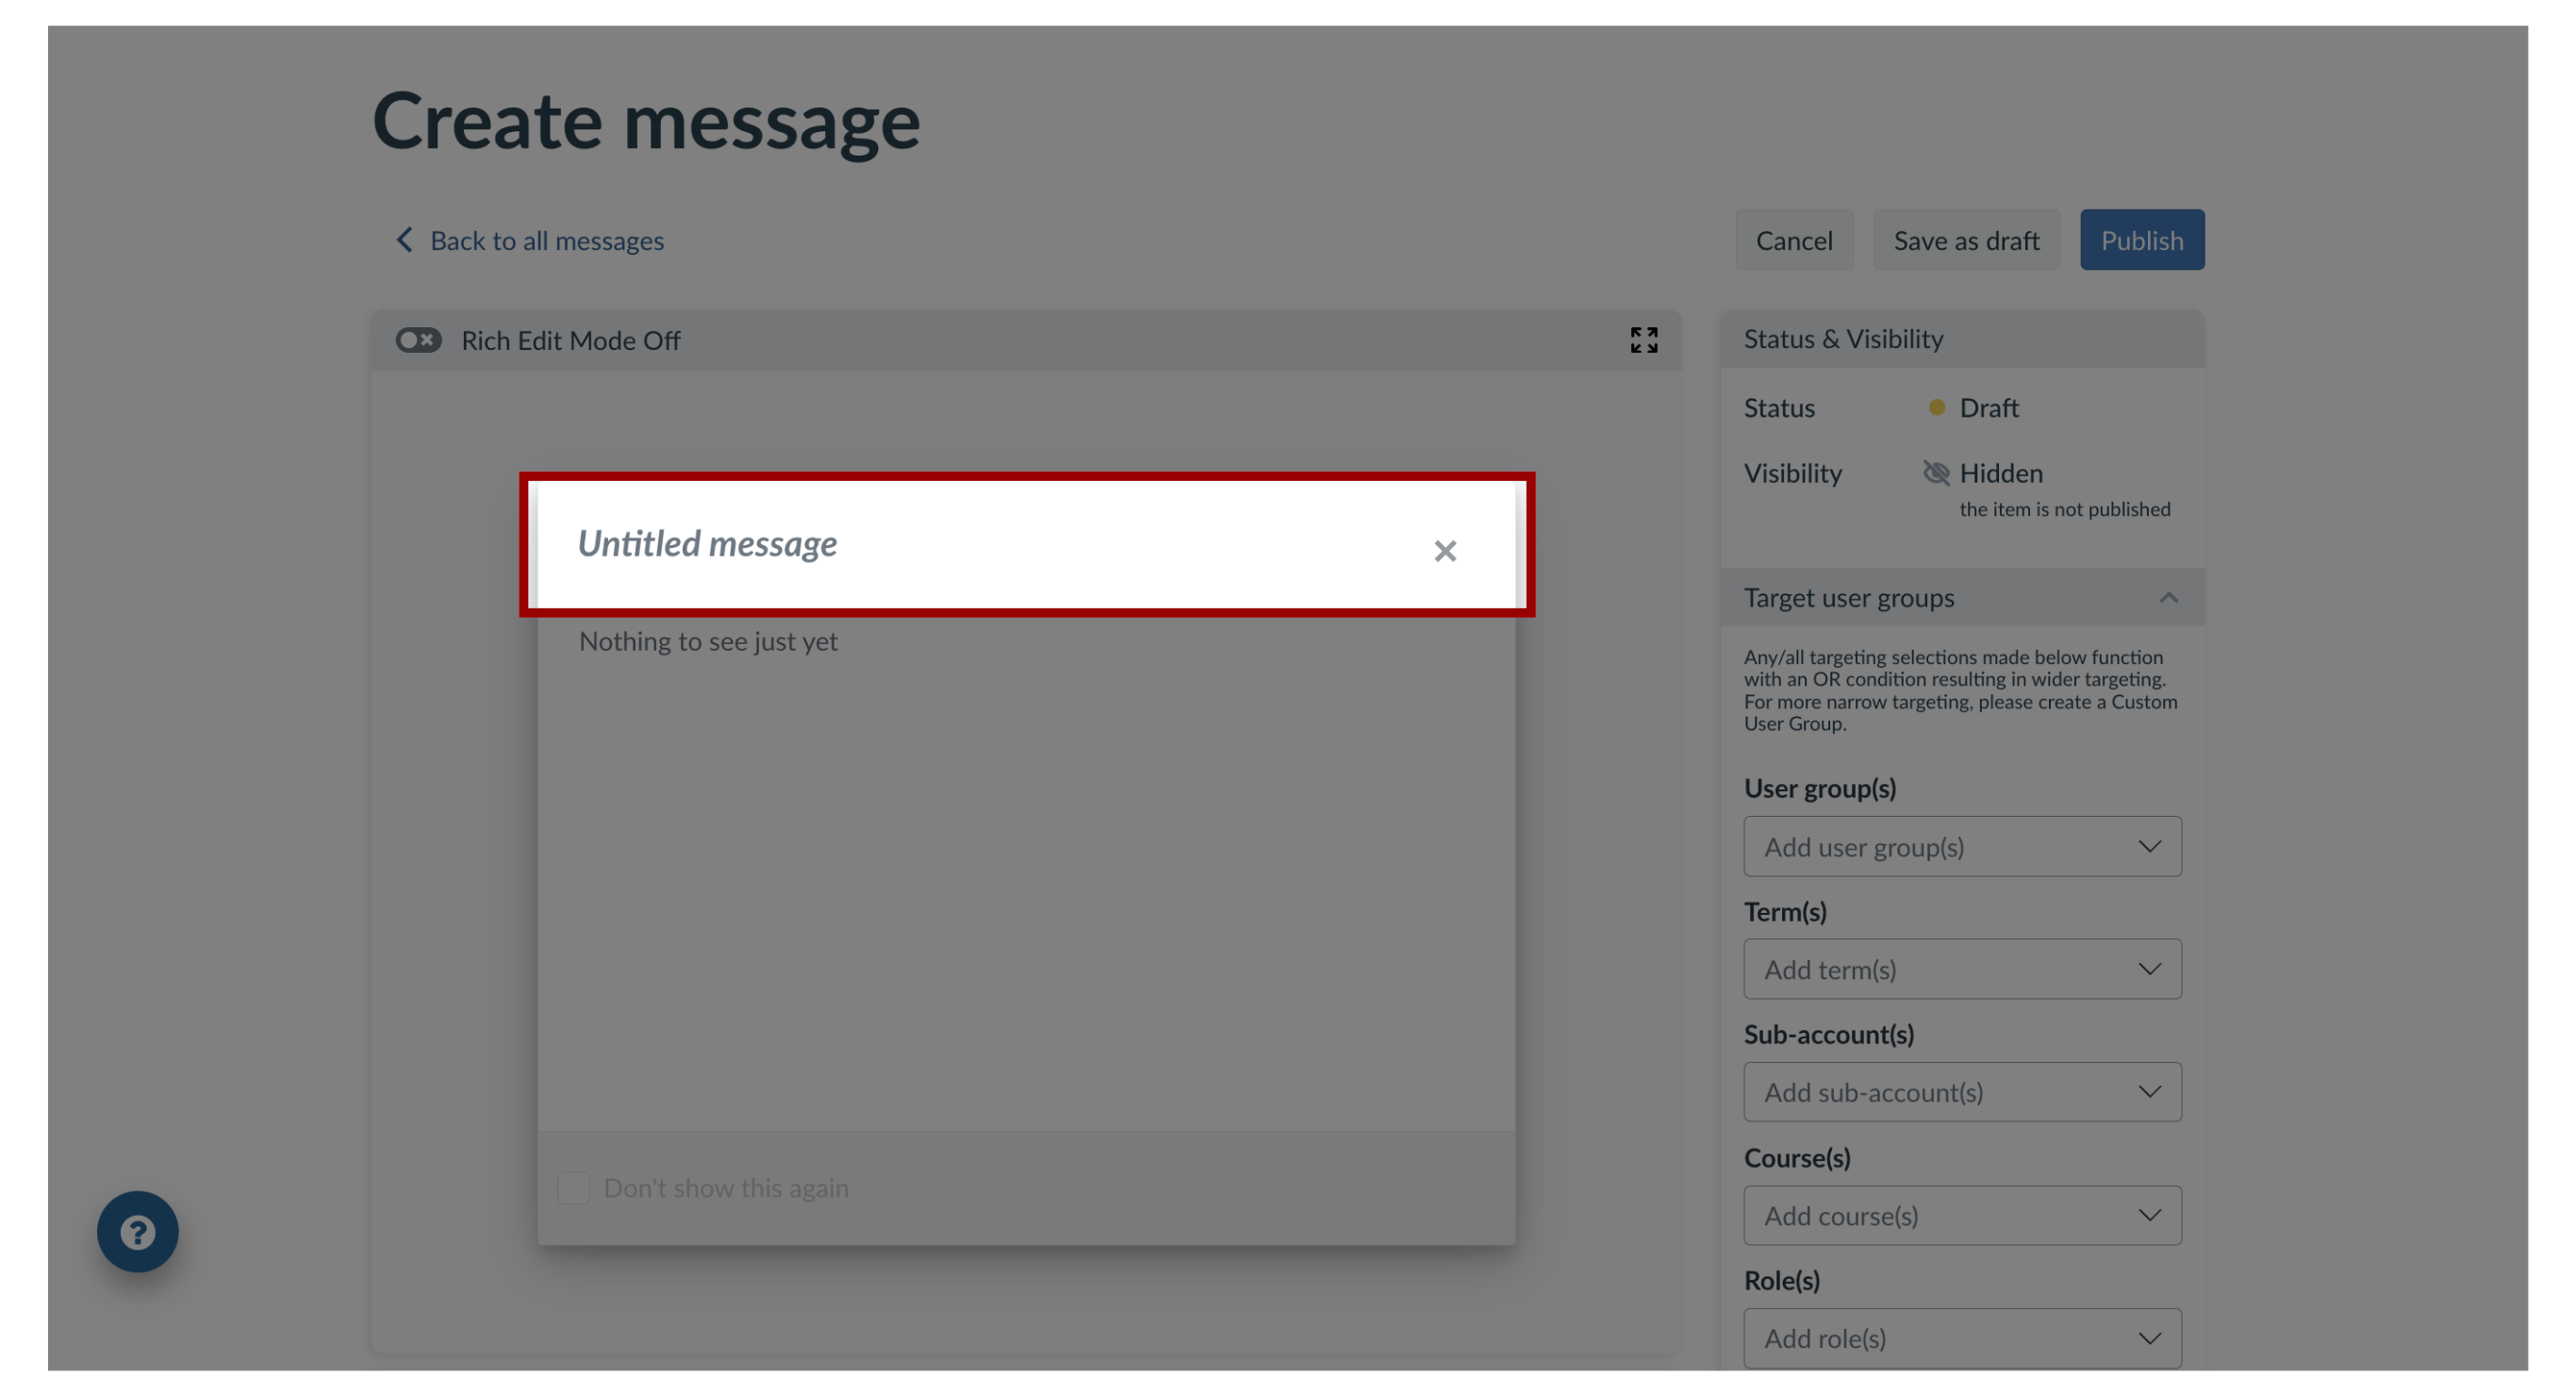
3. Enter Title
To add a title to your message, click the Untitled message text box. Then enter your message in the Title field.
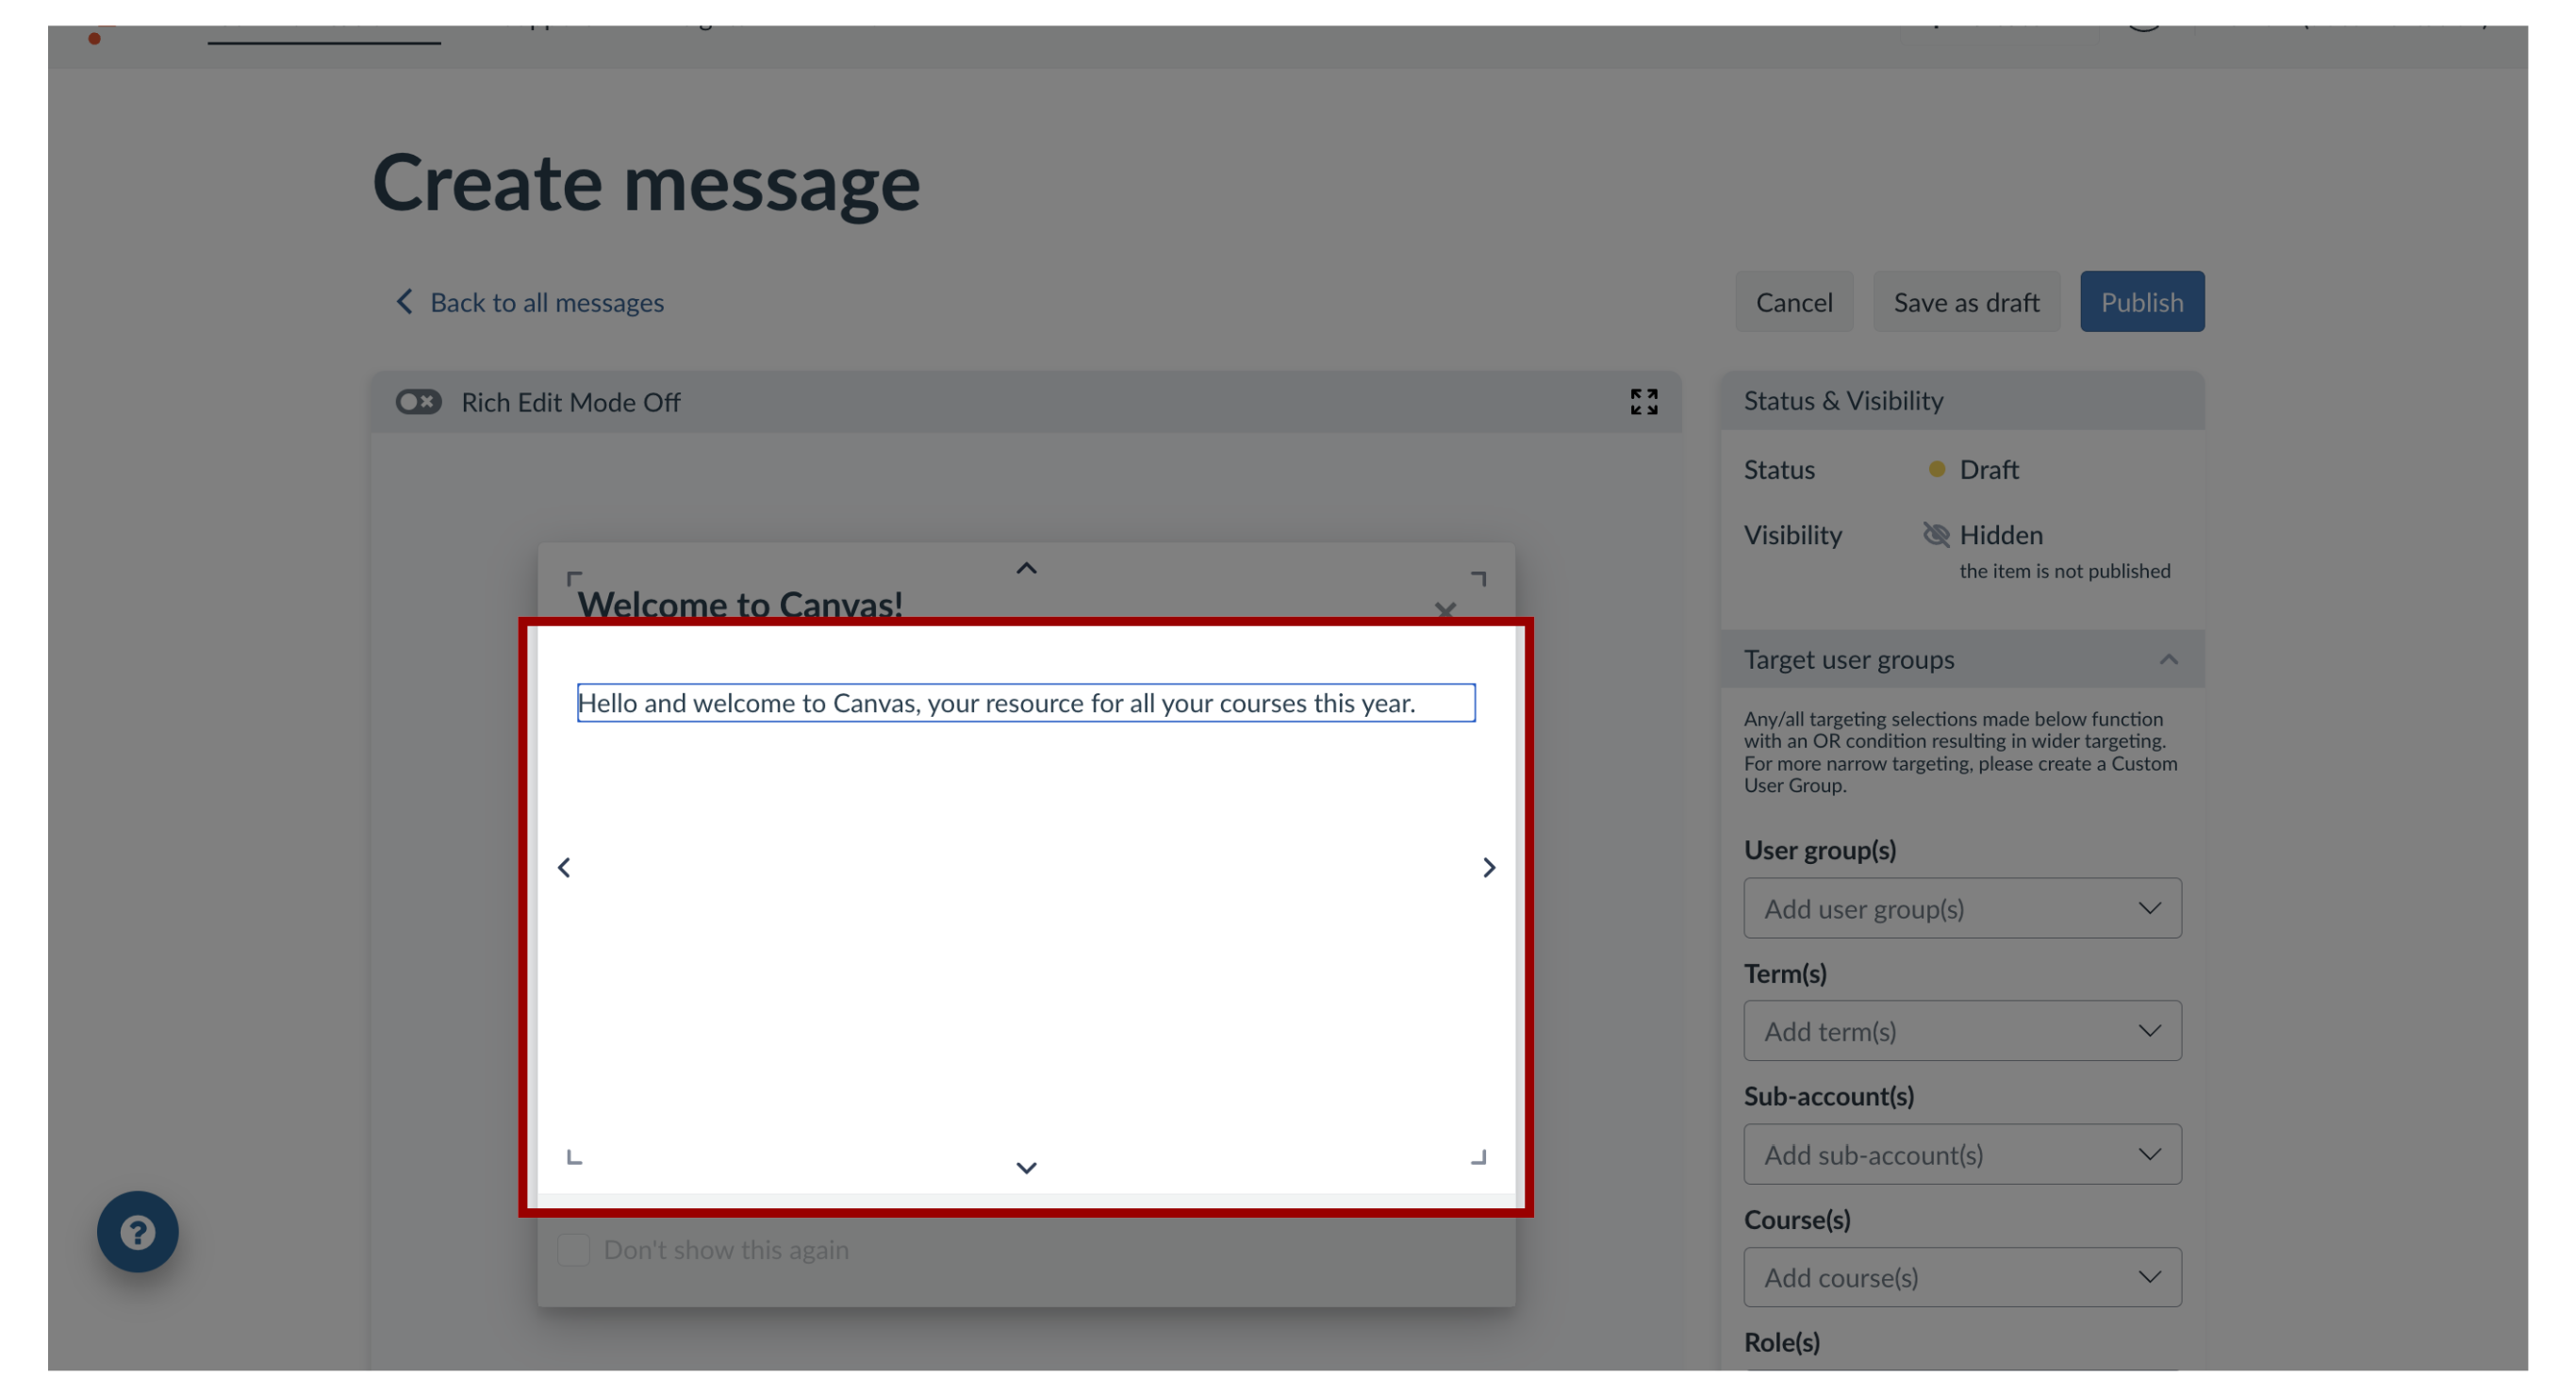
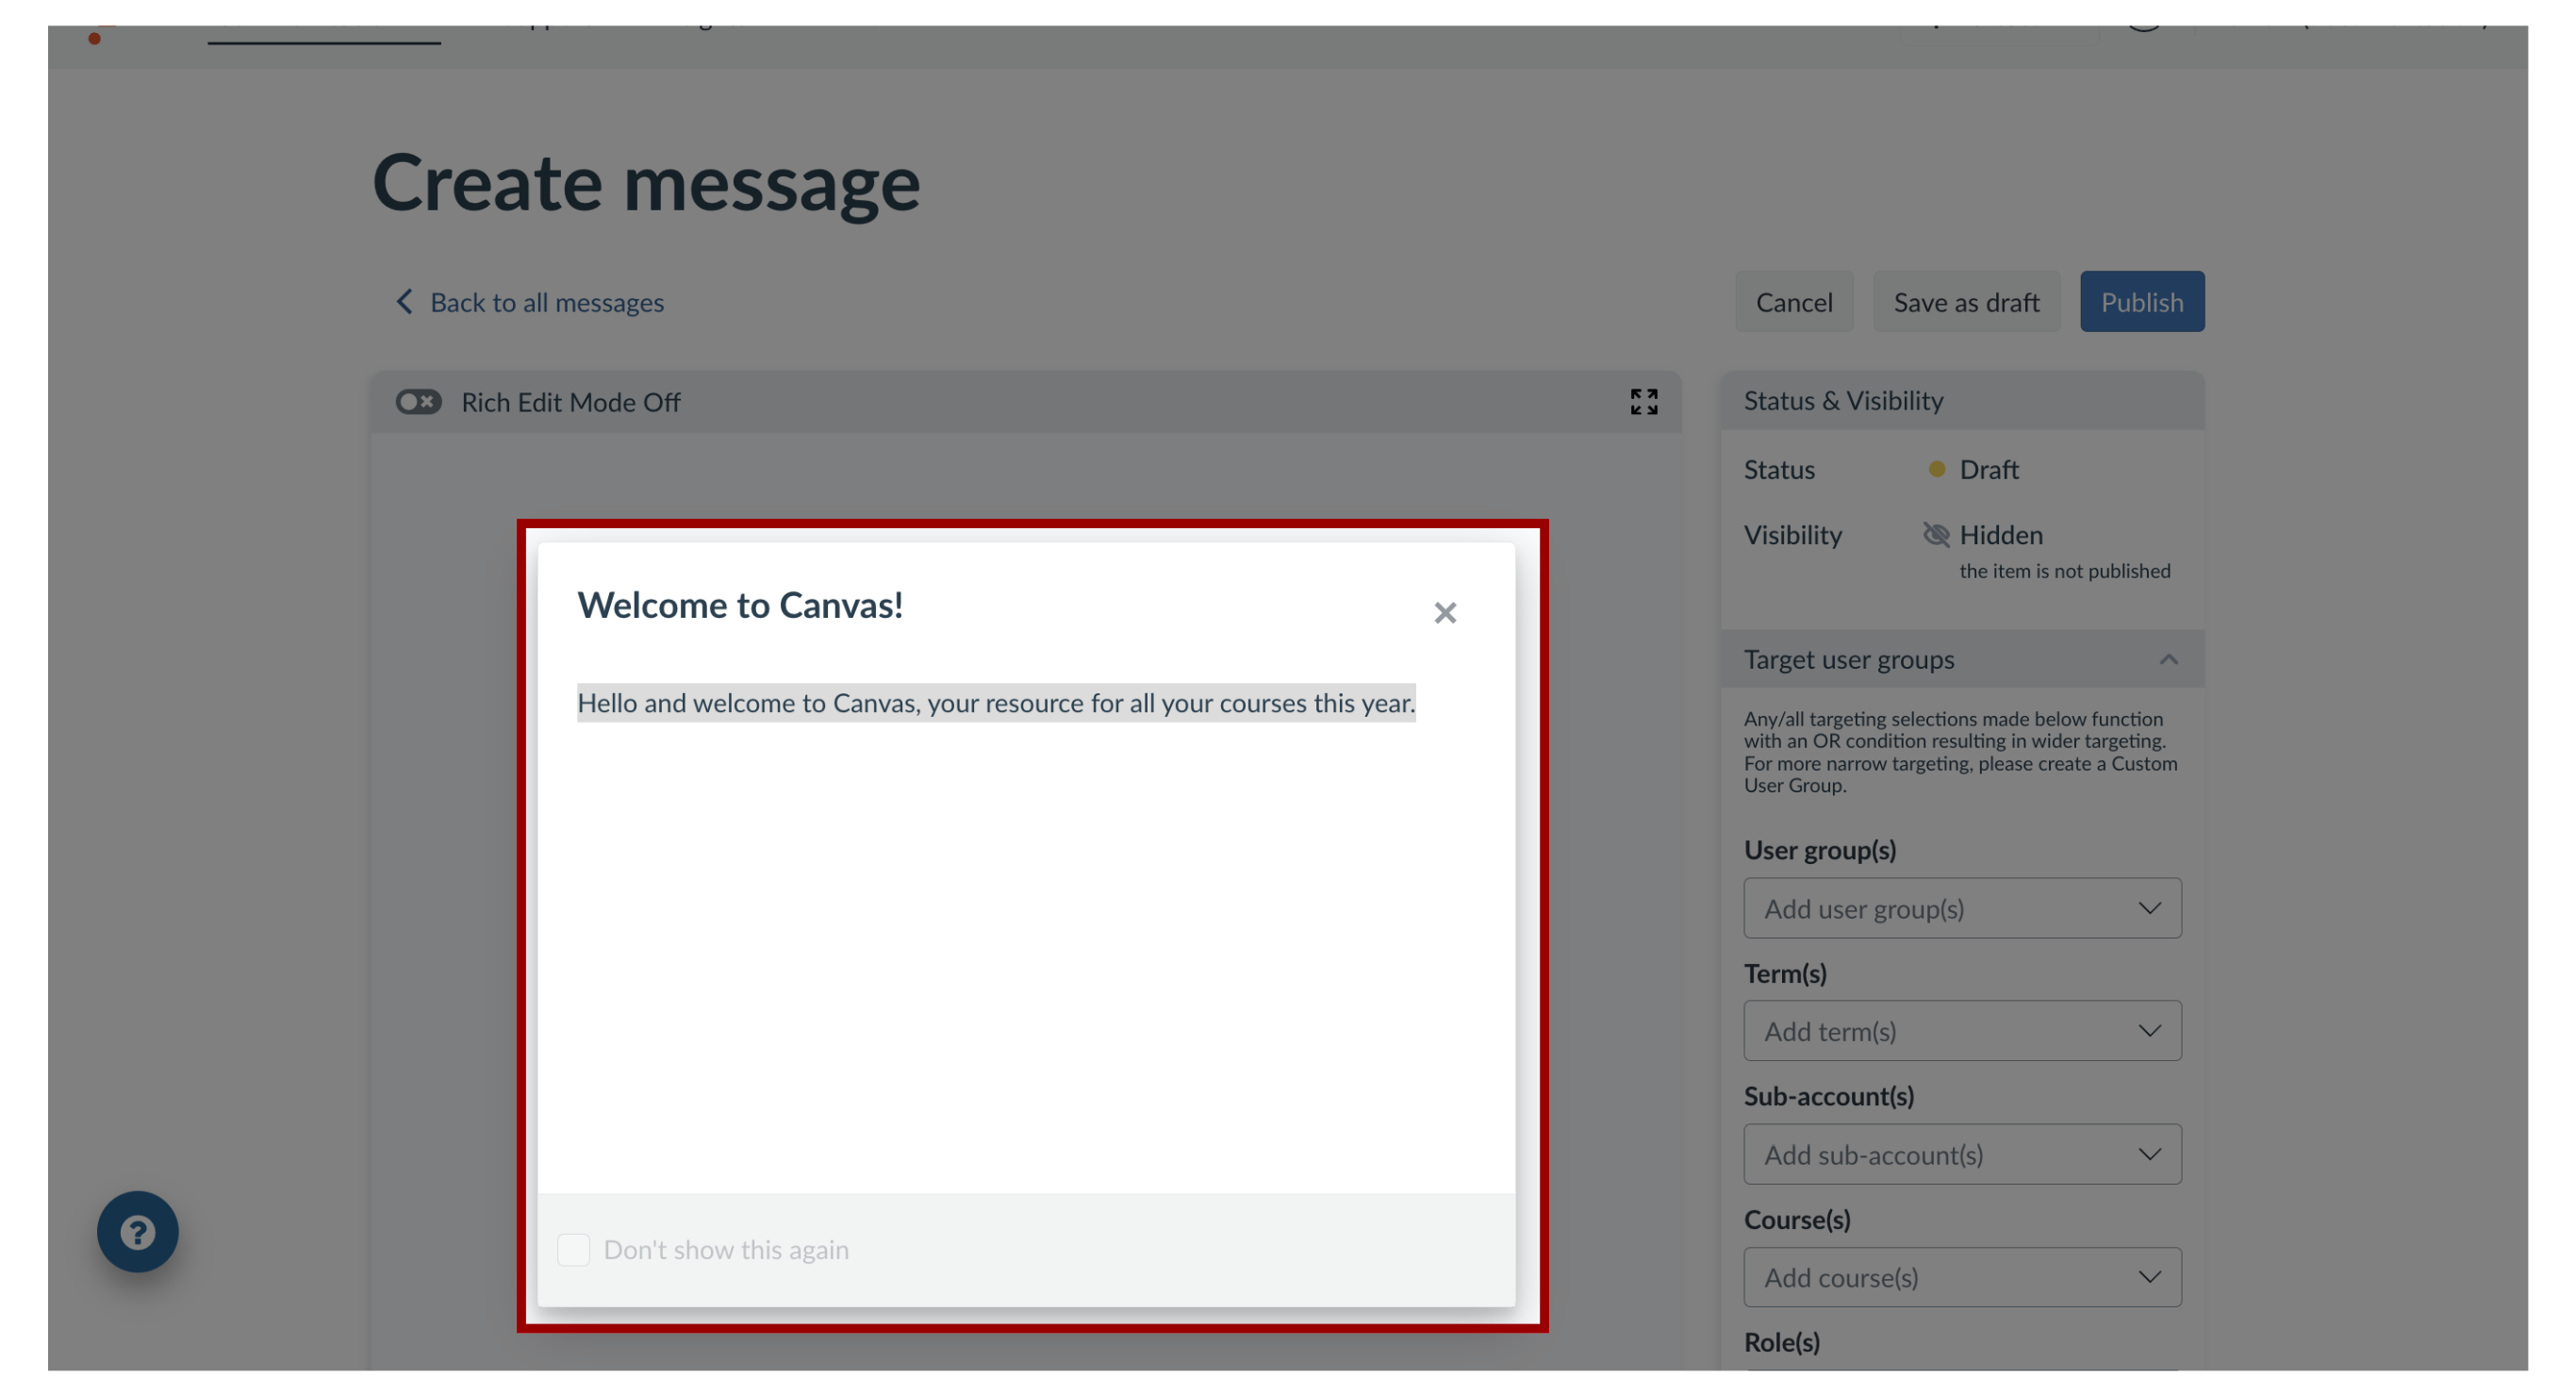
4. Edit Message Content
Messages must have a title and any type of content in the body before you can publish it. Follow the steps below to edit your message content. You can customize the message body content in three ways:
5. Customize Design
6. View Insert Options

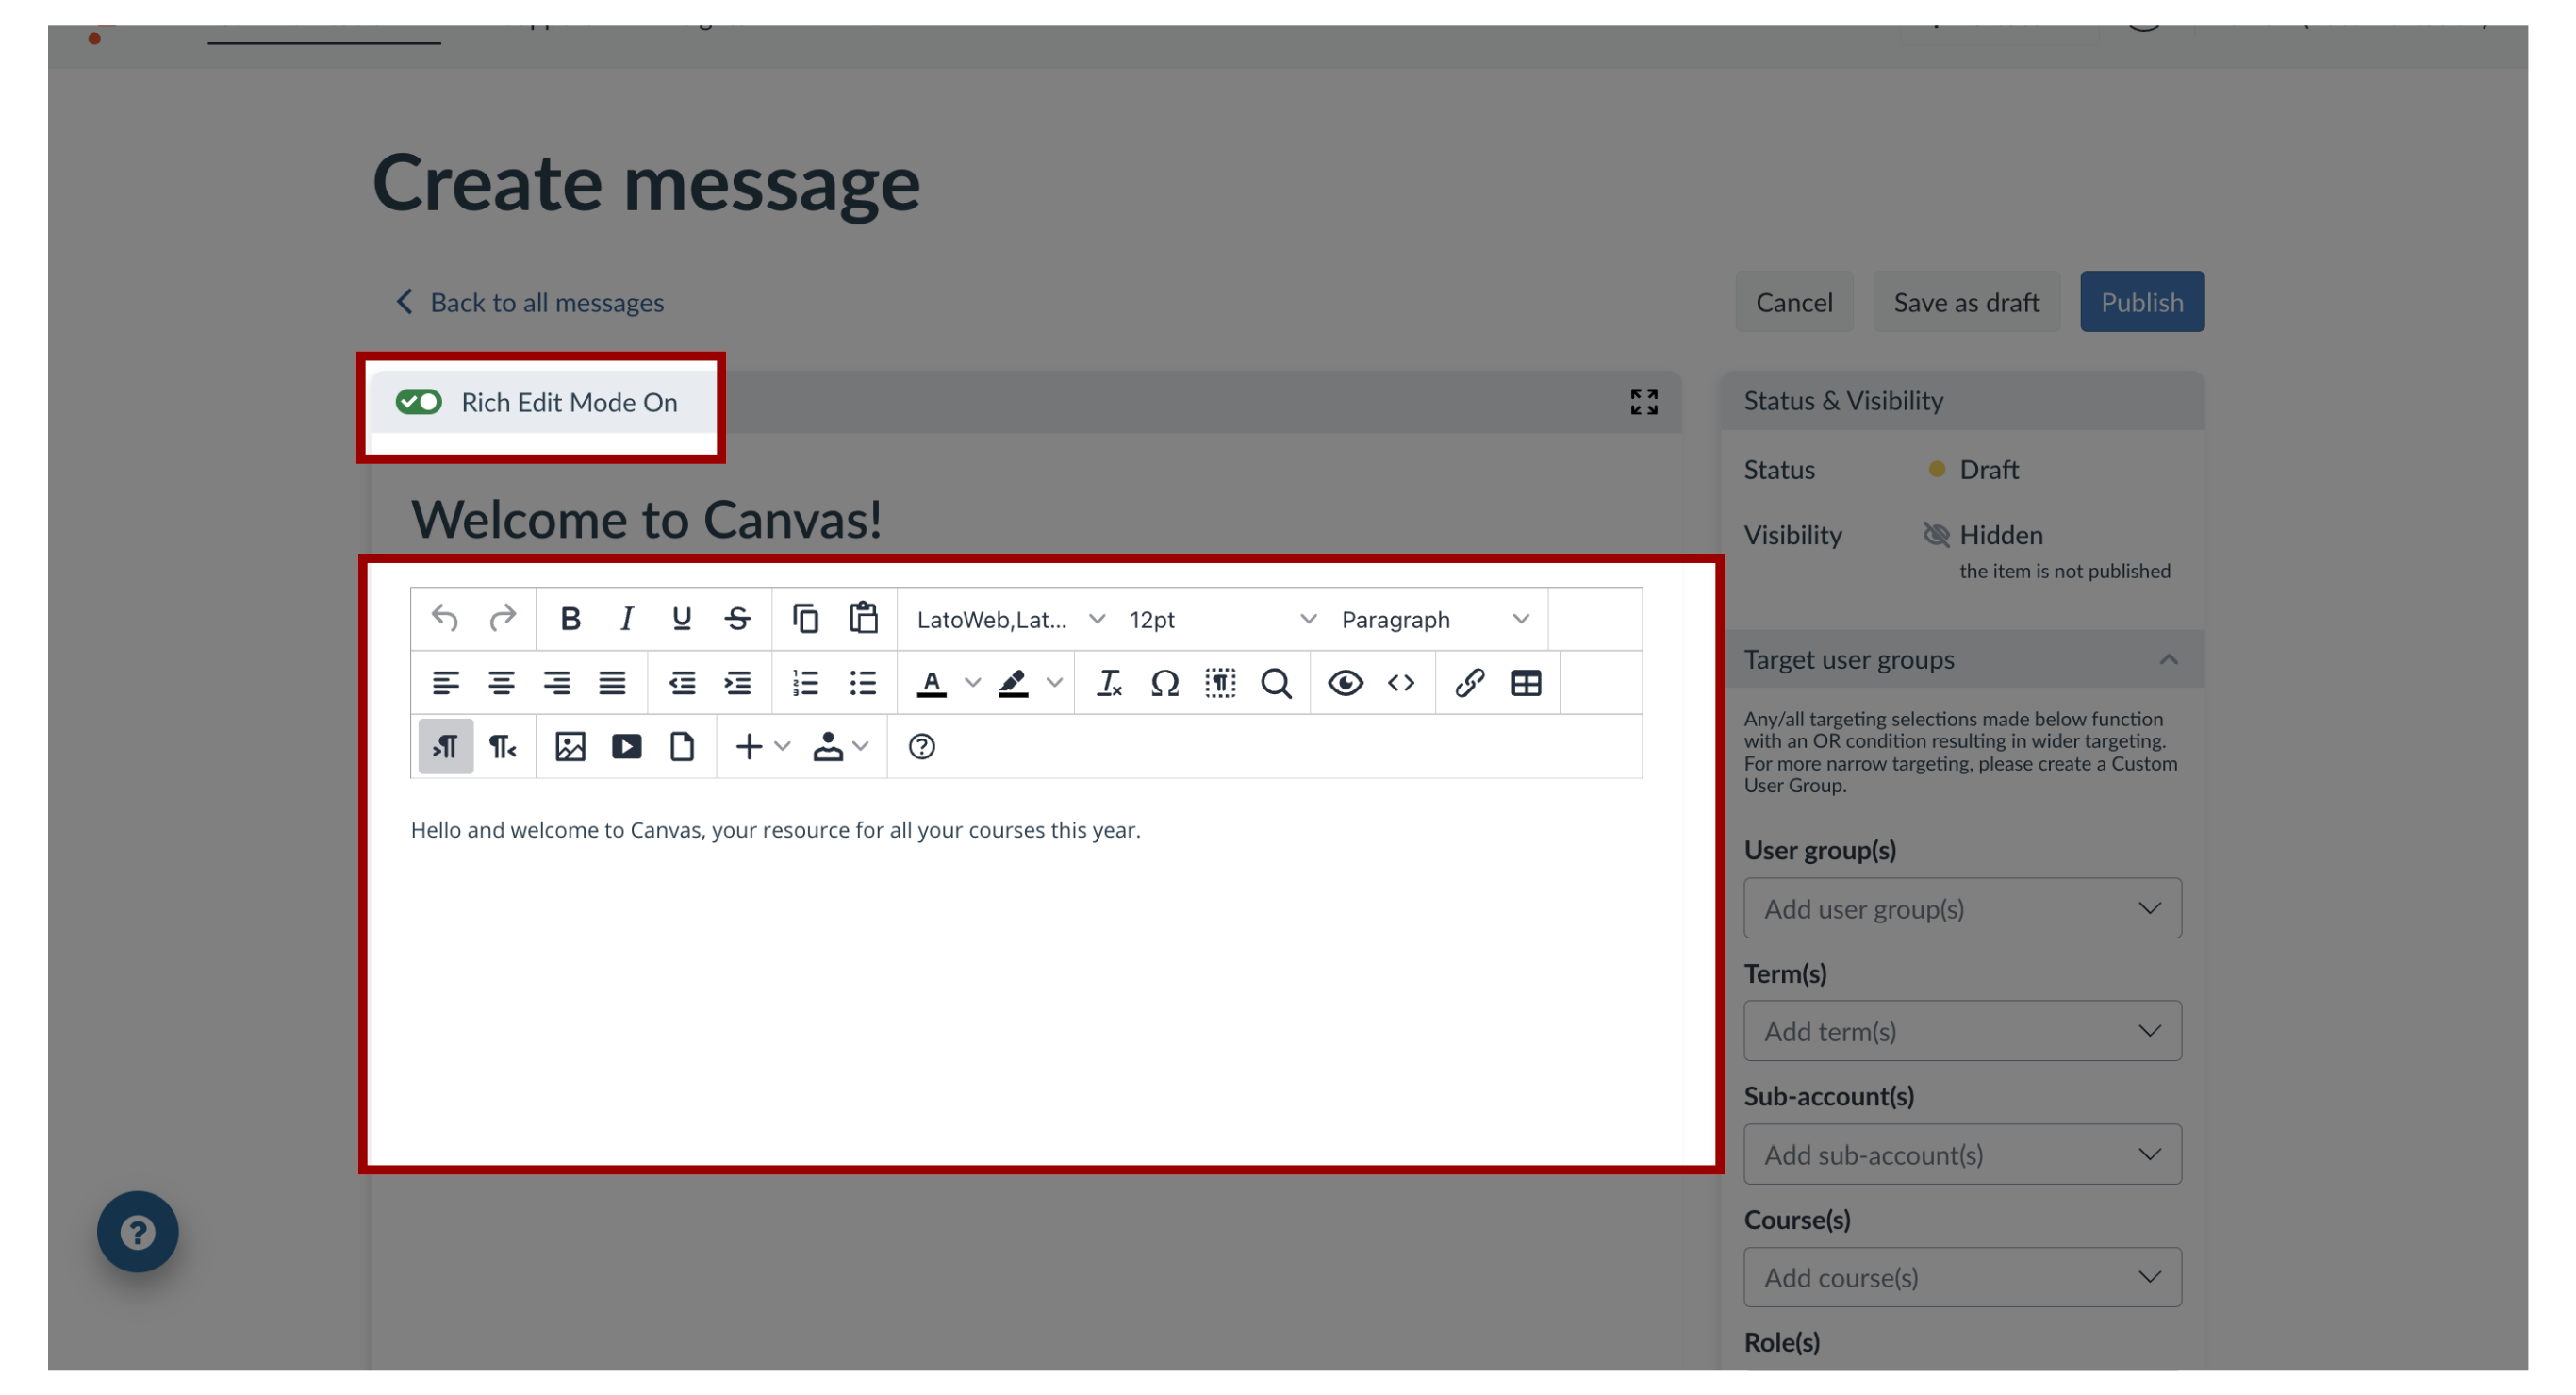
7. Rich Edit Mode
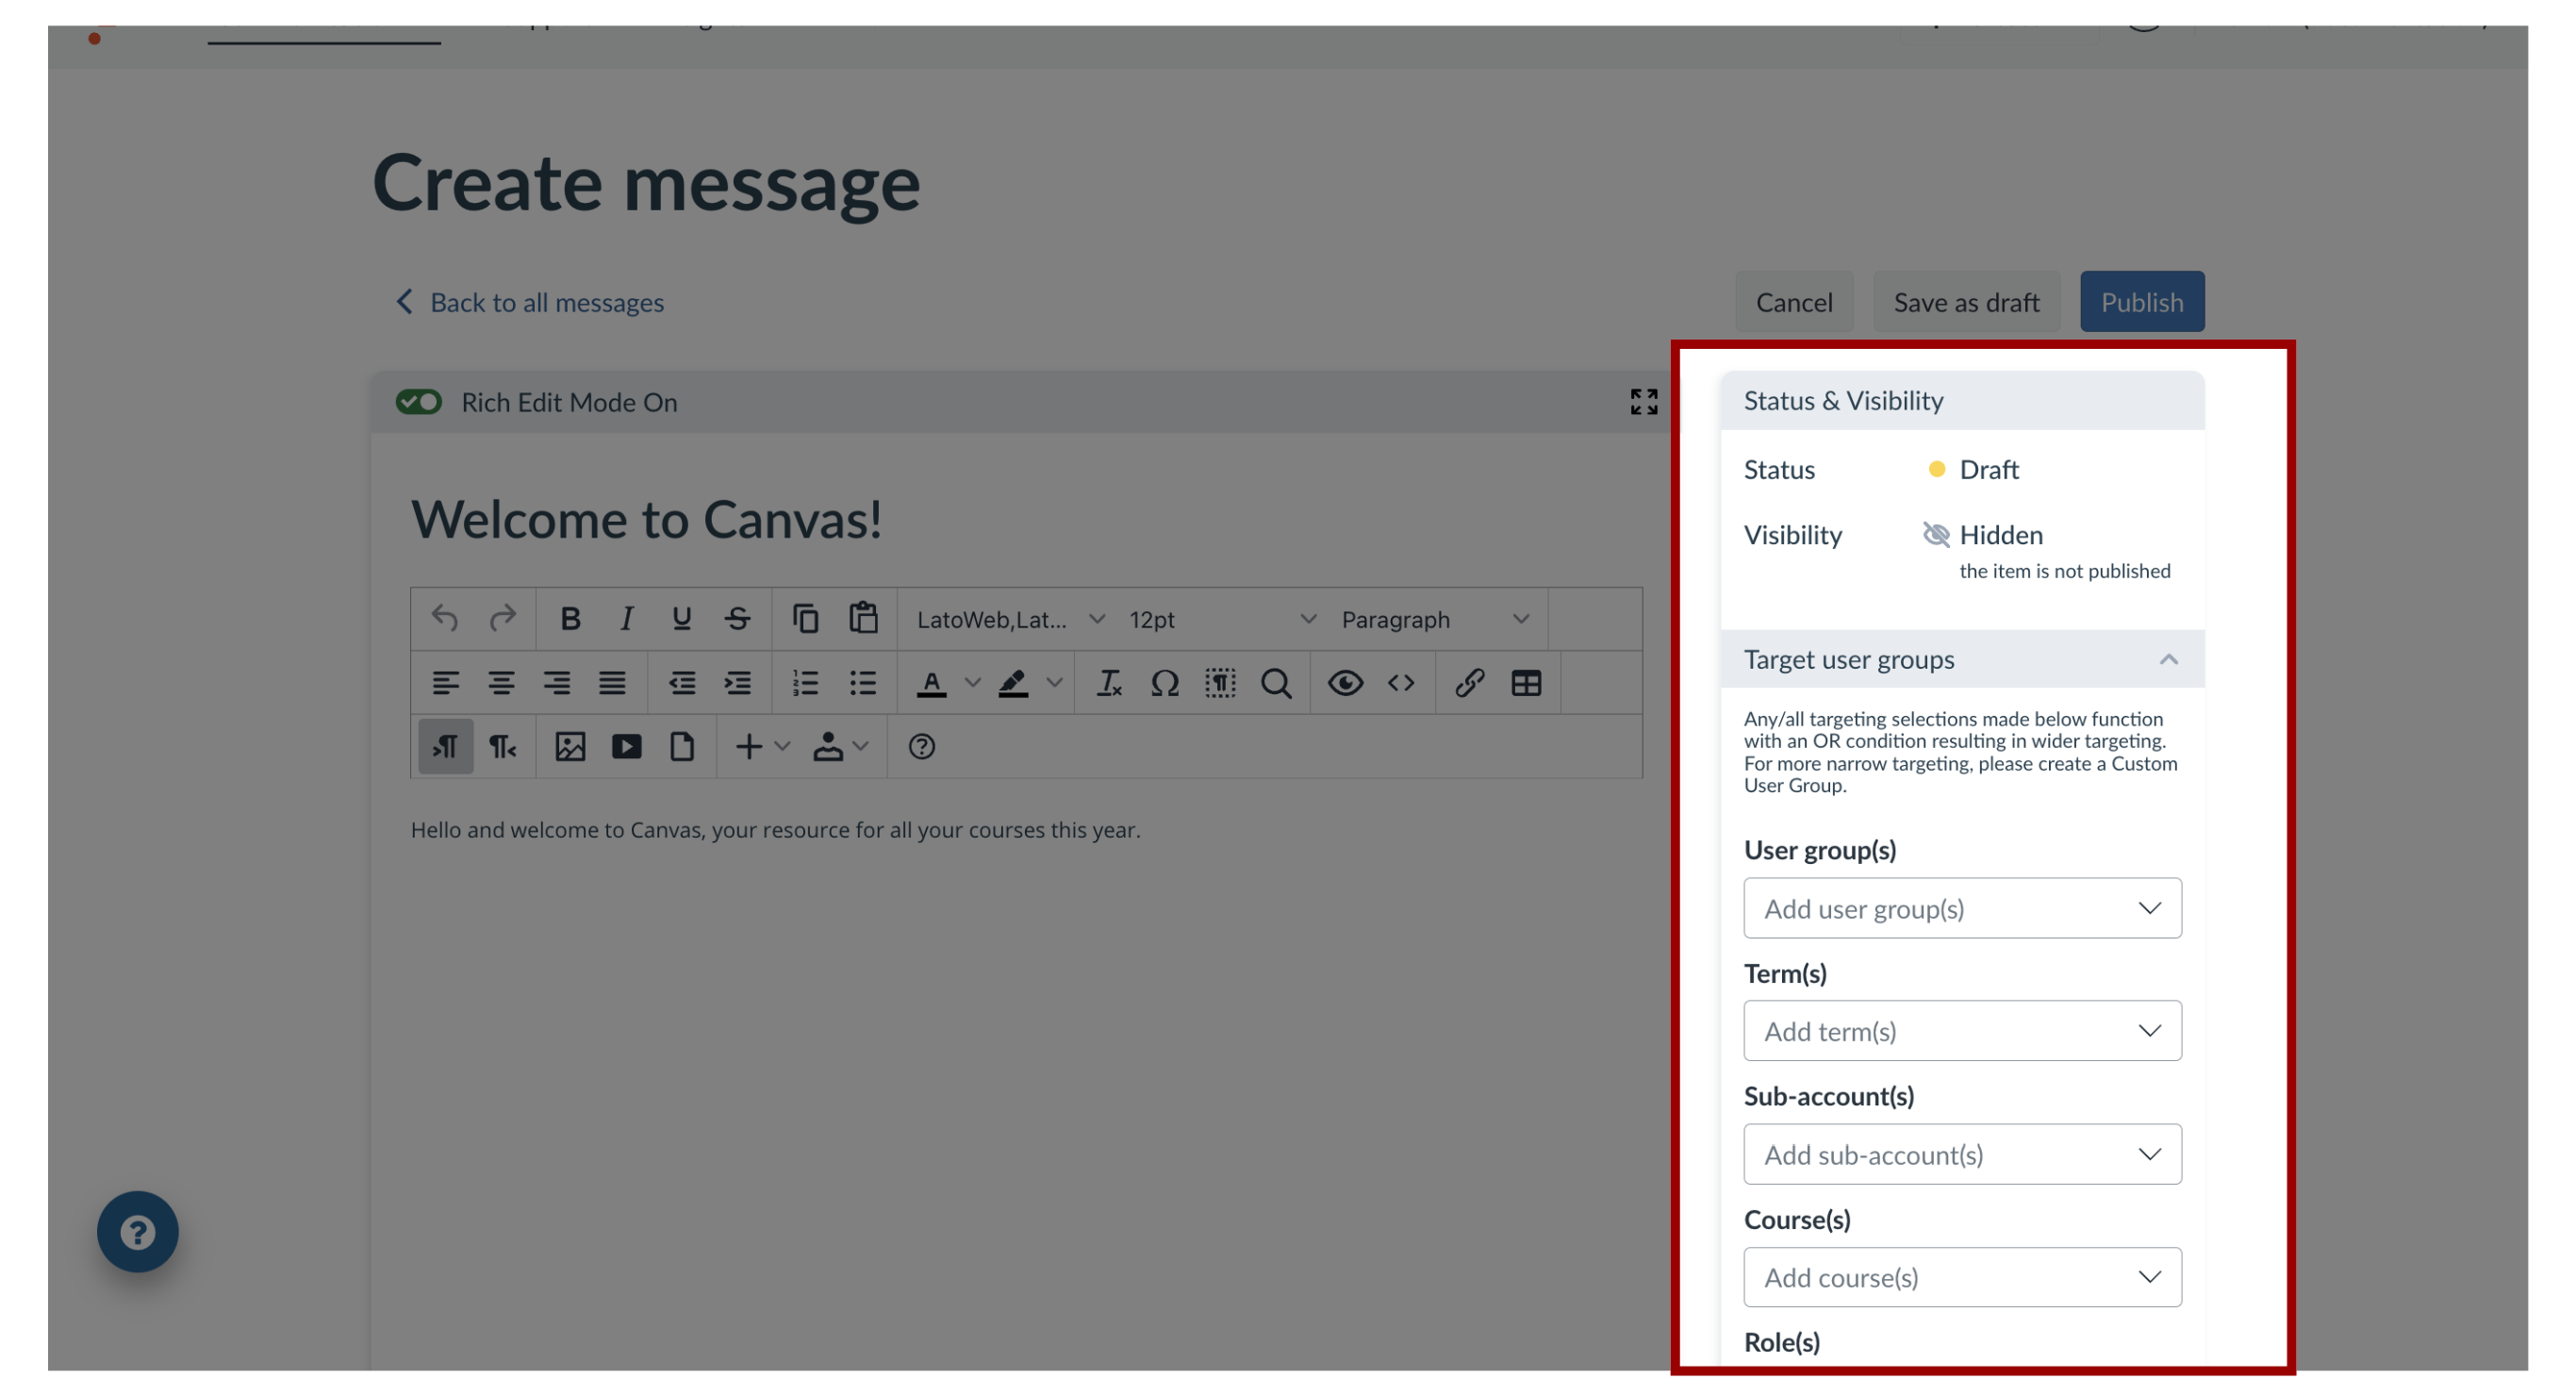
8. Edit Message Settings
9. Publish Message
Now that your message content and settings are all set up, you can continue by the following options:
Publish
Save as Draft: using the Save as Draft button allows you to publish the message another time but save your current changes
Cancel: use the Cancel button to delete your message content and settings or any unsaved changes
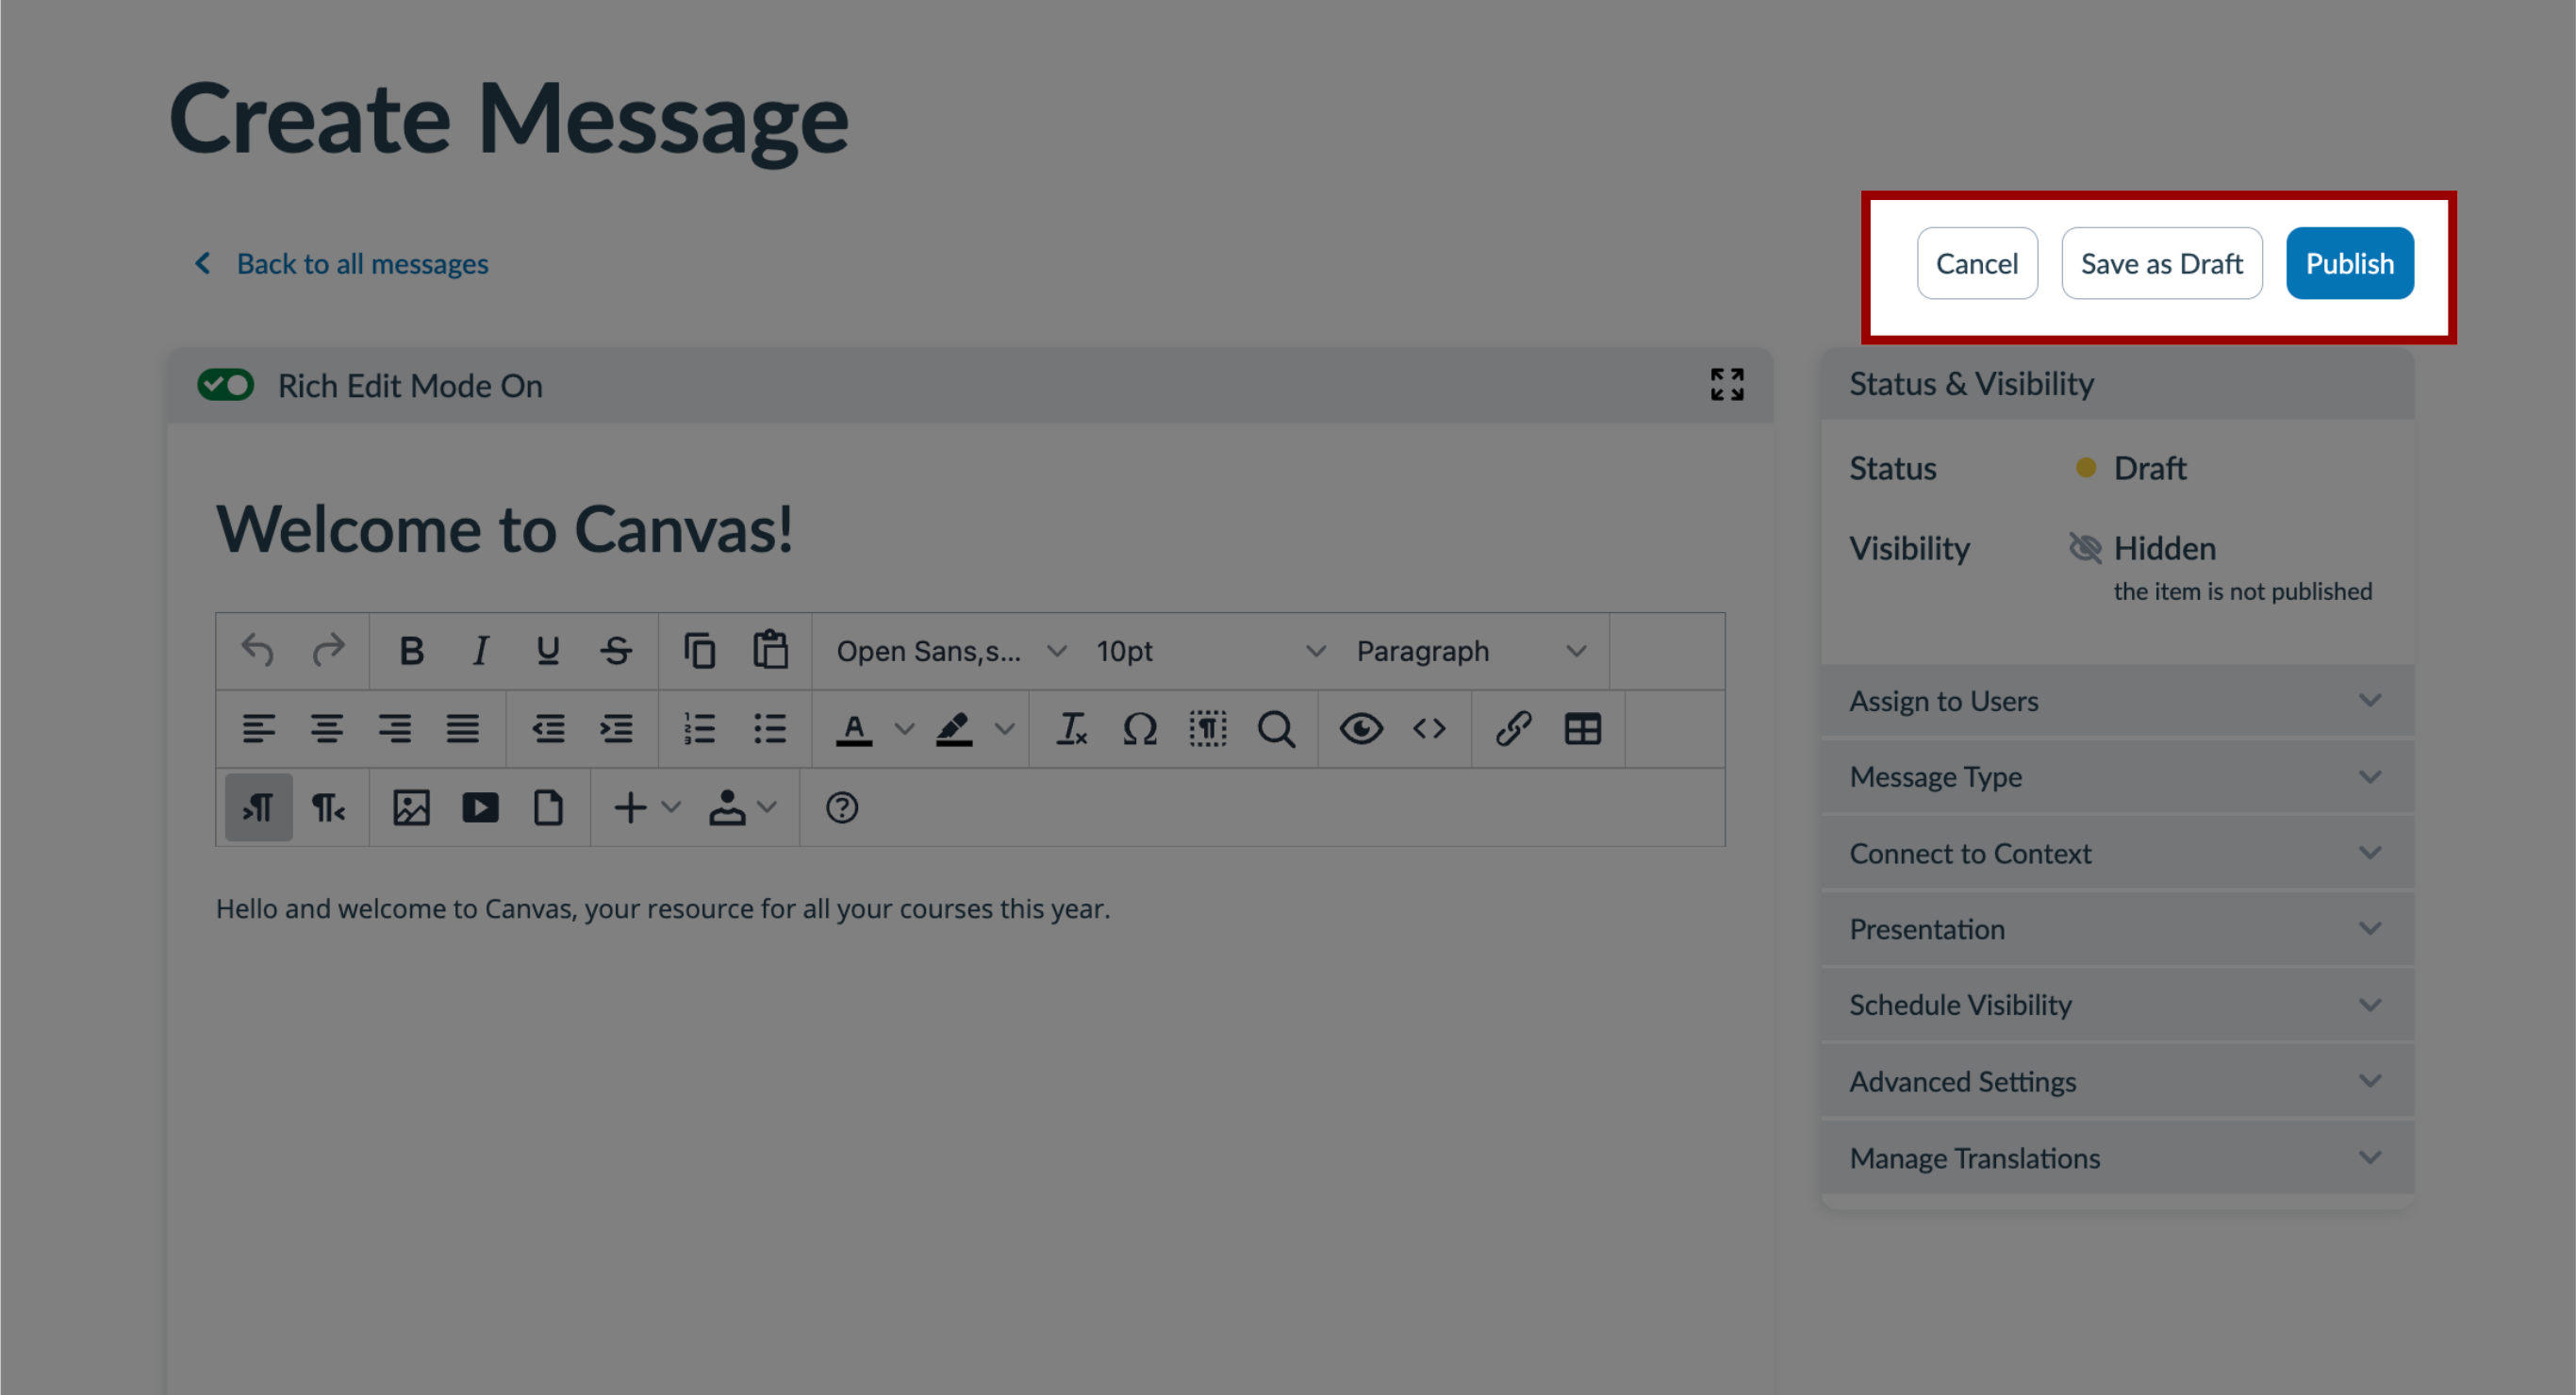
Message Settings Details
| Setting Row | Explanation |
|
Status & Visibility |
This tab always stays open and shows you the current state of your message. This area shows you:
|
|
Assign to Users |
This tab allows you to manage which users your message is targeted at. You can target your message to any specific user, user group, courses, terms, subaccounts or previously created campaign. Note: You must assign a user before publishing a message. |
|
Message Type |
The message type setting allows you to change how your message is displayed in your learning application. Impact allows you to present your messages in three ways:
|
|
Connect to Context |
Connecting your message to a context defines where in your learning application the message is presented. Contexts can be specific pages or specific elements on pages. You can connect your message to multiple contexts. Note: You must connect your message to a context before publishing the message. |
|
Presentation |
The Presentation tab allows you to adjust the styling of your message. You can adjust:
|
|
Schedule Visibility |
Scheduling the visibility of your message enables you to select a start date/time and end date/time during which your message is displayed in your learning application. When the end date and time is reached, the message is automatically hidden. Note: You still need to assign a user and a connect context for messages to be visible in your learning environment. |
|
Advanced Settings |
This tab enables you to modify the following additional fields that can help you with message categorization and bulk actions:
|
|
Translations |
In the Manage Translations tab, you can create multiple versions of your messages in different languages. If the language is marked with an X icon, the translation for that language has not yet been created. Simple toggle between languages by clicking on the names of the languages shown. |
