How do I use Blackboard Release campaign templates in the Impact Dashboard?
The Impact monthly release campaign templates allow you to easily inform your users about any updates or changes Blackboard has made, in a timely manner. This article shows you how to successfully use these campaign templates as a draft, customize them to your institution’s needs, and start the campaign.
How do I use Blackboard Release campaign templates in the Impact Dashboard?
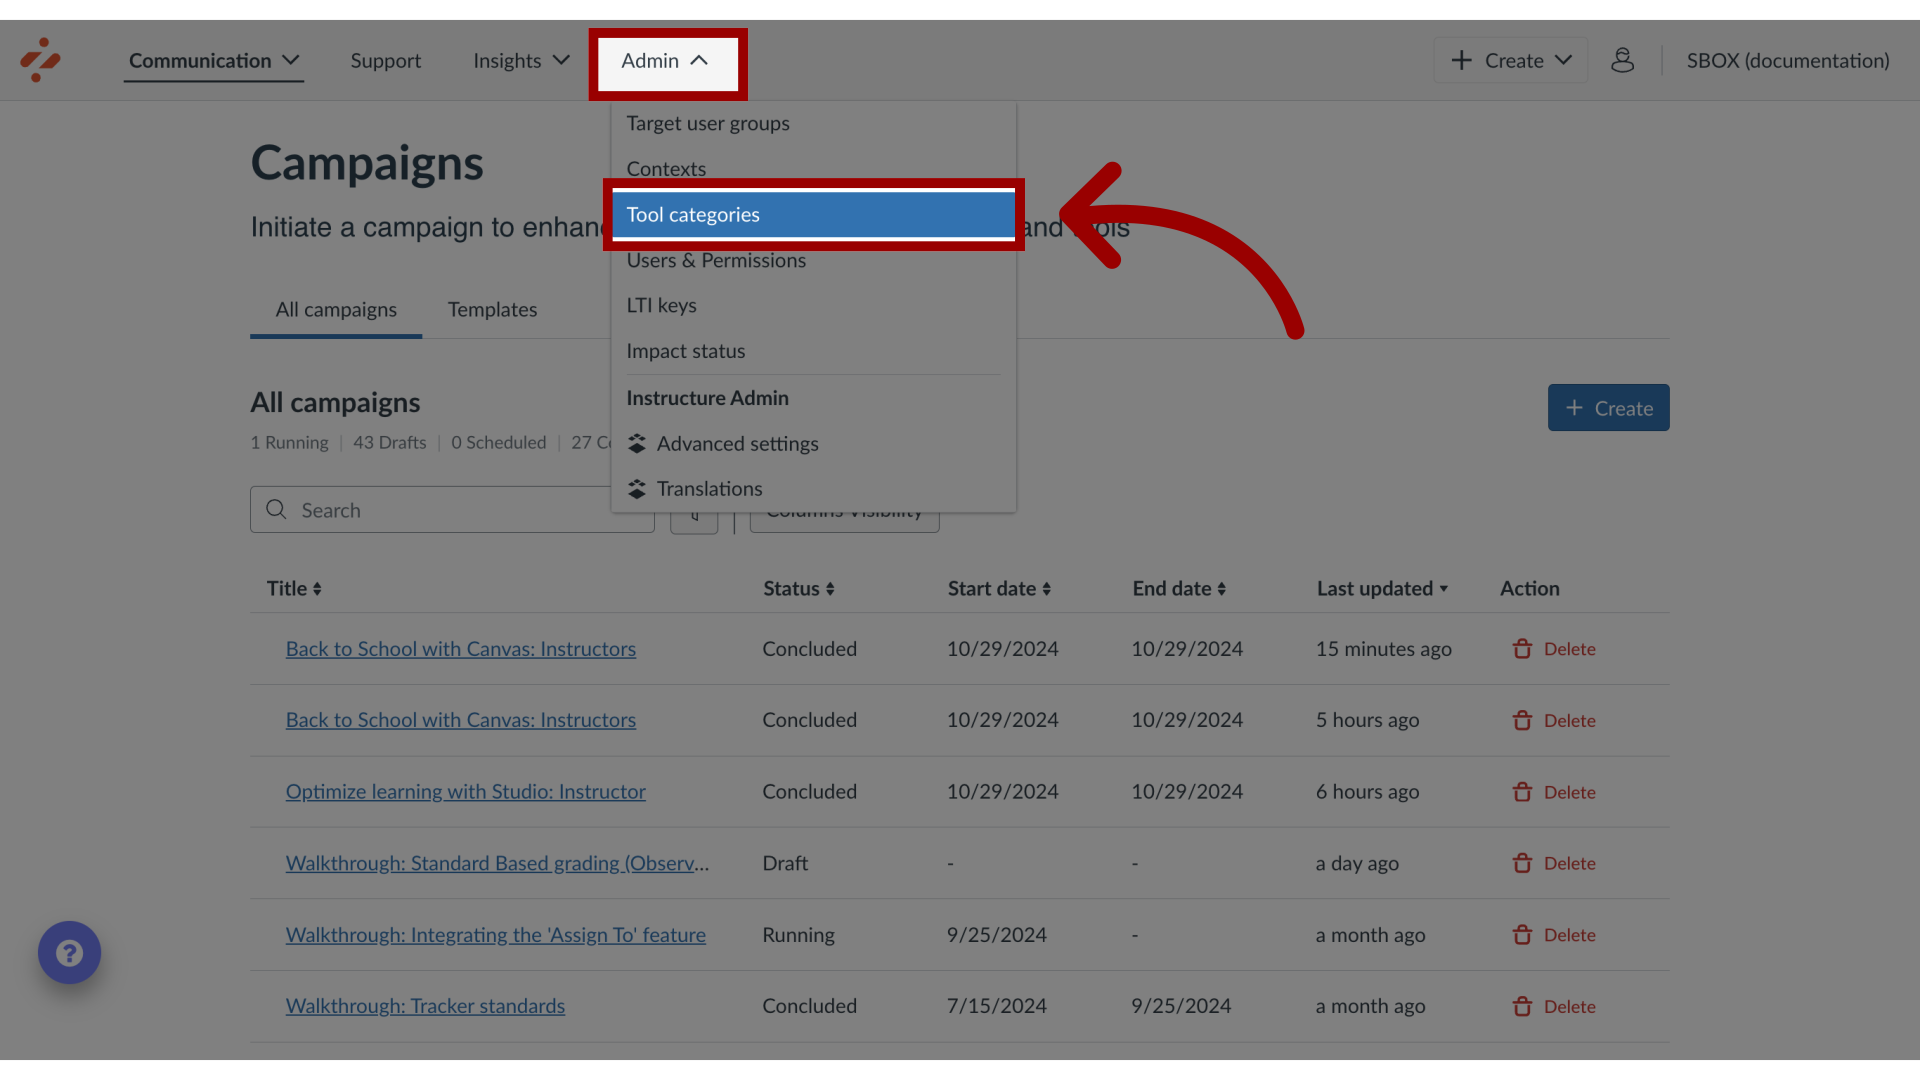
1. Open Tool Categories
In Global Navigation, click the Admin dropdown menu. Then click the Tool Categories link.
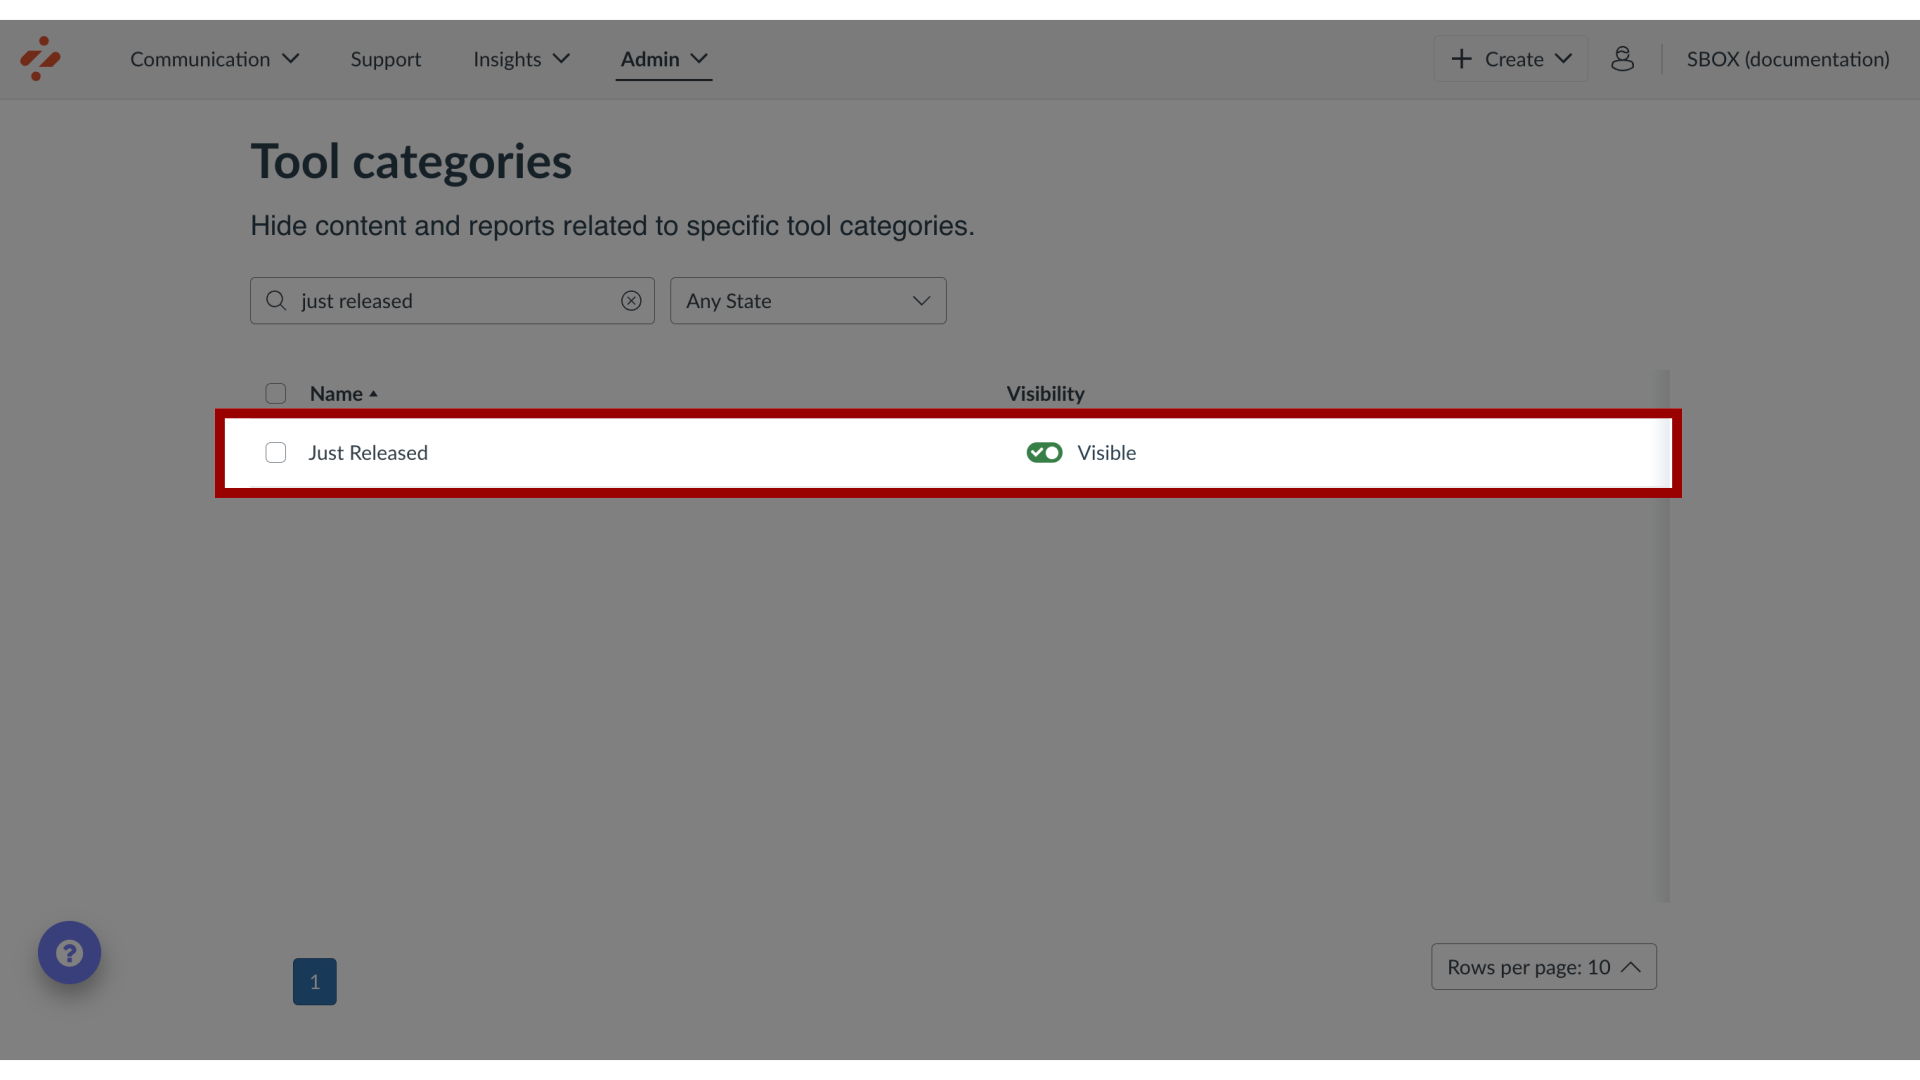
2. Enable Just Released Category
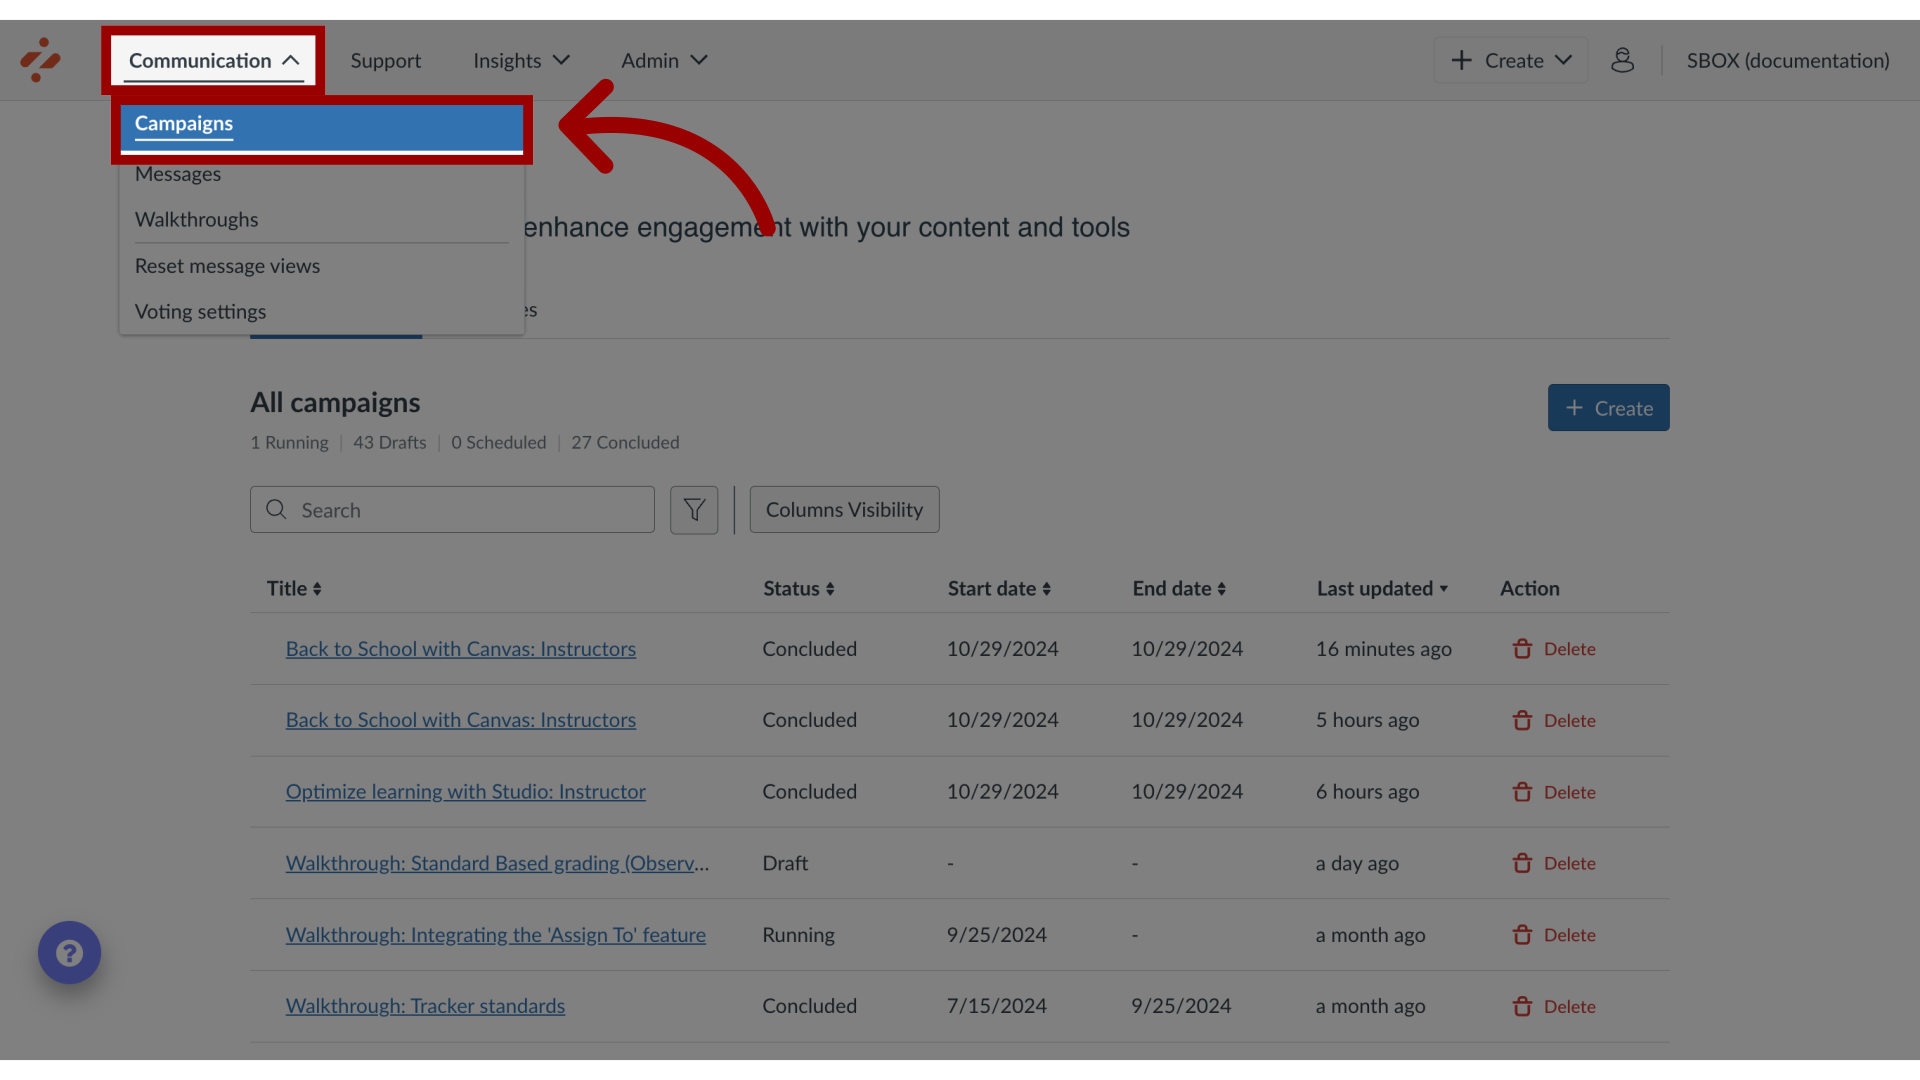
3. Open Campaigns
In the Global Navigation, click the Communication dropdown menu. Then click the Campaigns link.
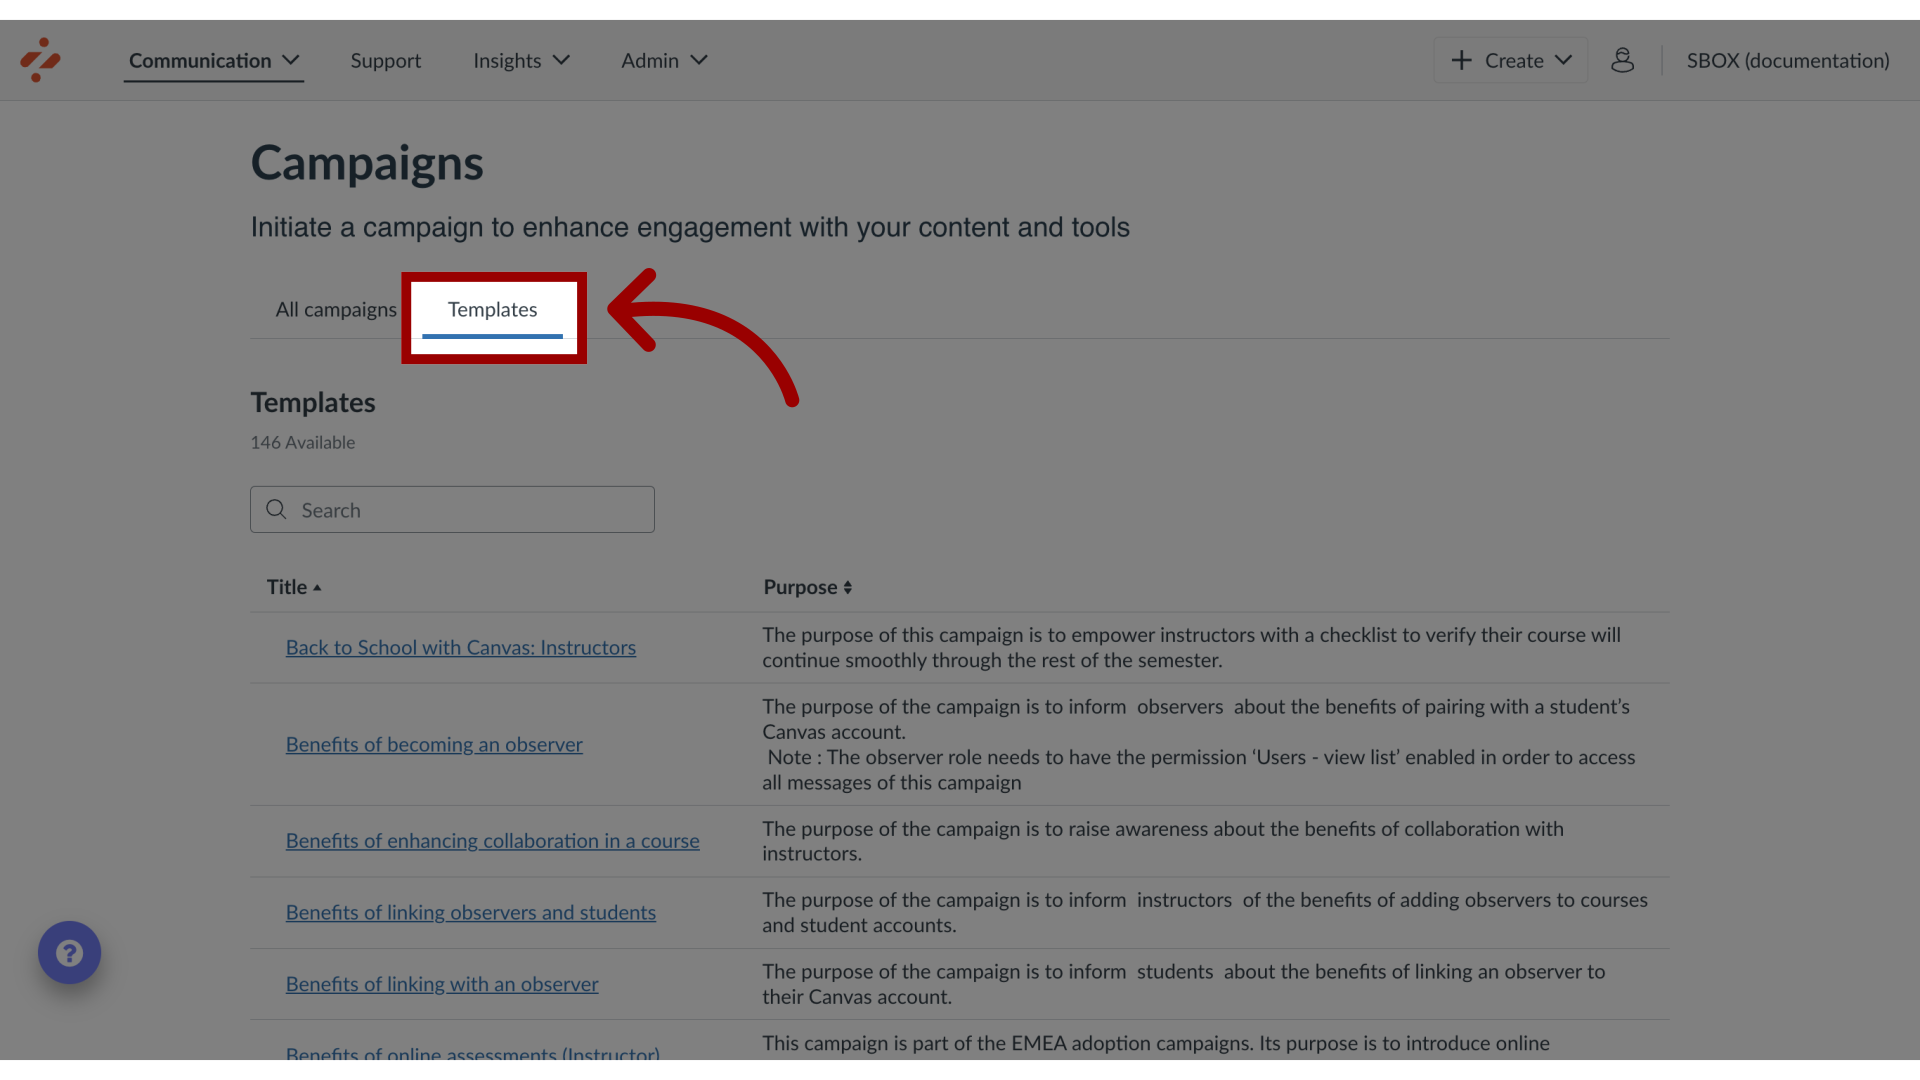
4. Open Templates
Click the Templates tab.
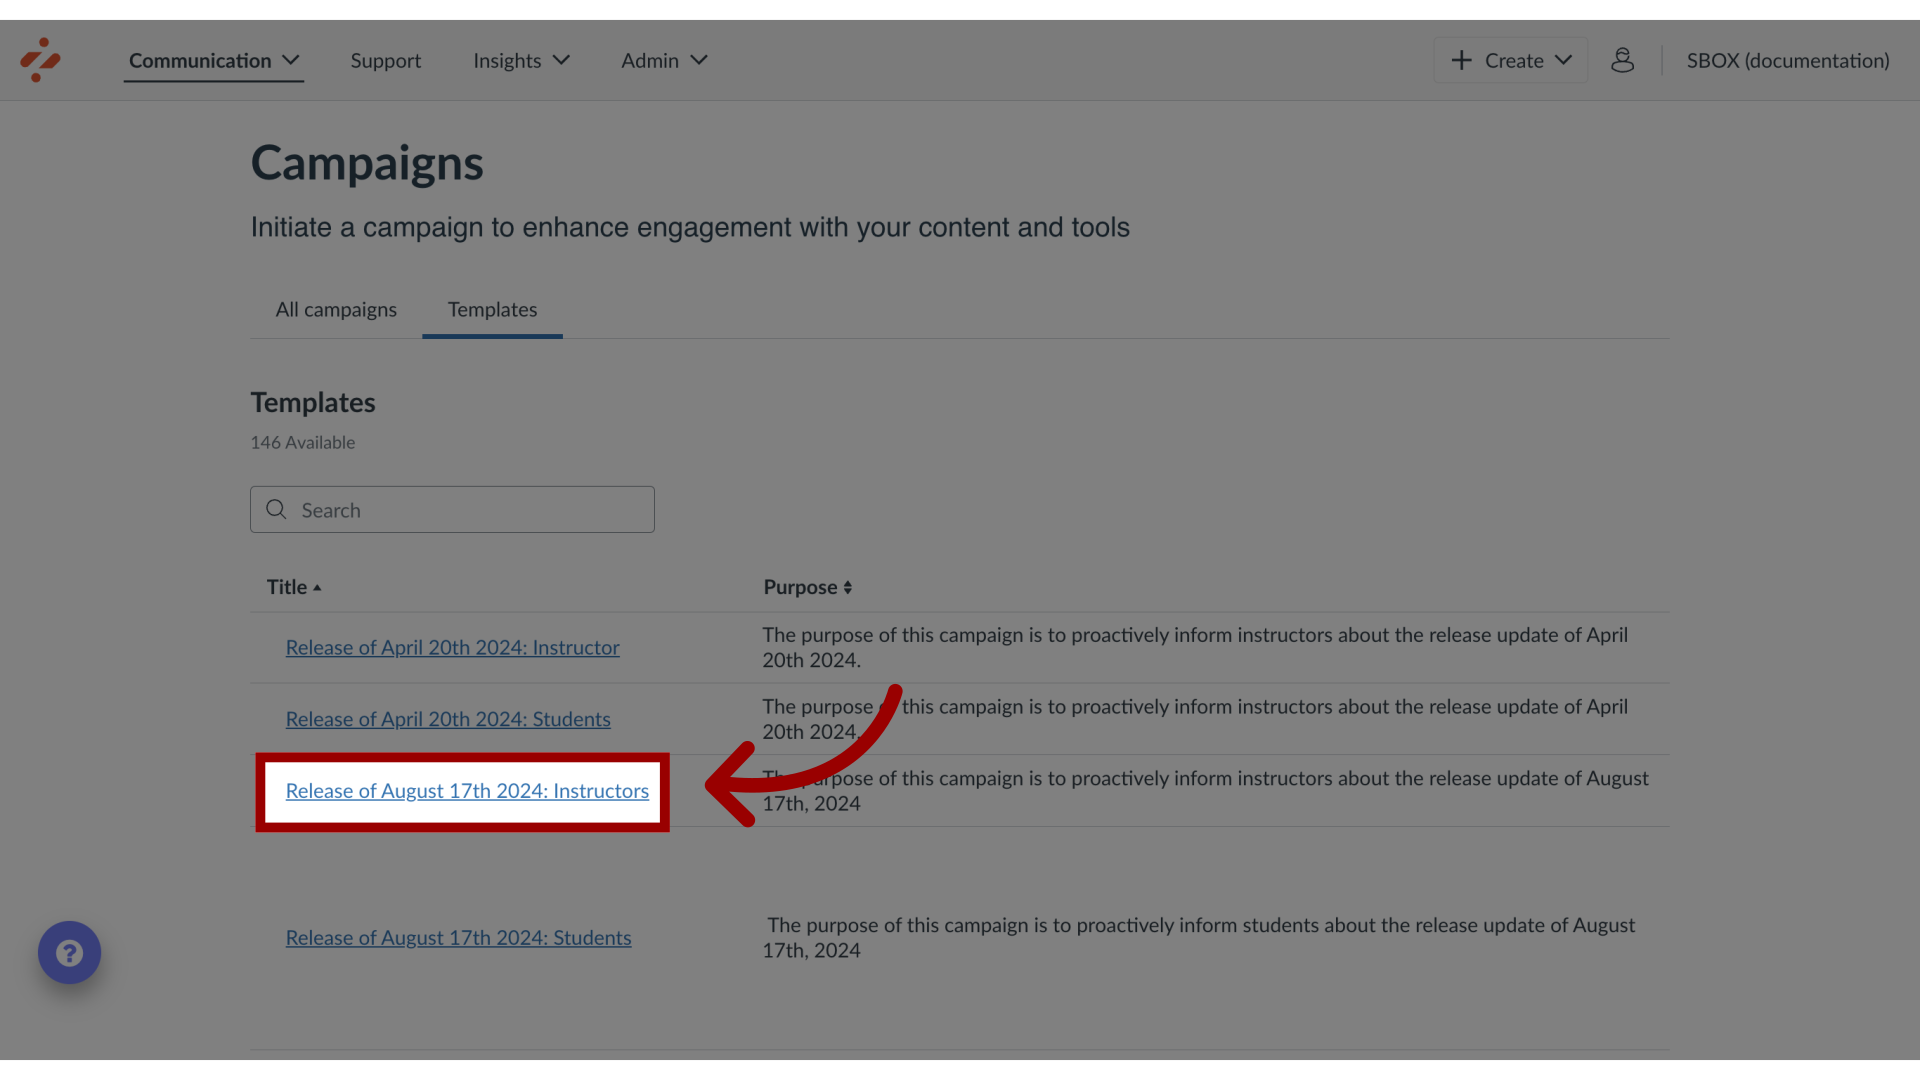
5. Open Template
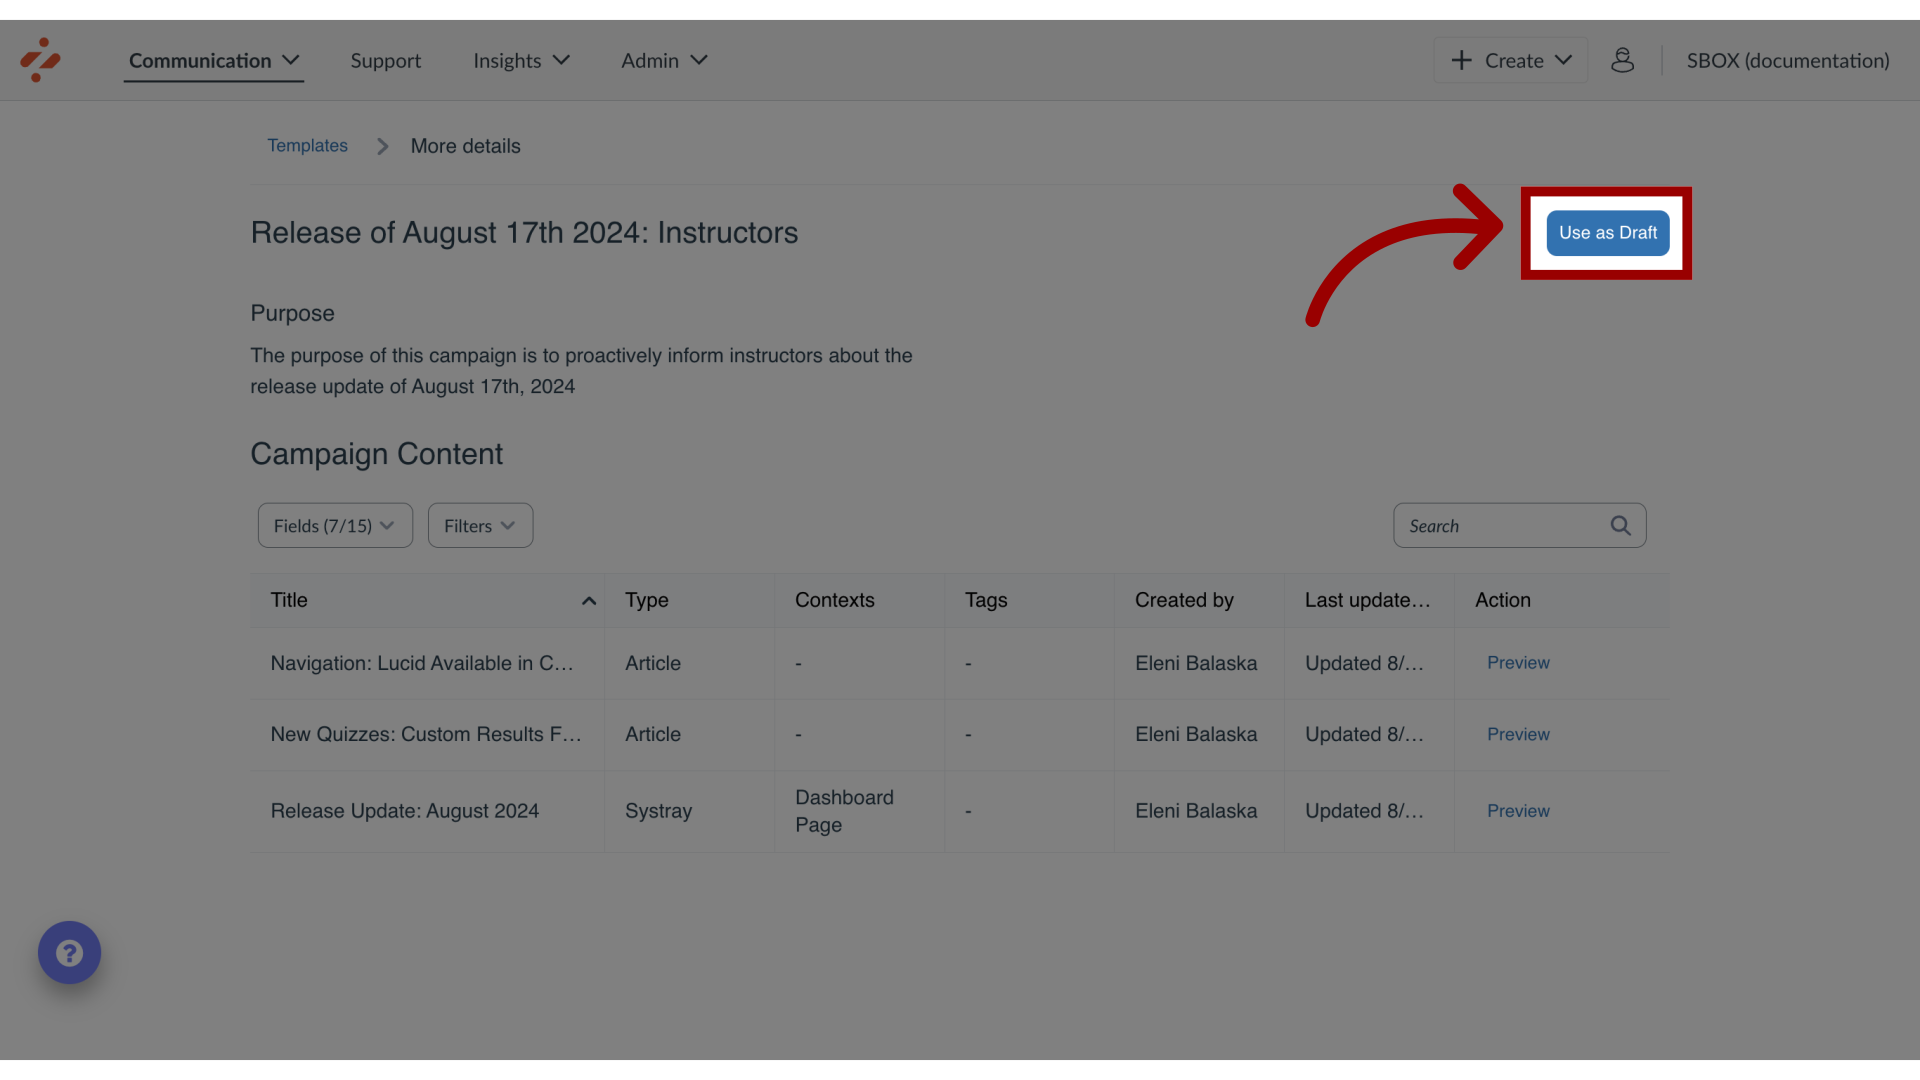
6. Use as Draft
Click the Use as Draft button. The campaign is now visible on your list of campaigns in the All Campaigns tab, but it is not active yet. You need to customize and start the campaign.
Note(s):
Depending on the contents of the release, there may be separate campaigns for students and instructors.
If the content of the release is the same for both user groups or only applicable to one set of users, only one campaign will be available.
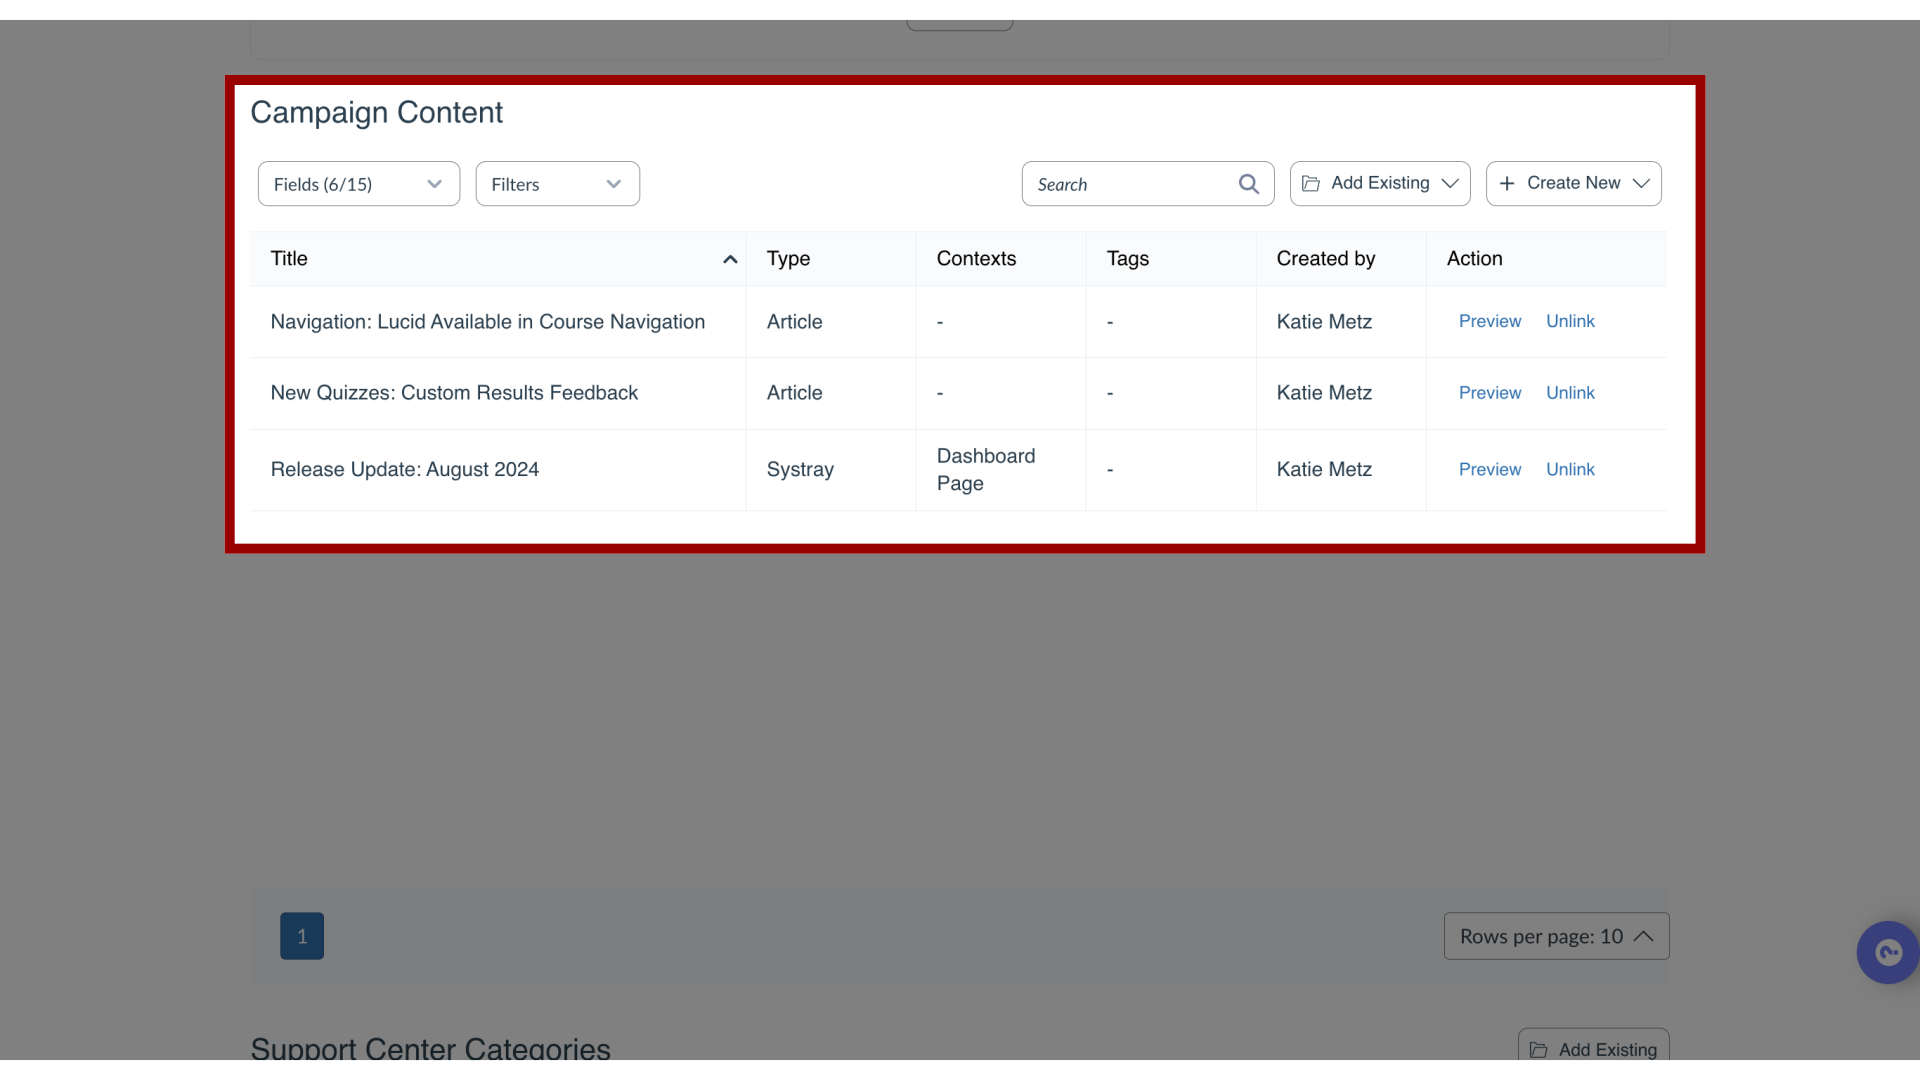
7. Review Campaign Content
Now that you have the campaign template in the list of your campaigns, you can use it as a draft. Tailor all the campaign content and configurations to fit your institution’s needs before starting the campaign.
Open the campaign and scroll down to see the Campaign Content section. Only the items that correspond with your LMS will be visible once the campaign starts.
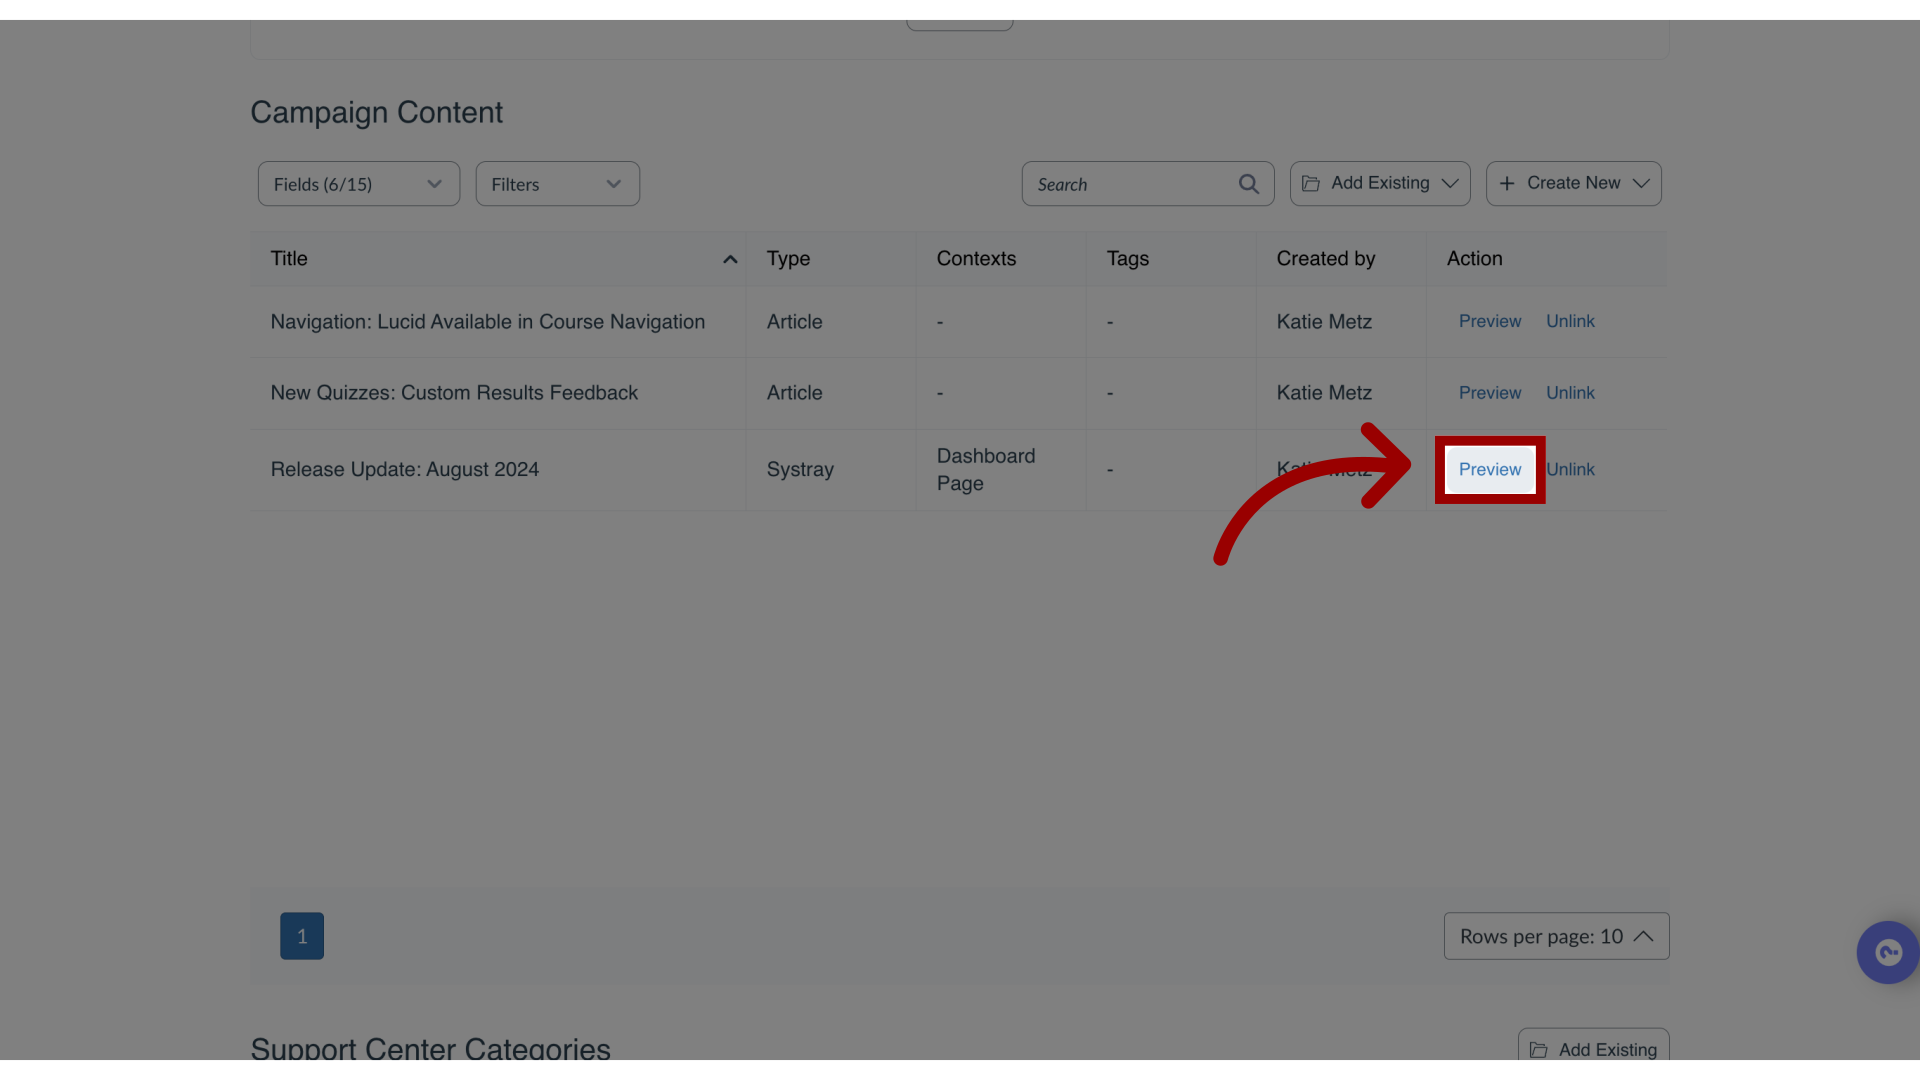
8. Preview Content
To preview the campaign contents, click the Preview button.
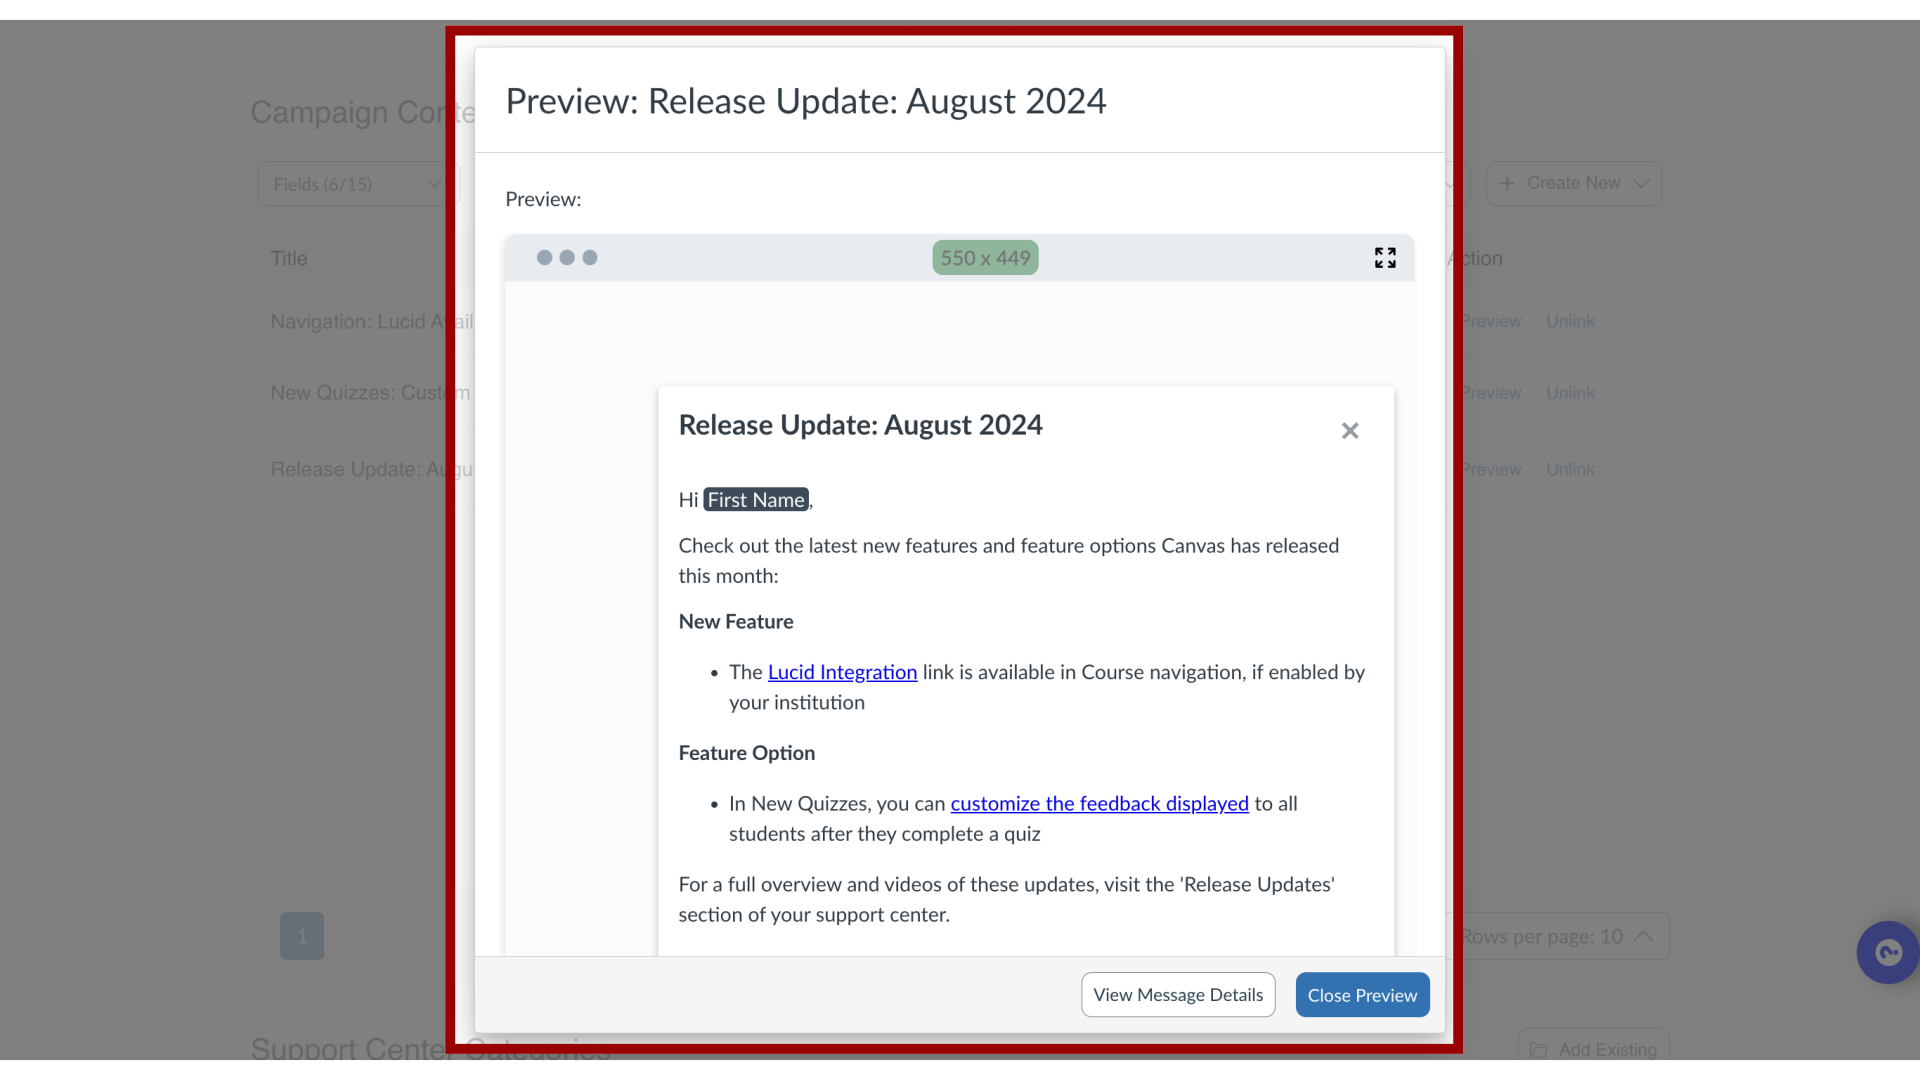
9. Preview Content
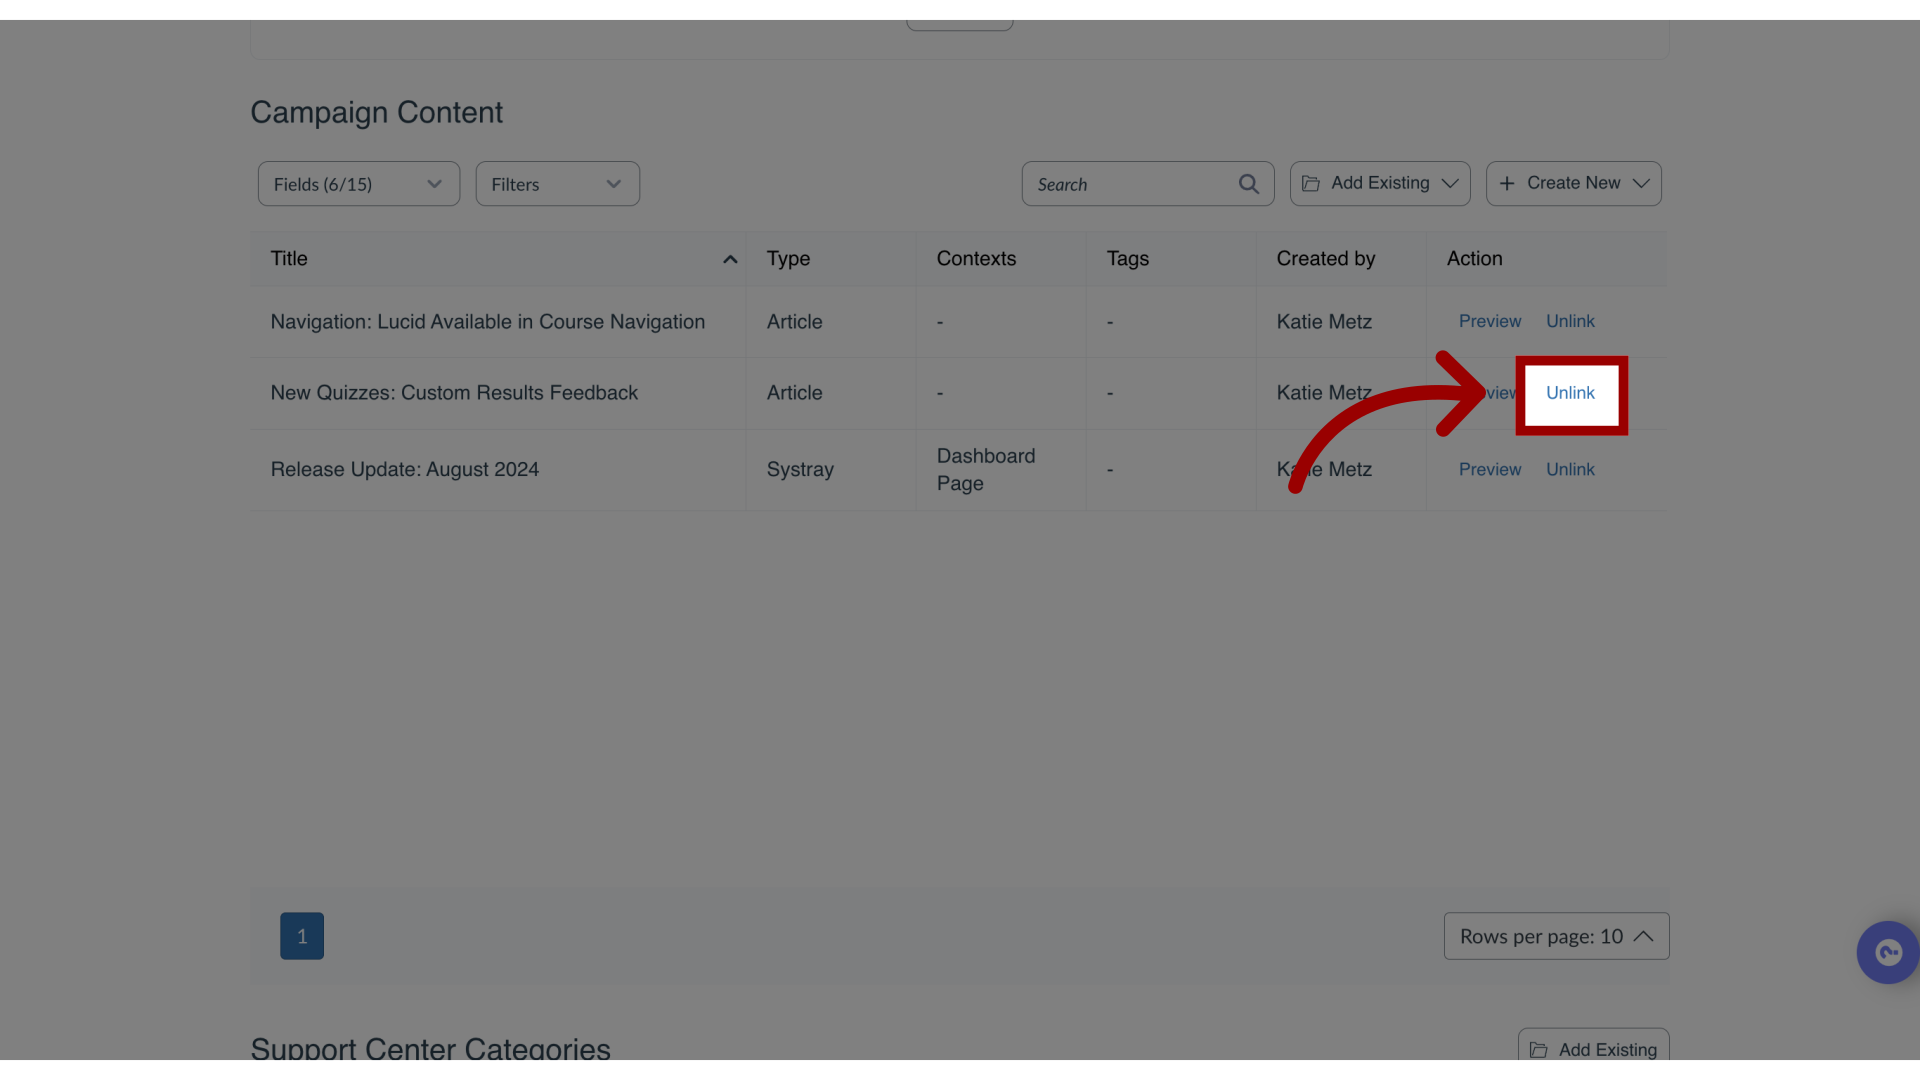
10. Remove from Campaign
If any of the messages, walkthroughs, or articles are not applicable to your institution, click the Unlink button.
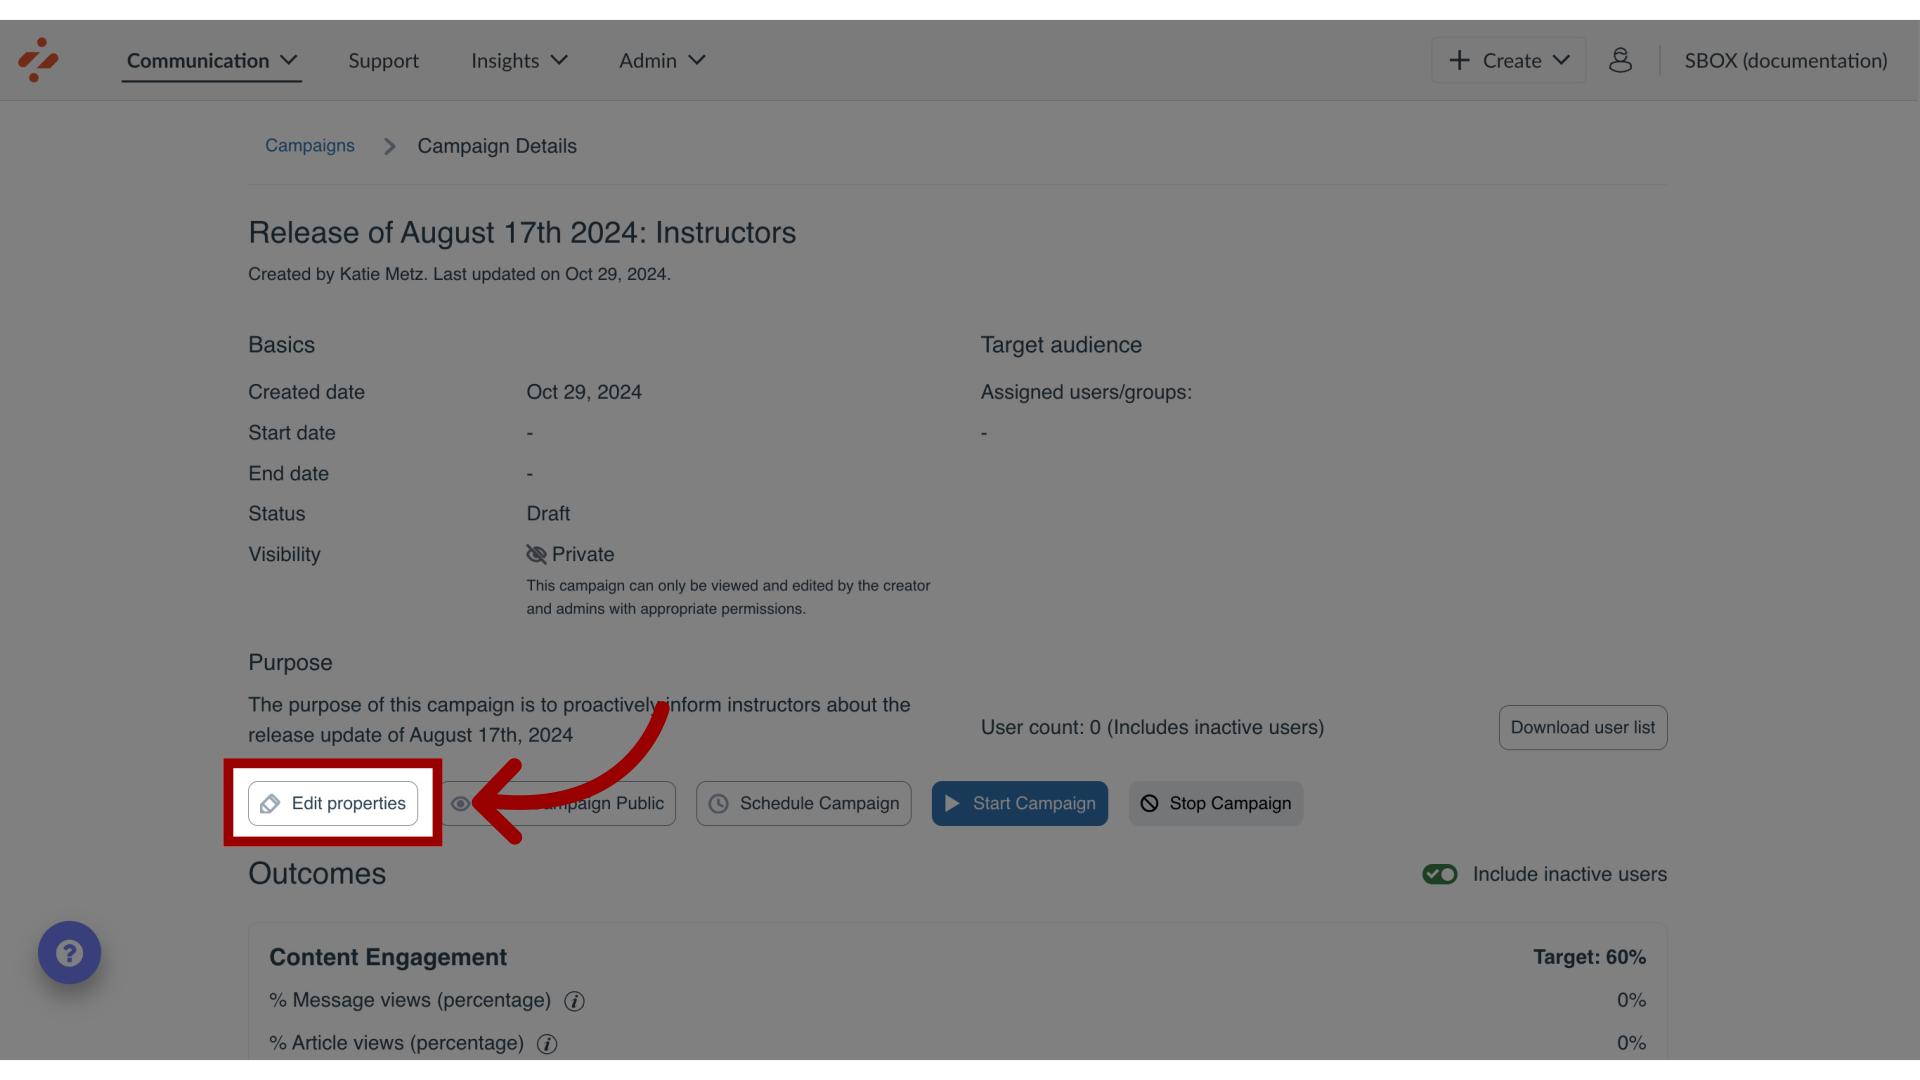
11. Activate Campaign
Once you have added the campaign template you can make sure you are happy with the content before you activate or schedule it. Once you’re happy with the content of the campaign, click the Edit Properties button.
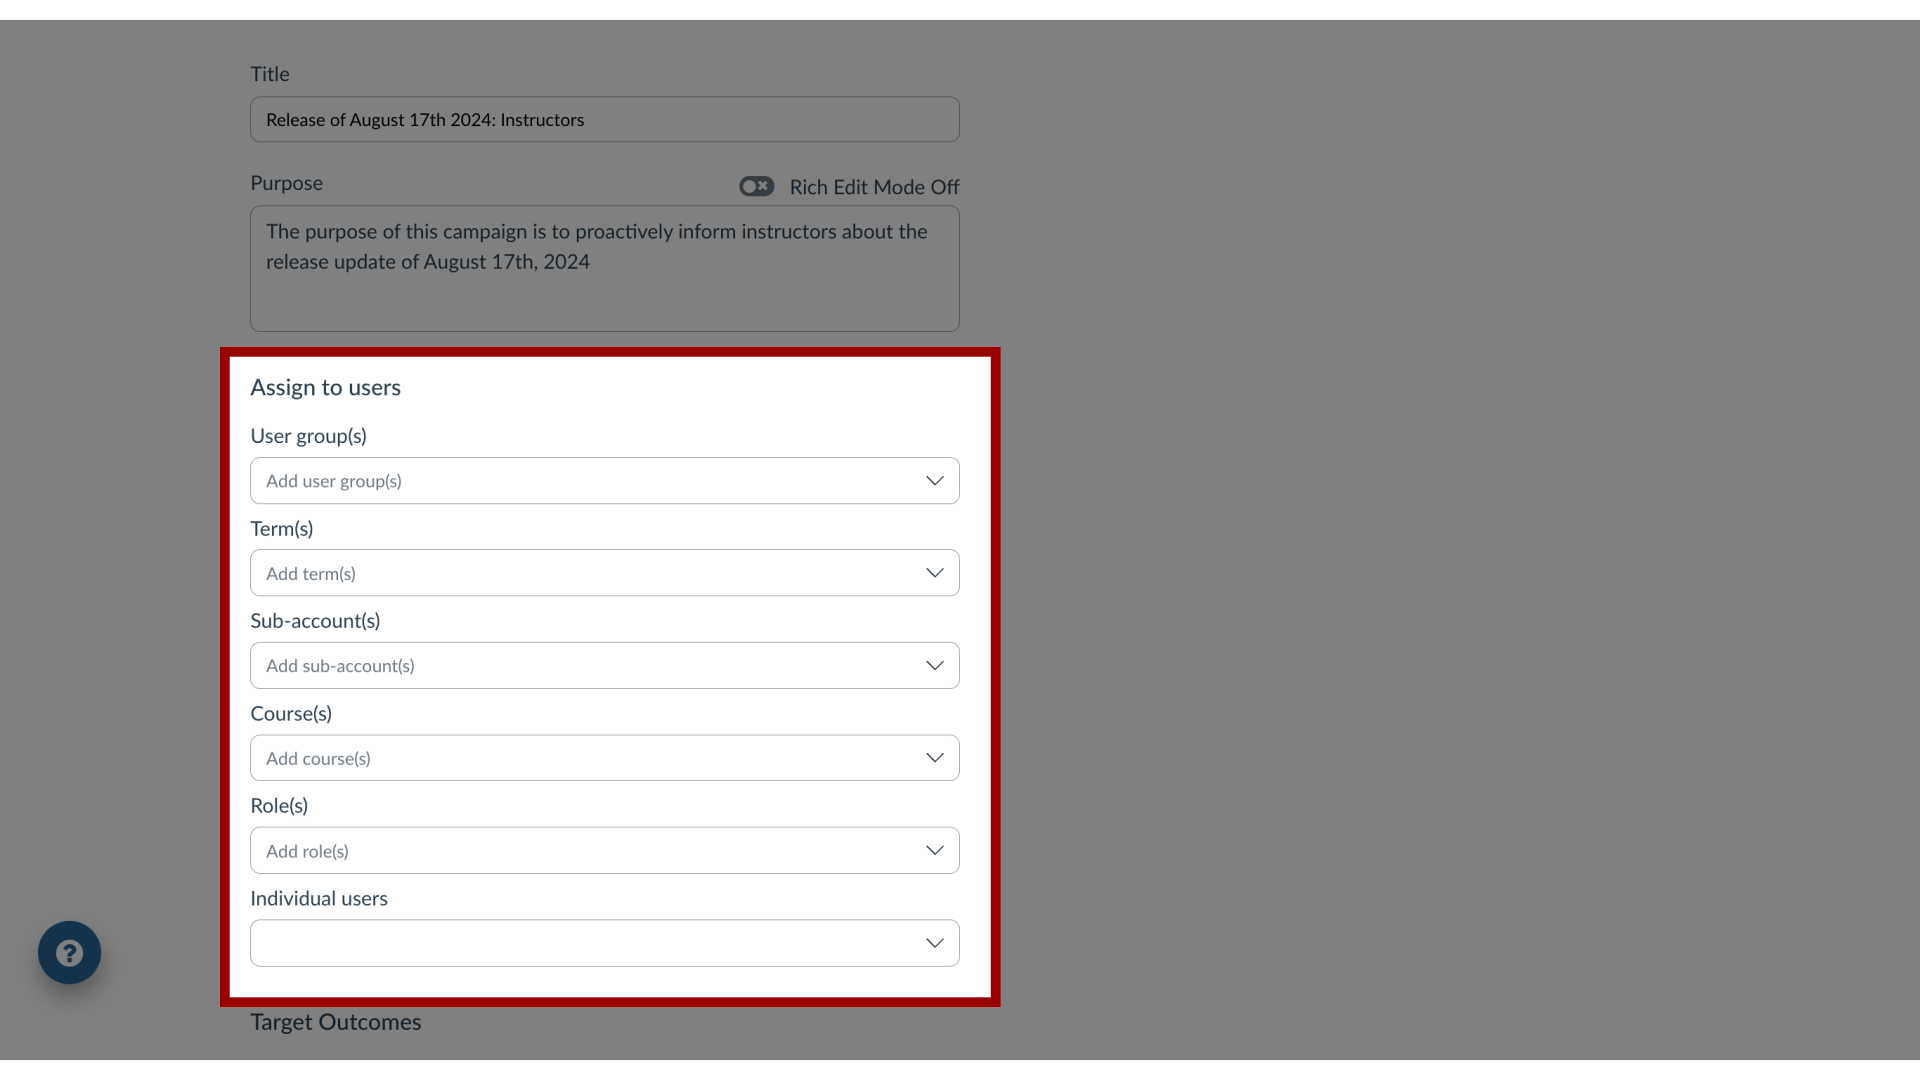
12. Edit Target Audience
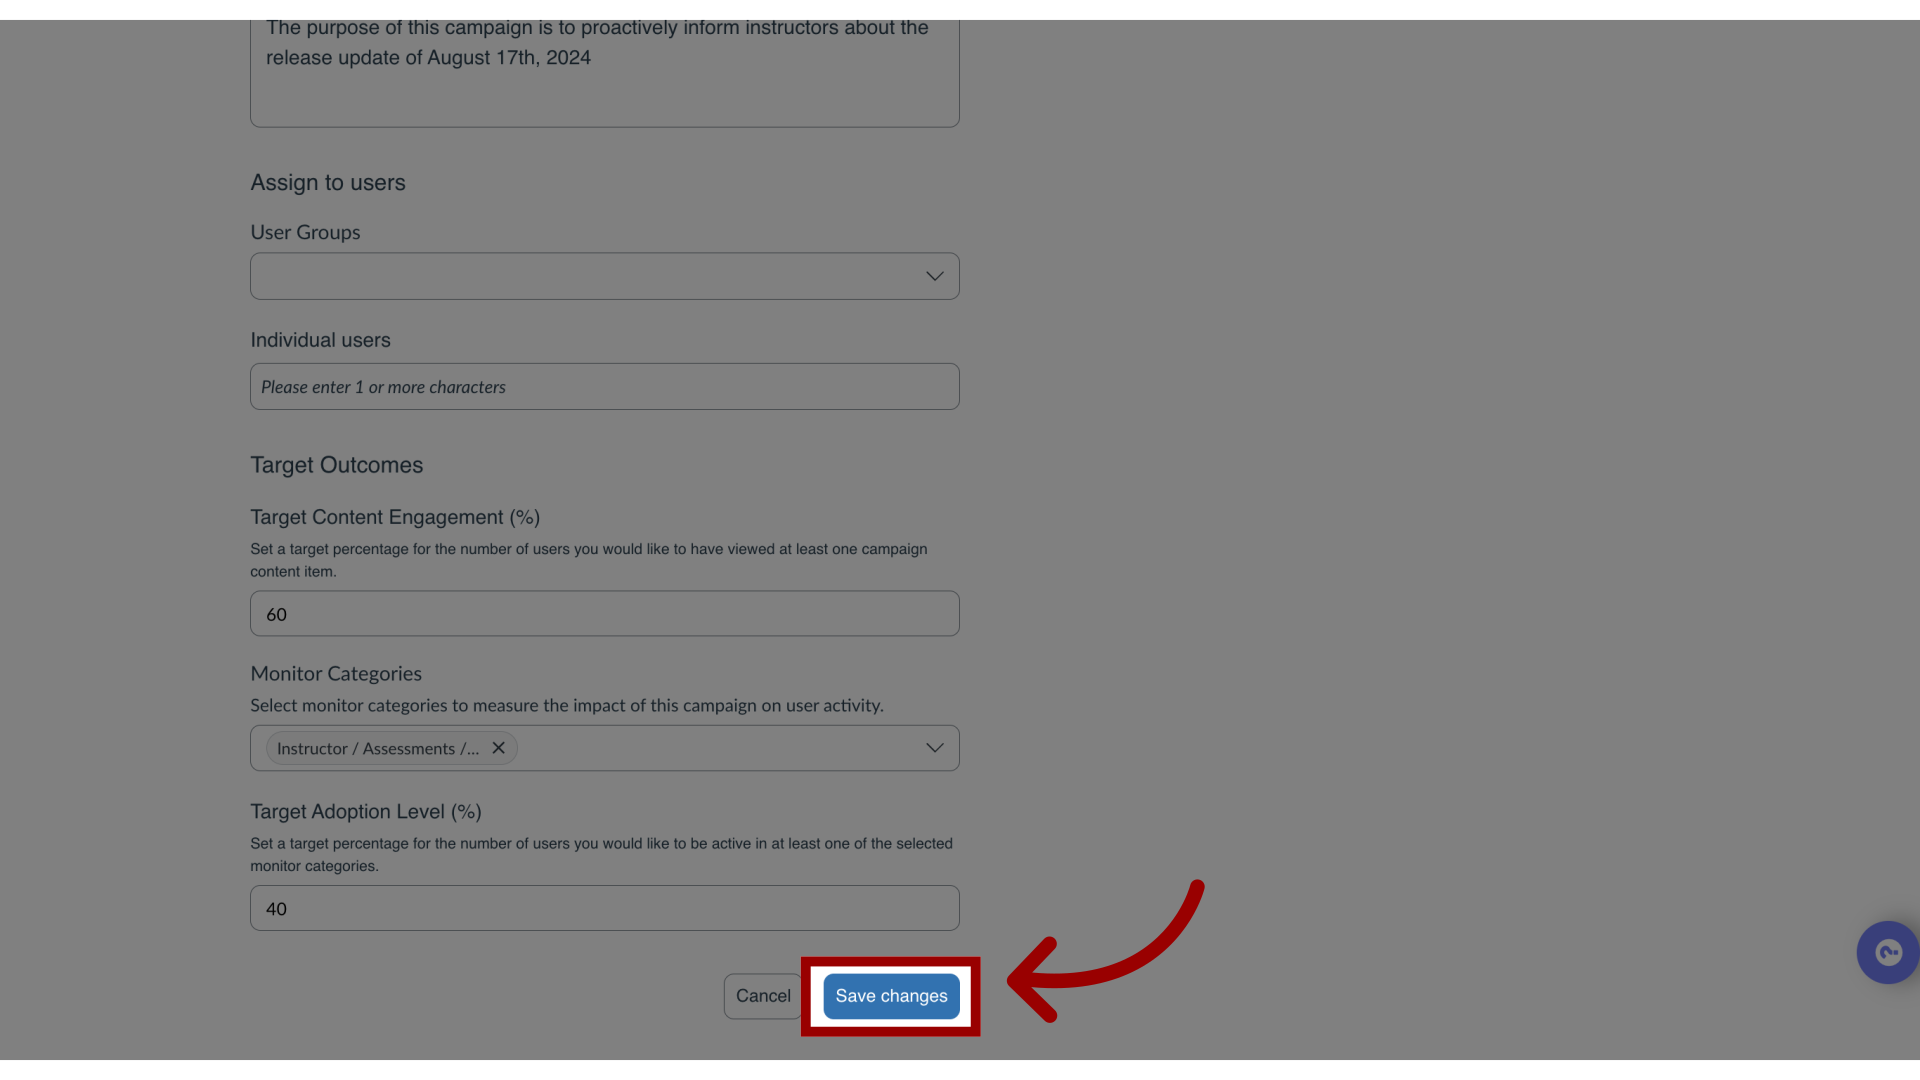
13. Save Changes
Then click the Save changes button.
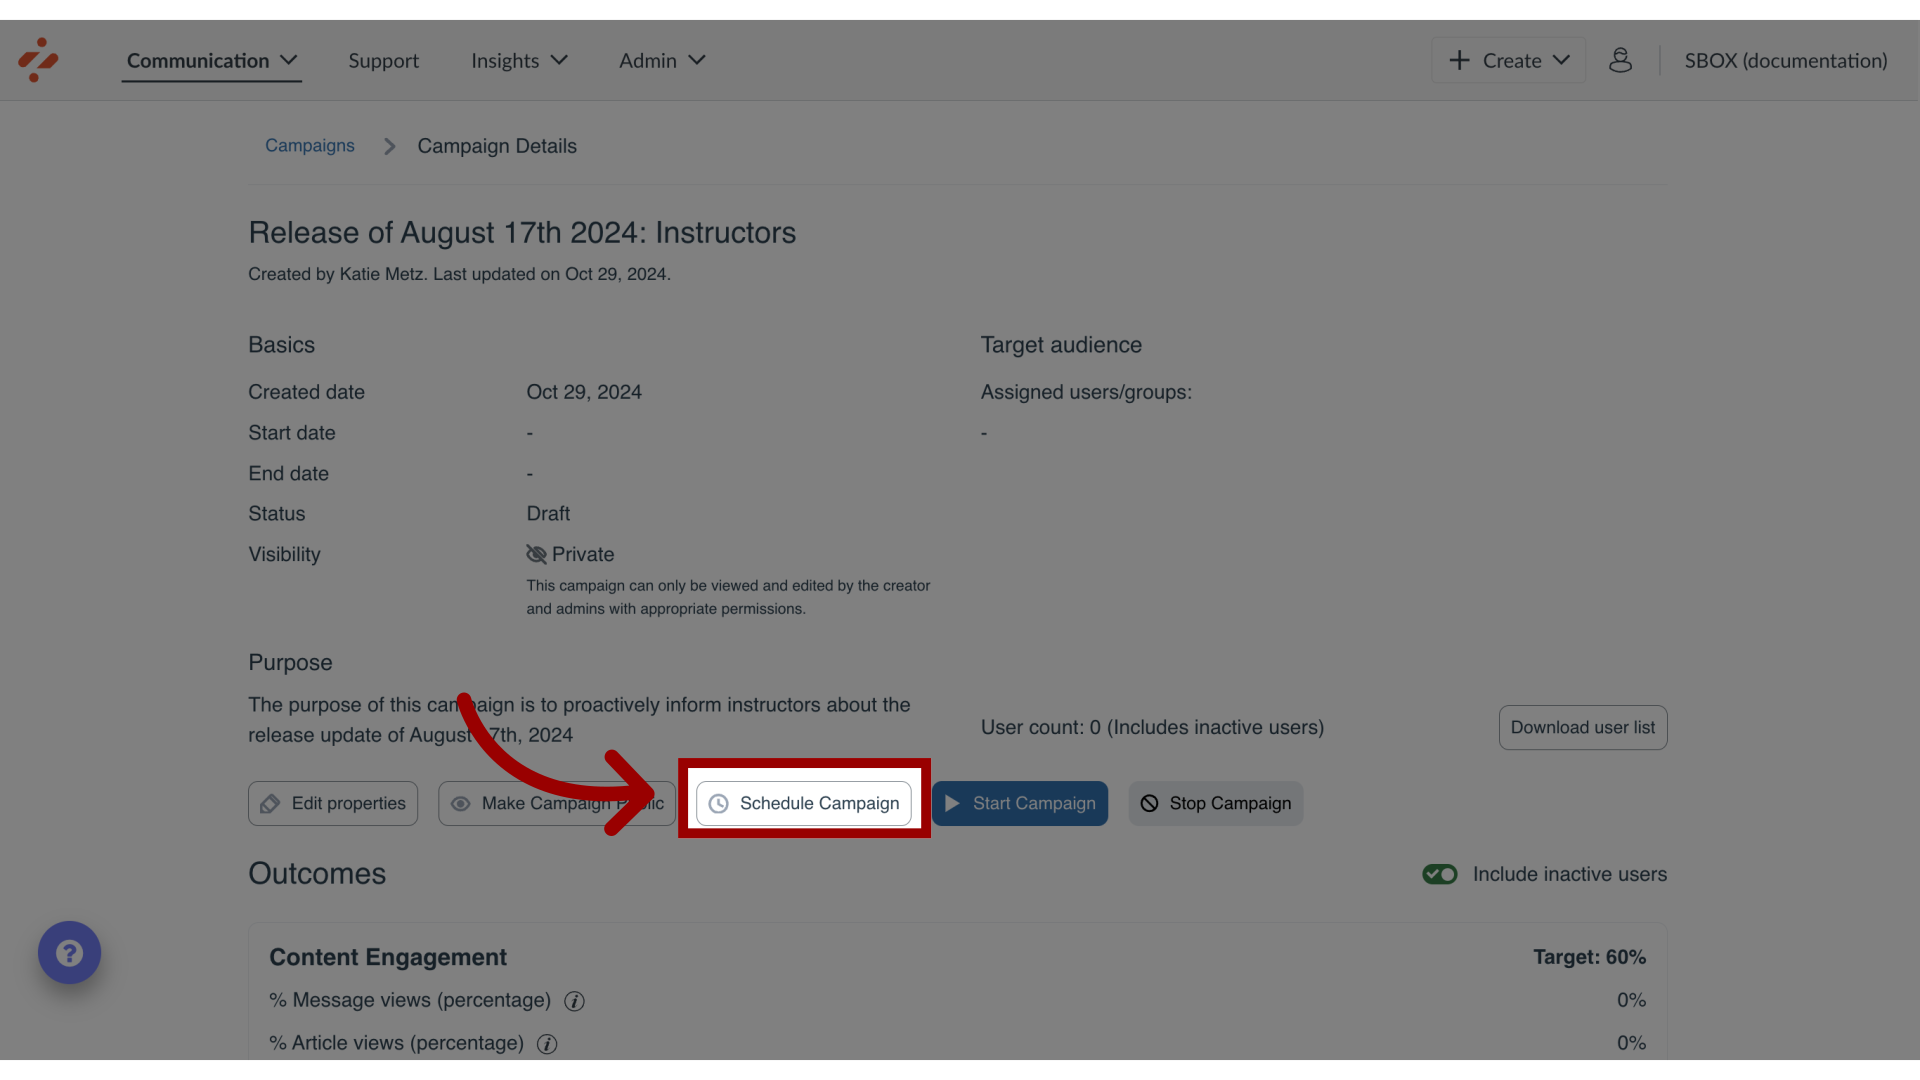
14. Schedule Campaign
Click the Schedule Campaign button.
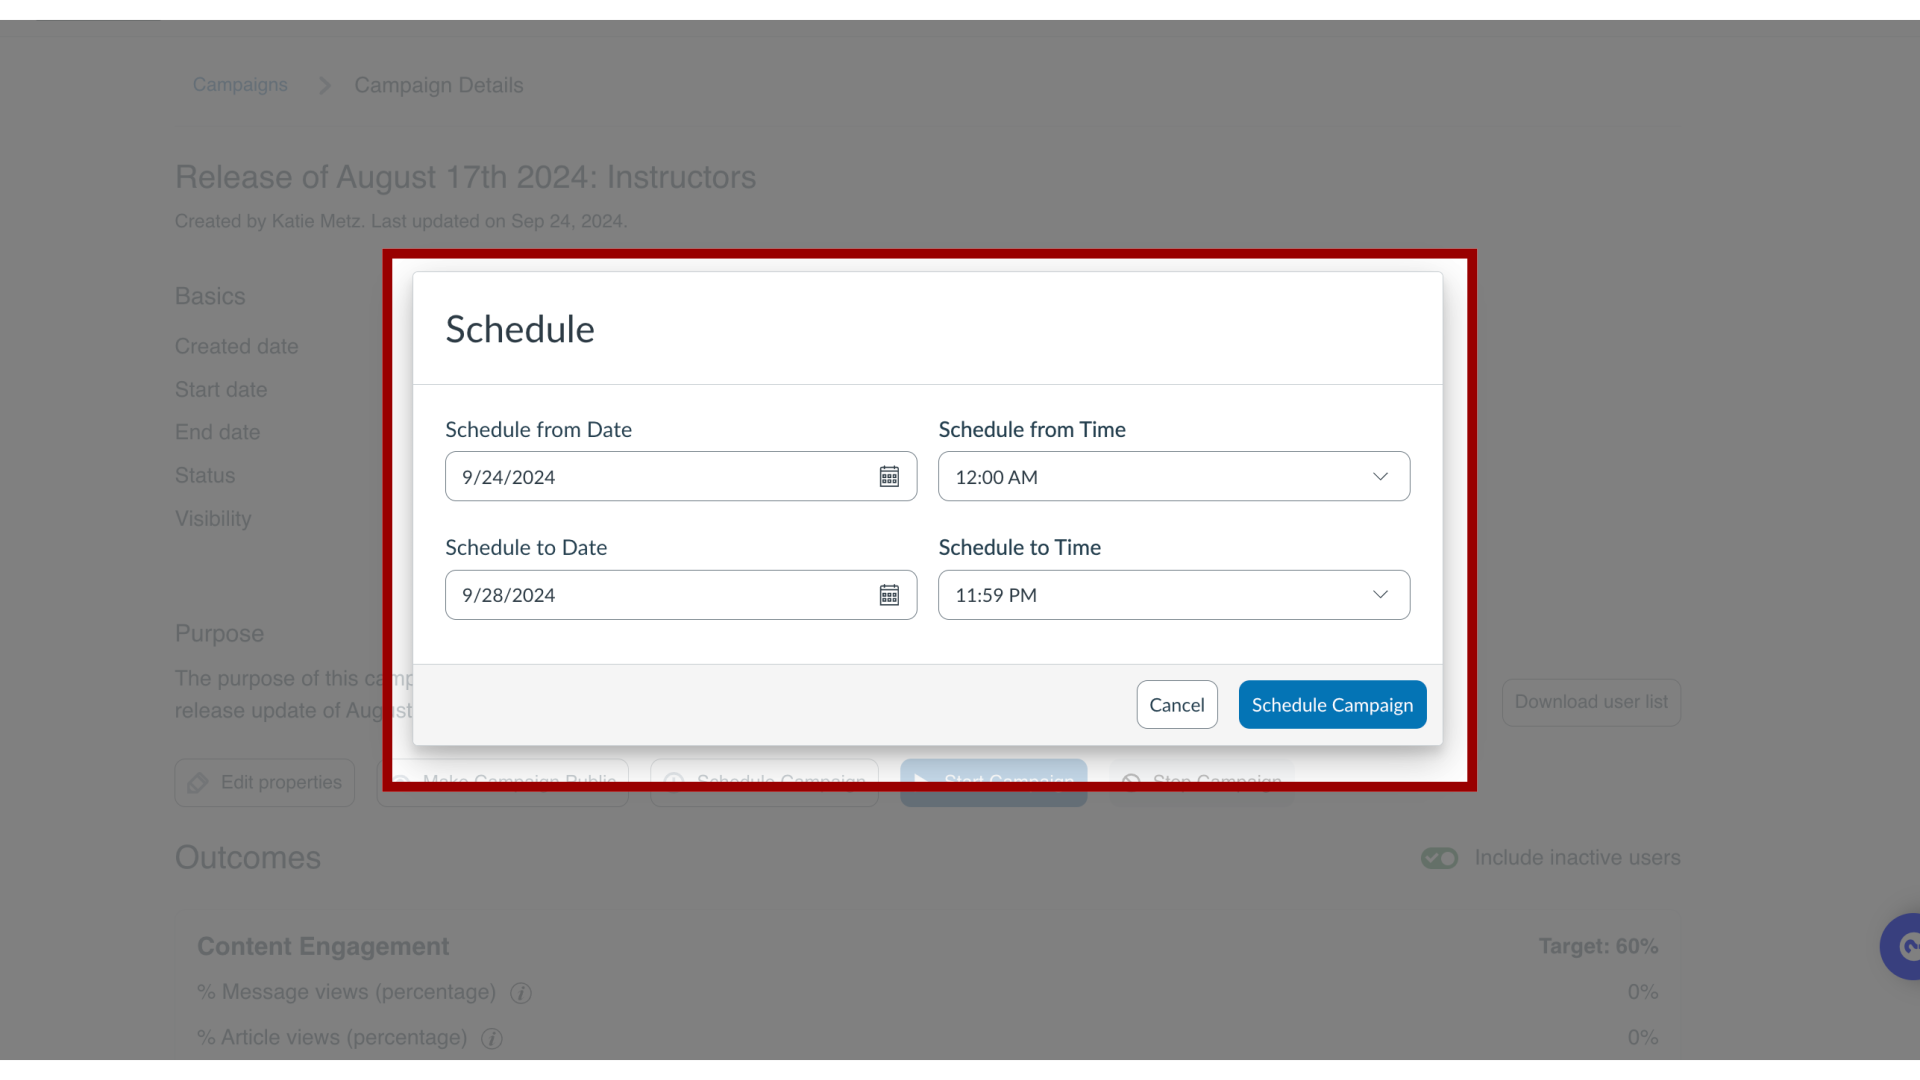
15. Add Schedule Dates
Assign start and end dates/times from the pop-up modal and click the Schedule Campaign button.
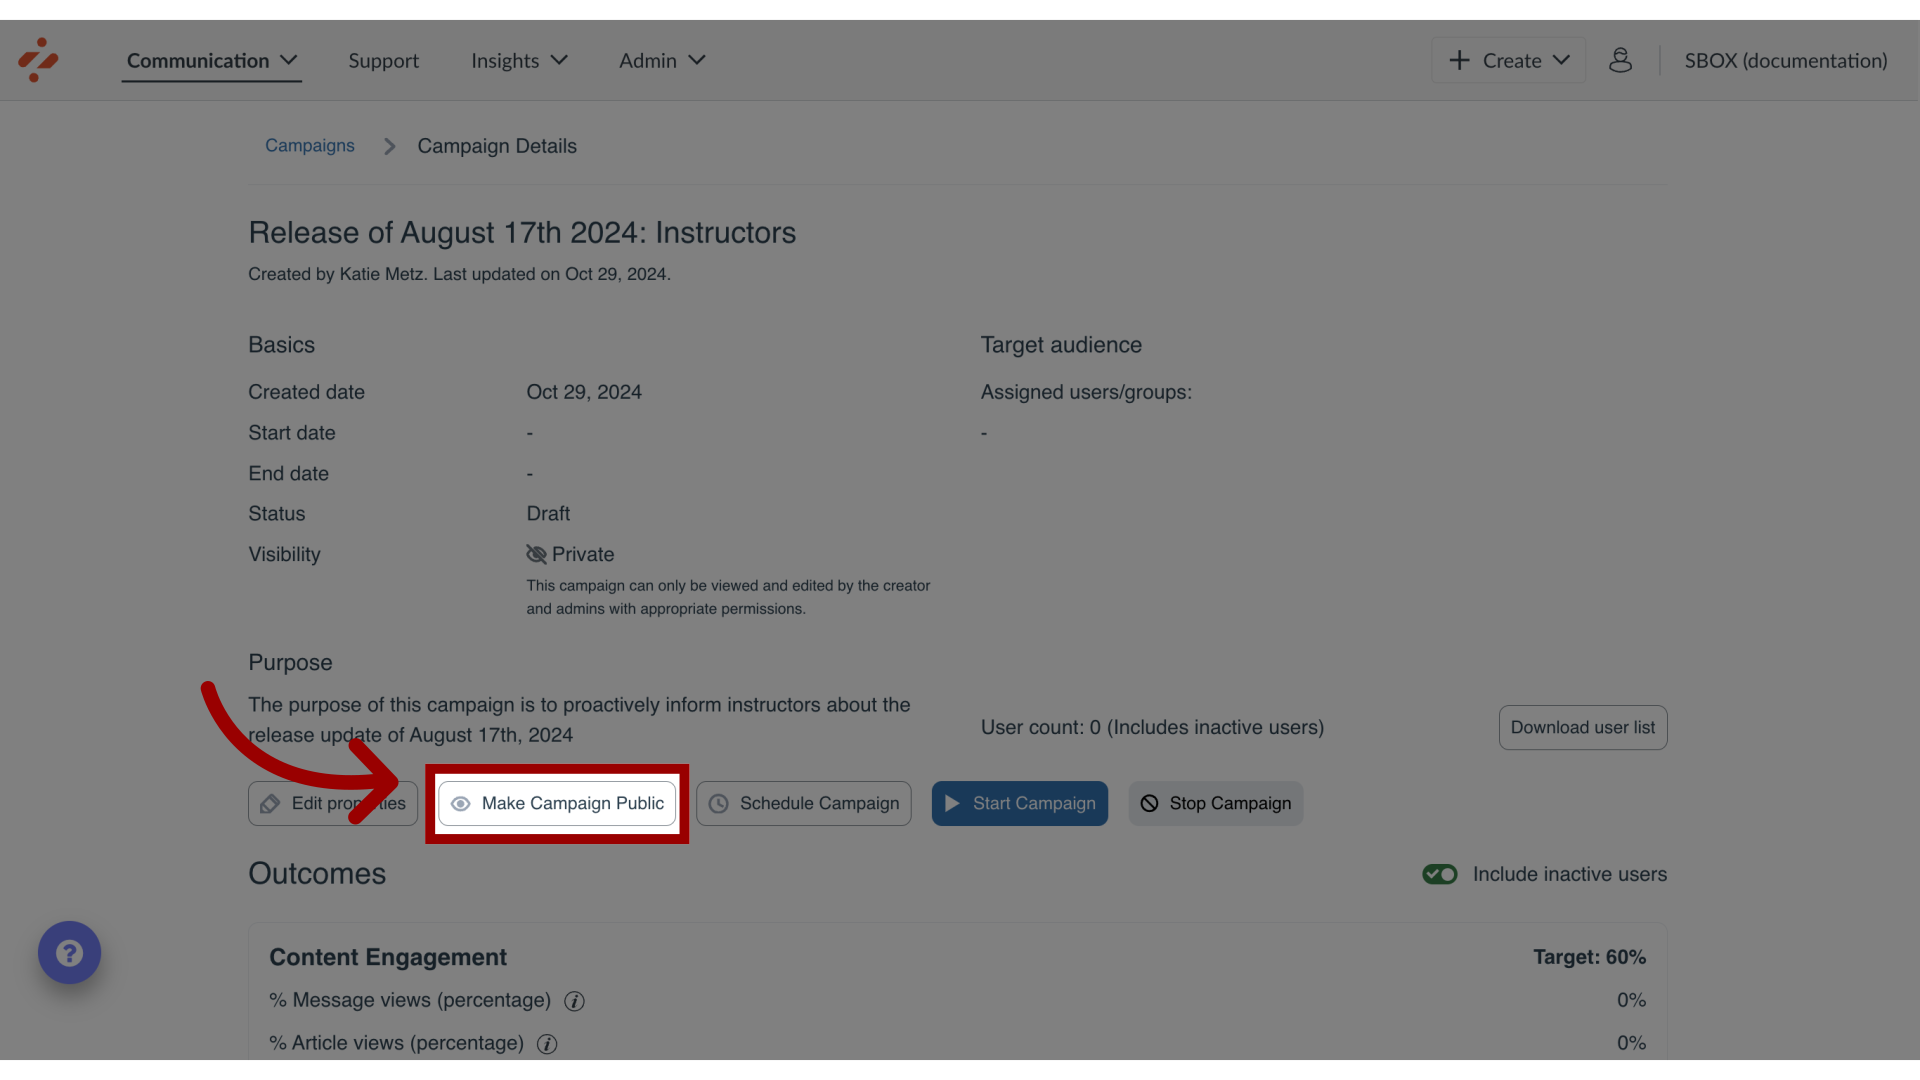
16. Share Campaign
To share the campaign, click the Make Campaign Public button.
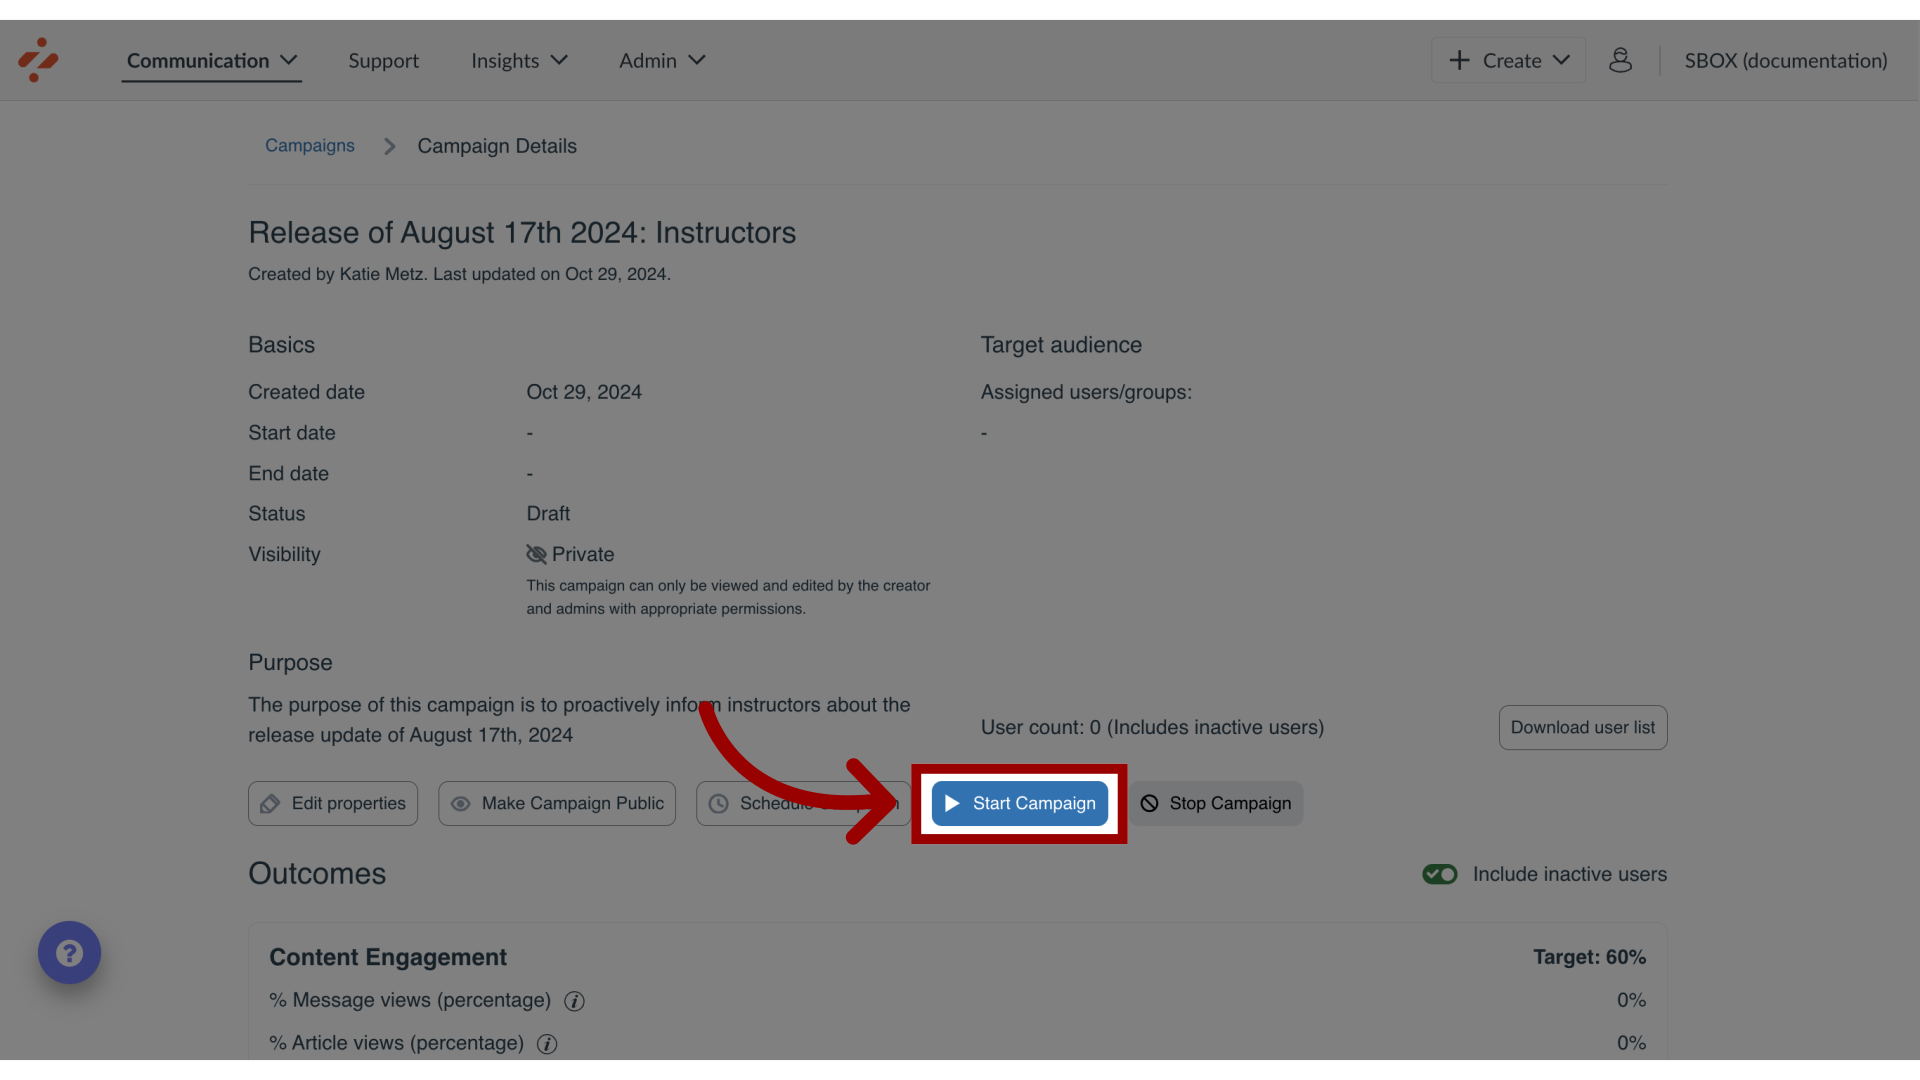
17. Start Campaign
Click the Start Campaign button. Your campaign content will appear on the LMS pages of your selected user groups during the scheduled dates you have selected.
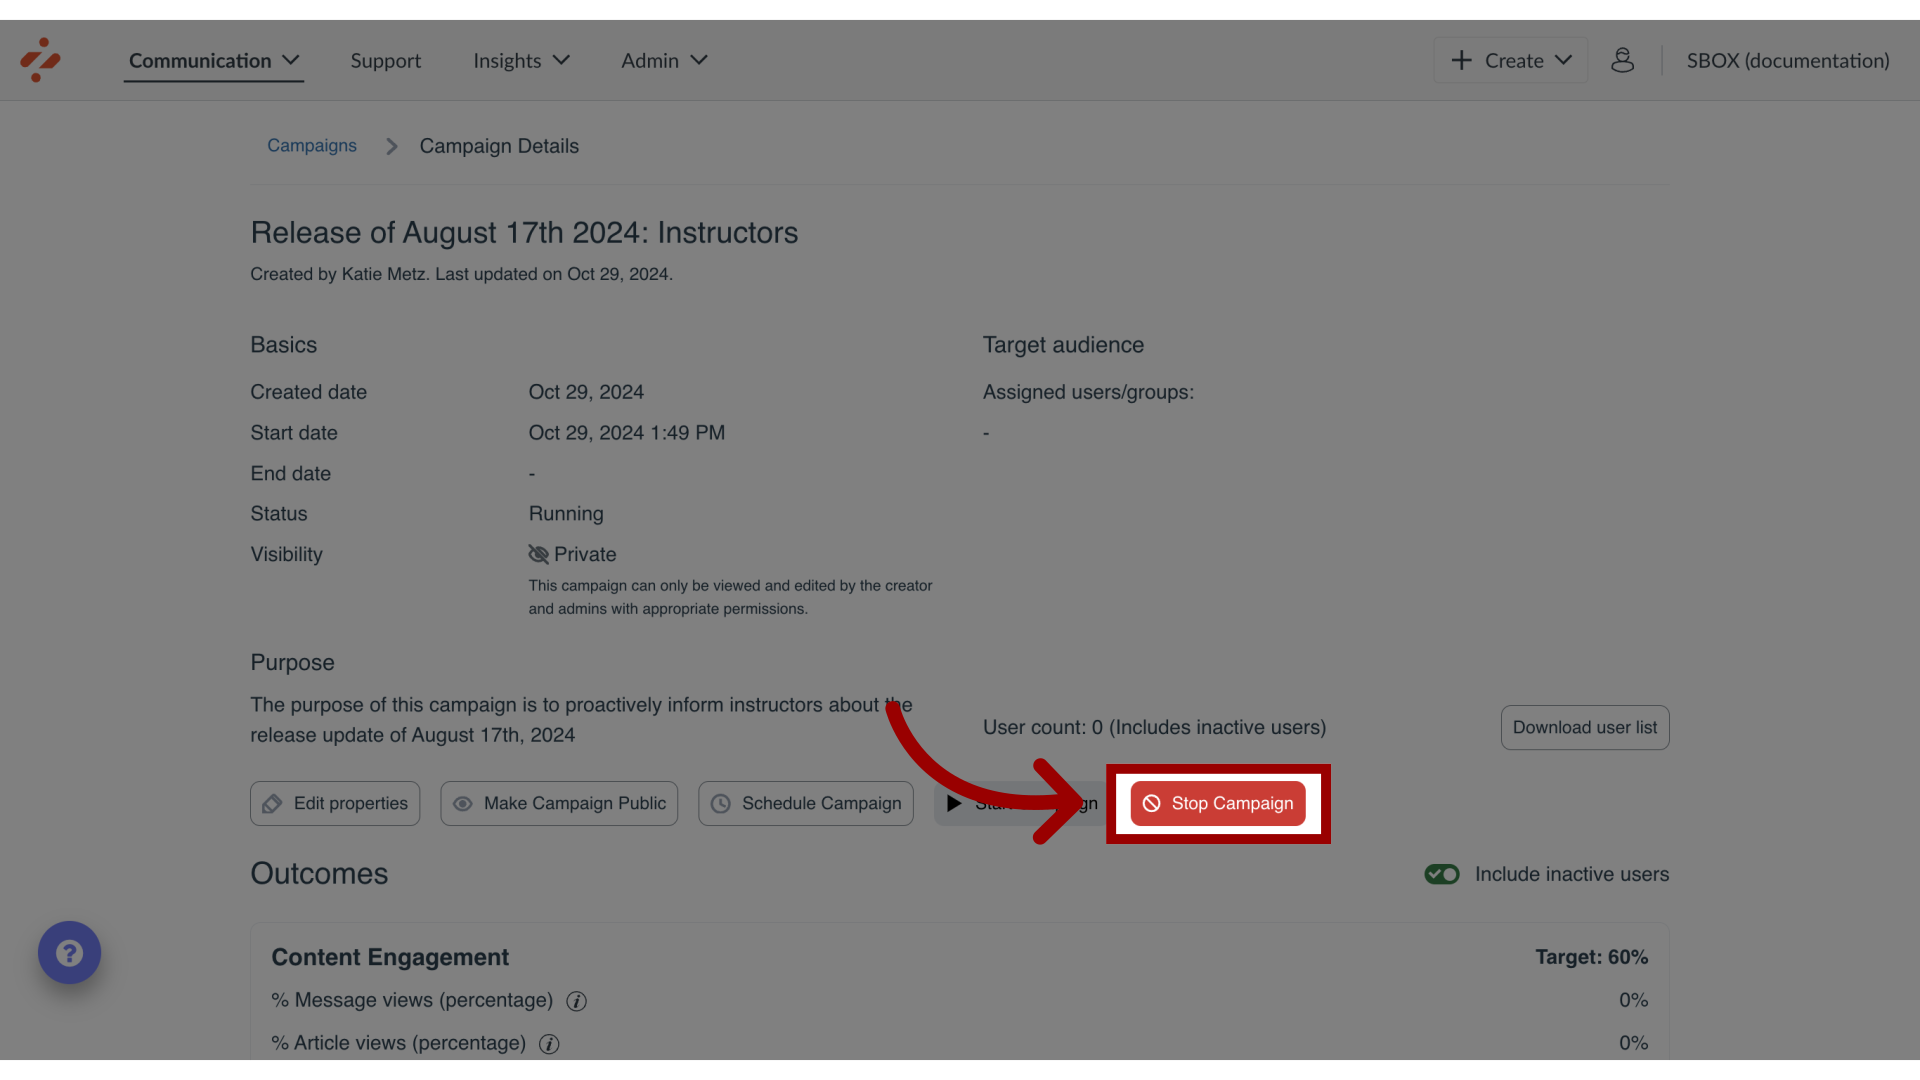
18. Stop Campaign
To end the campaign before the scheduled date, click the Stop Campaign button.
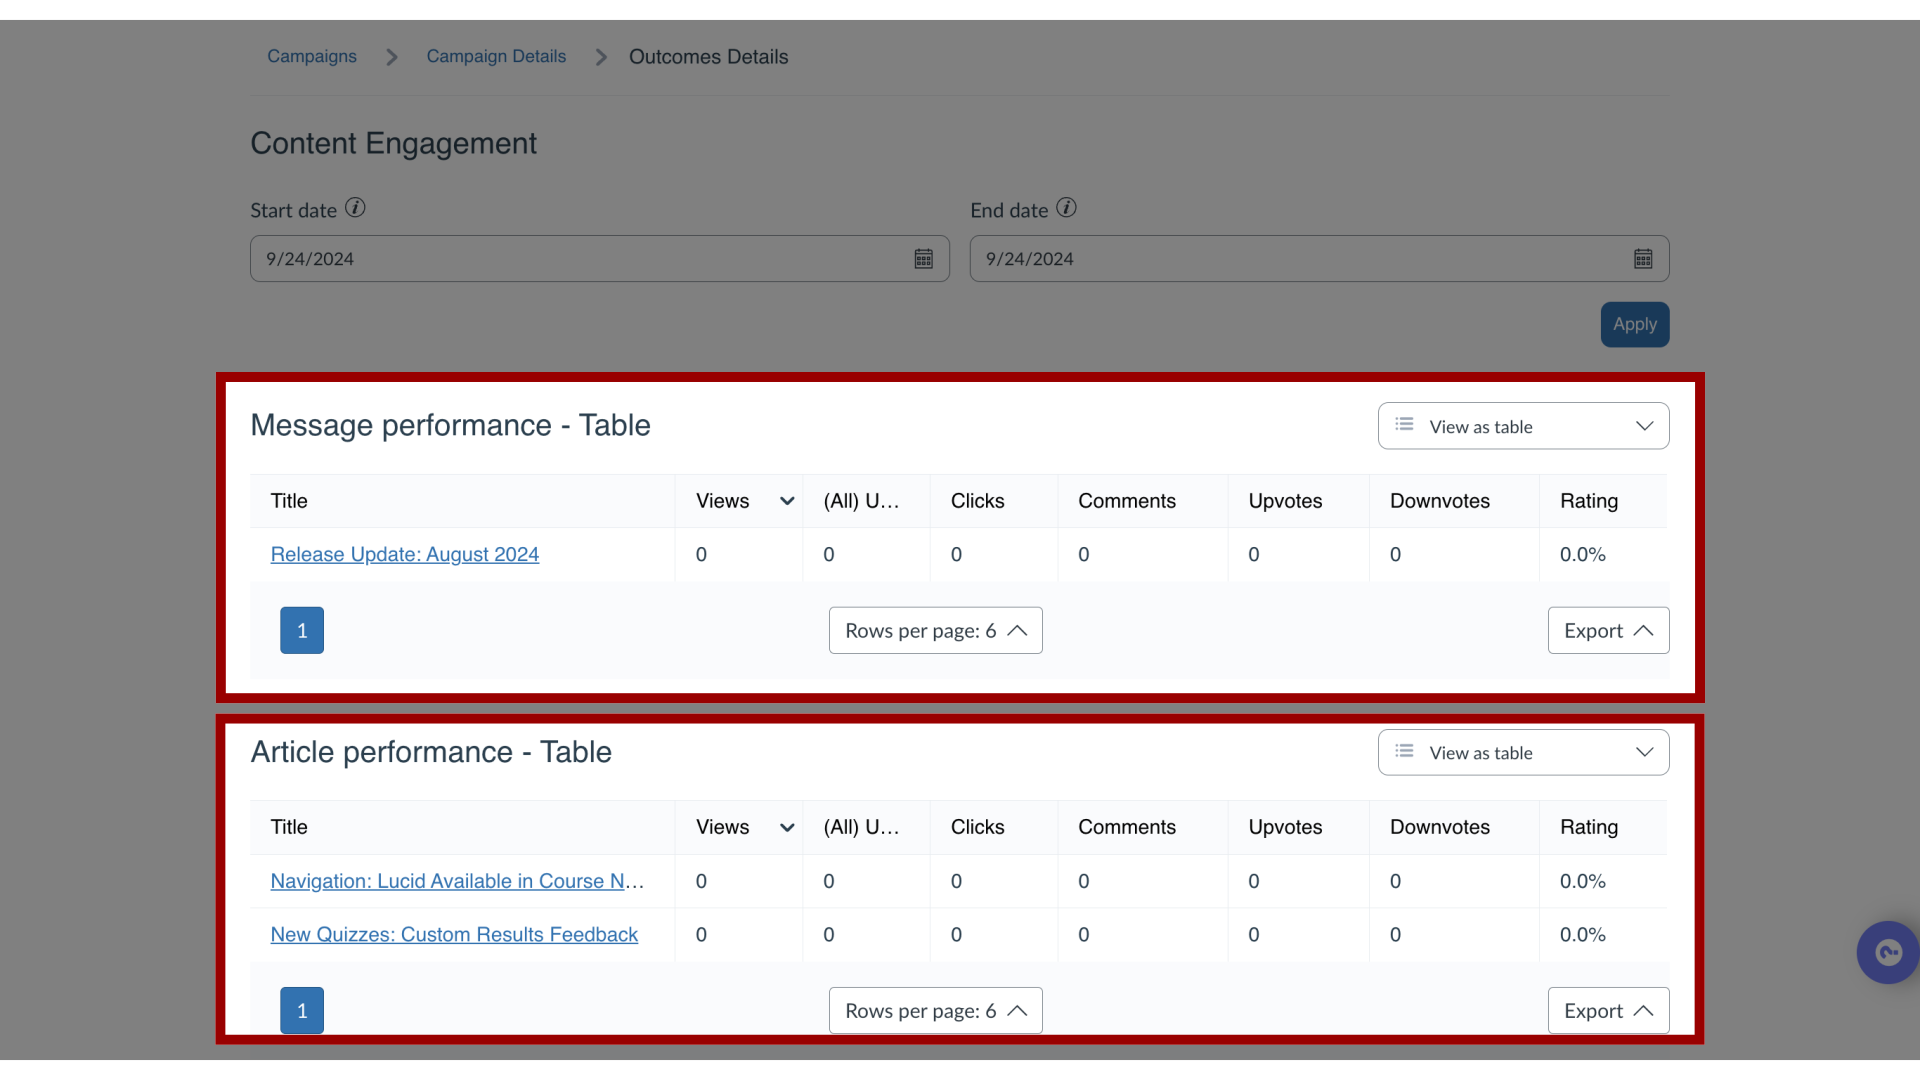
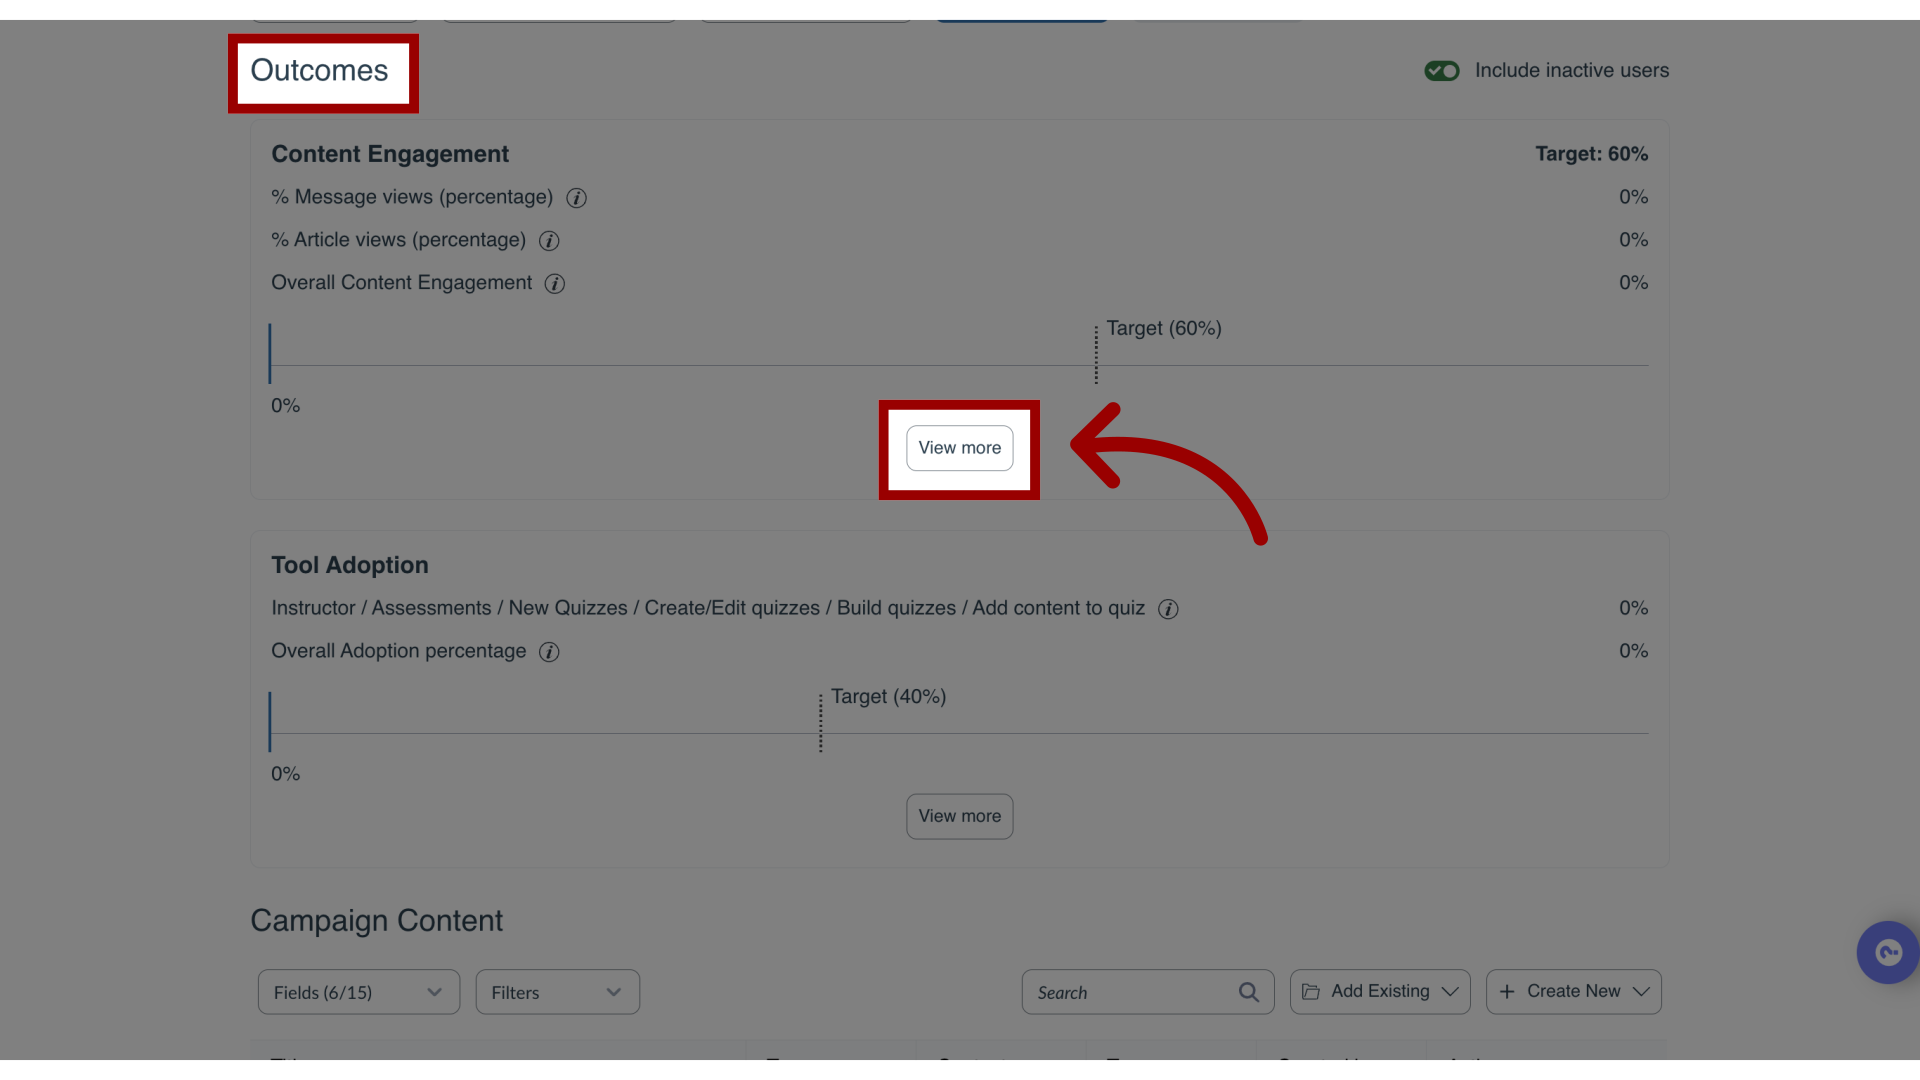
19. Track User Engagement
It is possible to track your user's engagement with the campaign report. Open the campaign, navigate to the Outcomes section, and click the View More link.
20. View User Engagement