How do I create personalized links in messages from the Impact Dashboard?
Adding a personalized link to your Impact messages is a fantastic way to engage users in a more direct, personal way which can improve the user's experience with the messages targeted to them.
Note: Only one personalized link can be inserted per message.
How do I create personalized links in messages from the Impact Dashboard?
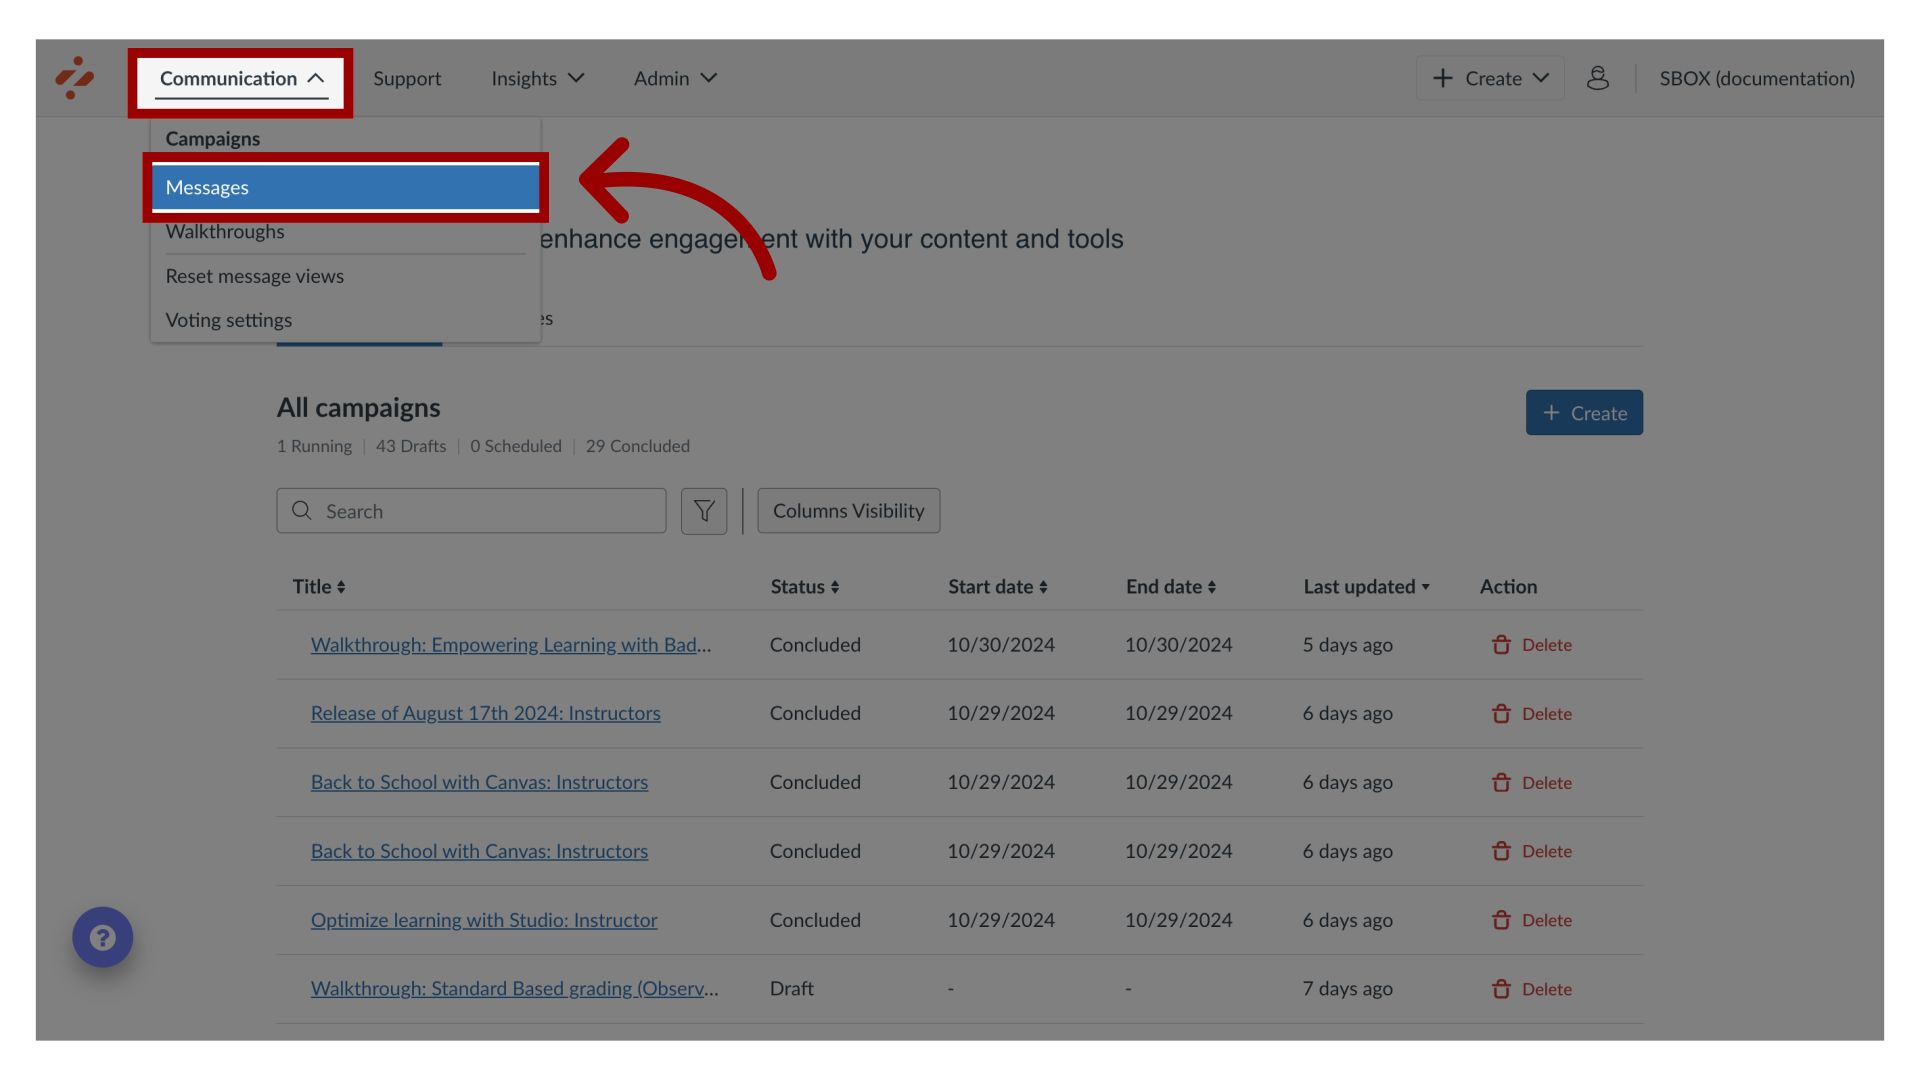
1. Open Messages
In Global Navigation, click the Communication dropdown menu. Then click the Messages link.
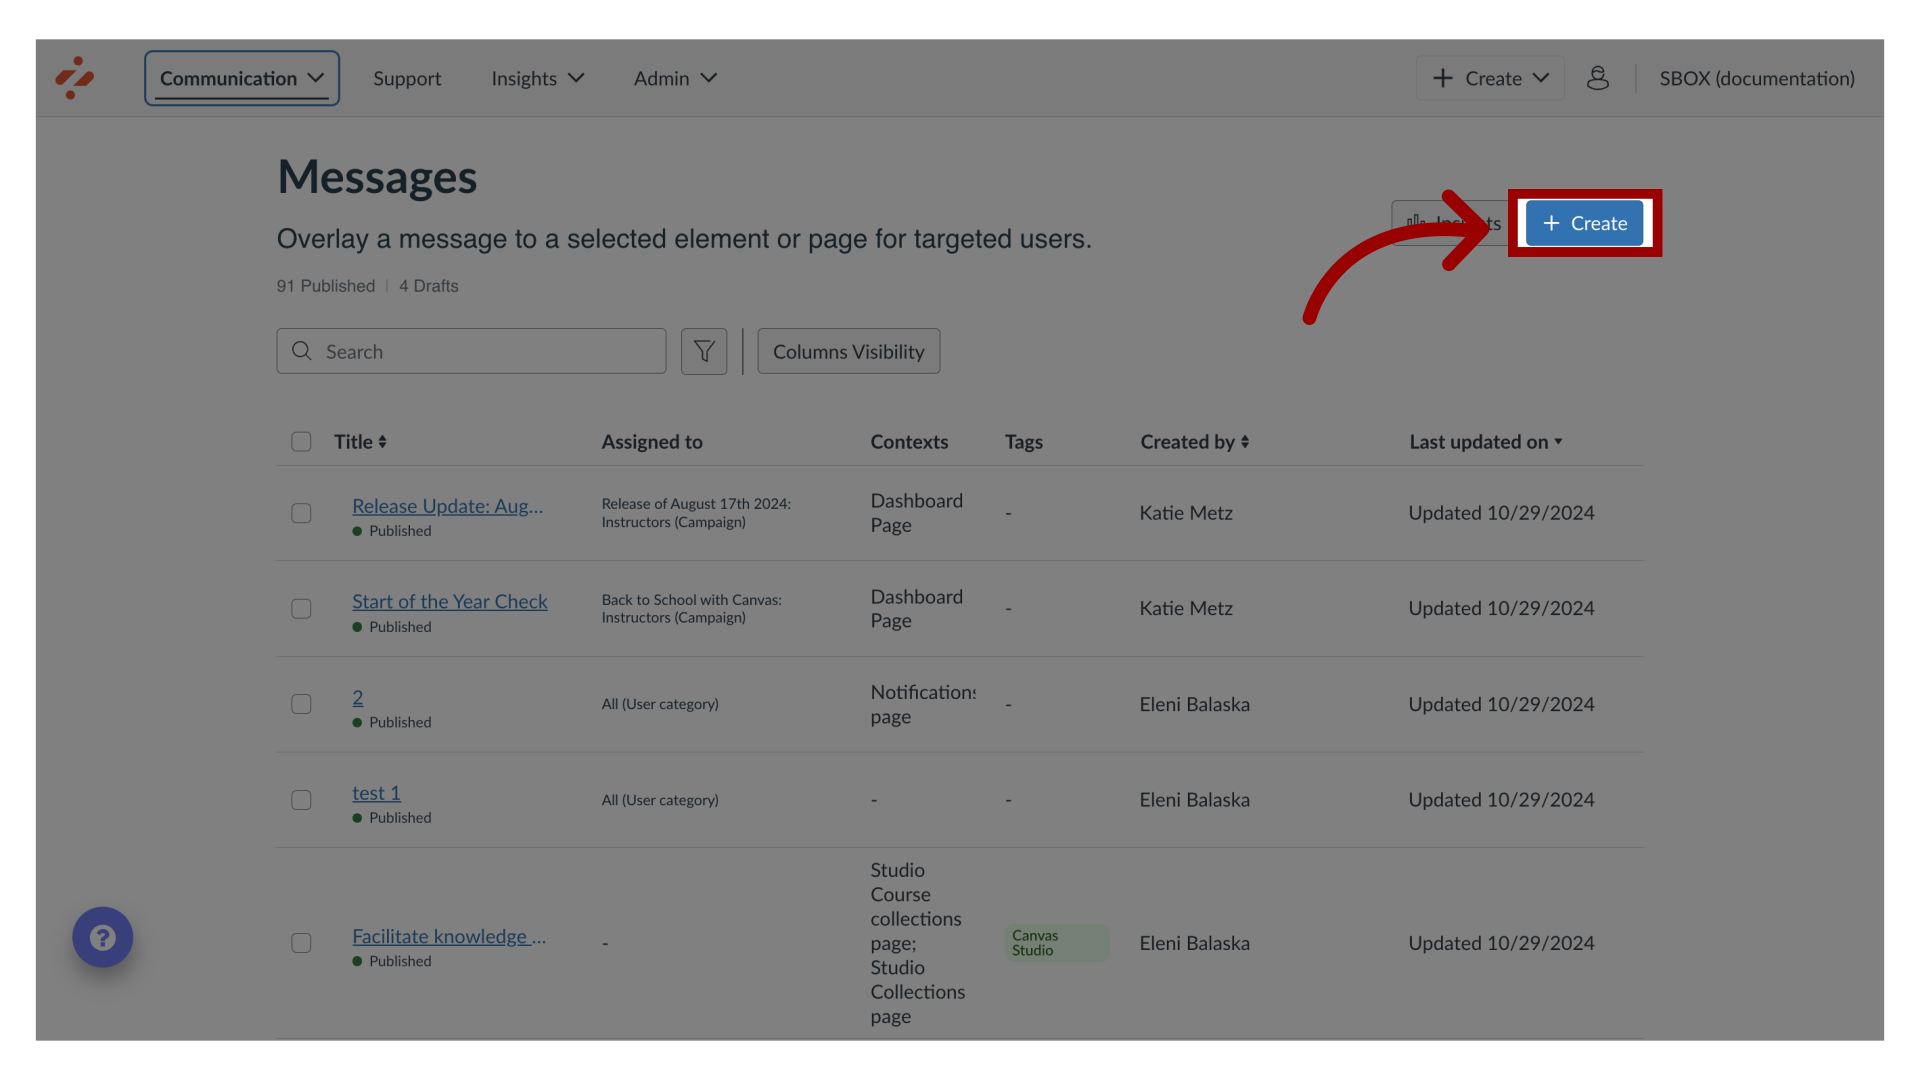
2. Create New Message
Click the Create button.
3. Edit Message Content

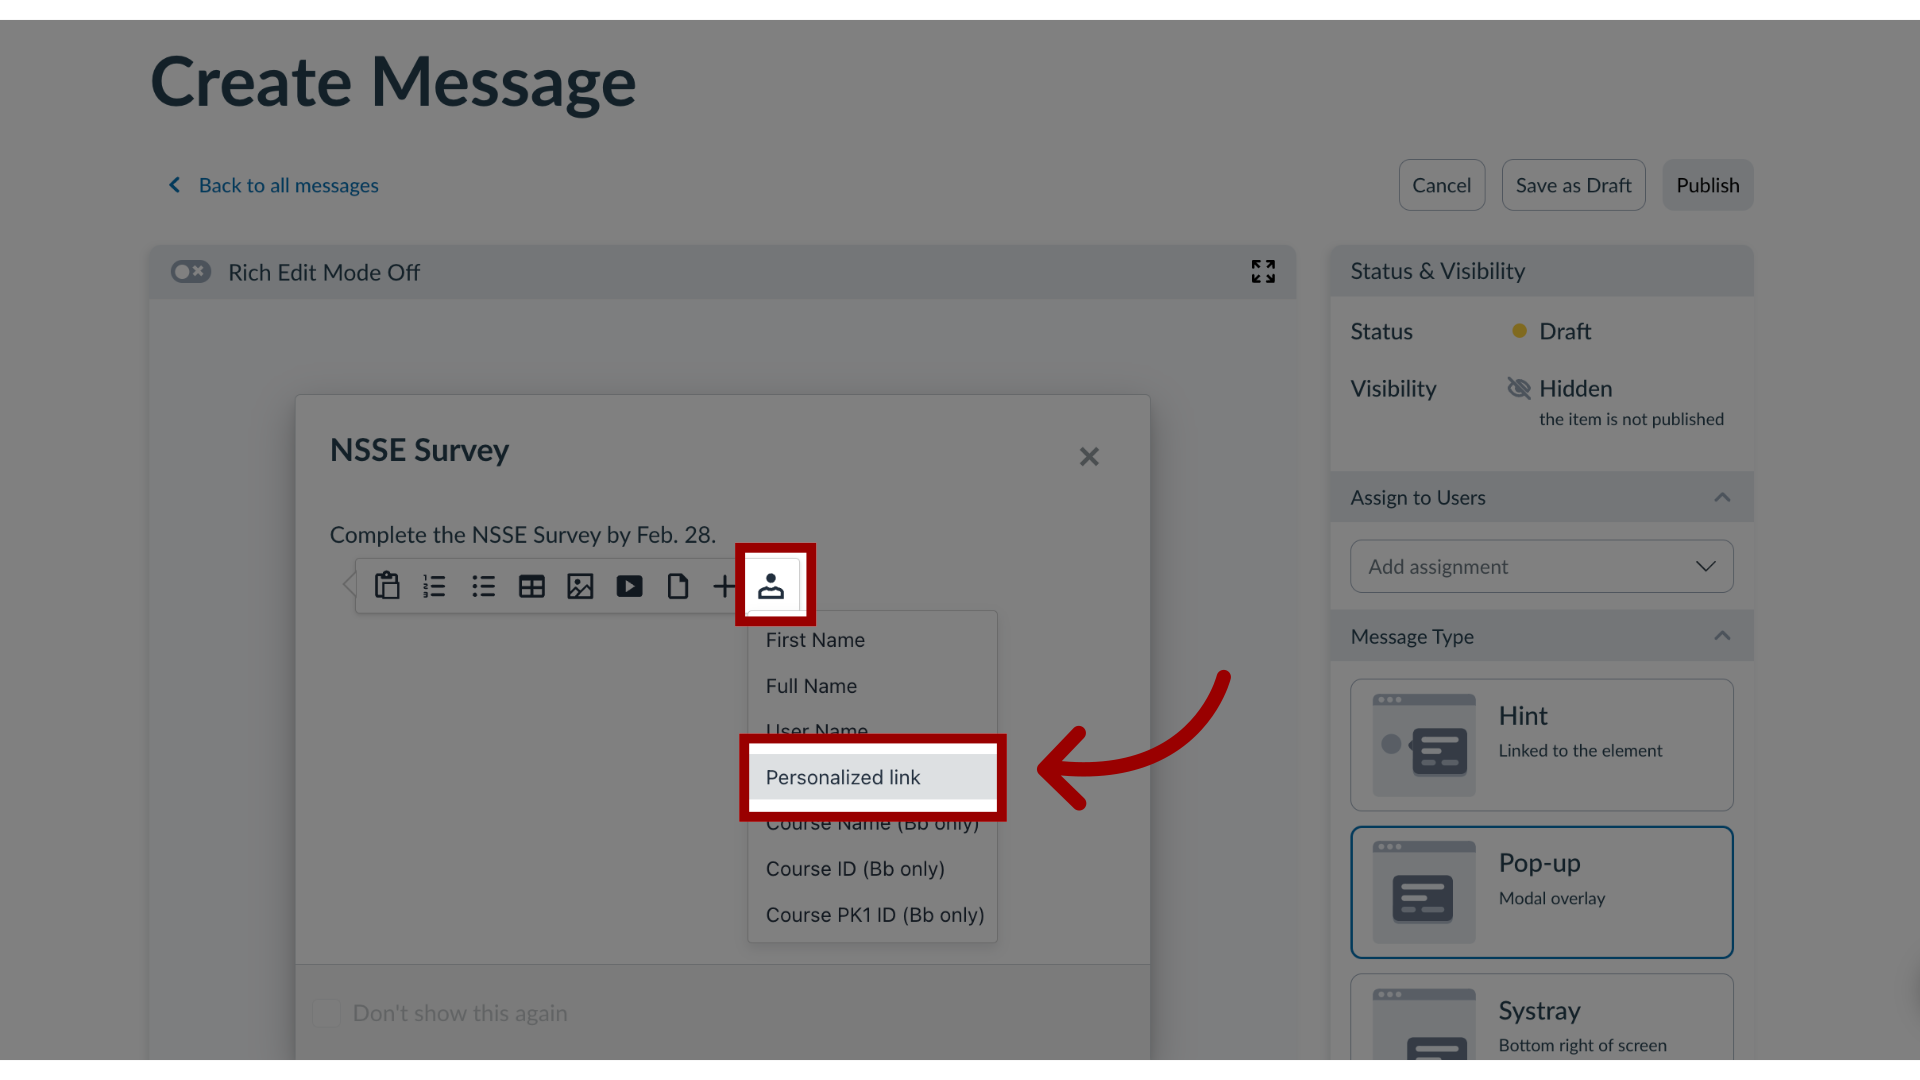
4. Add Personalized Link via Insert Options
While editing the message body, to view the insert options, press Enter on your keyboard. Click the Personalization token icon and then click the Personalized Link option.
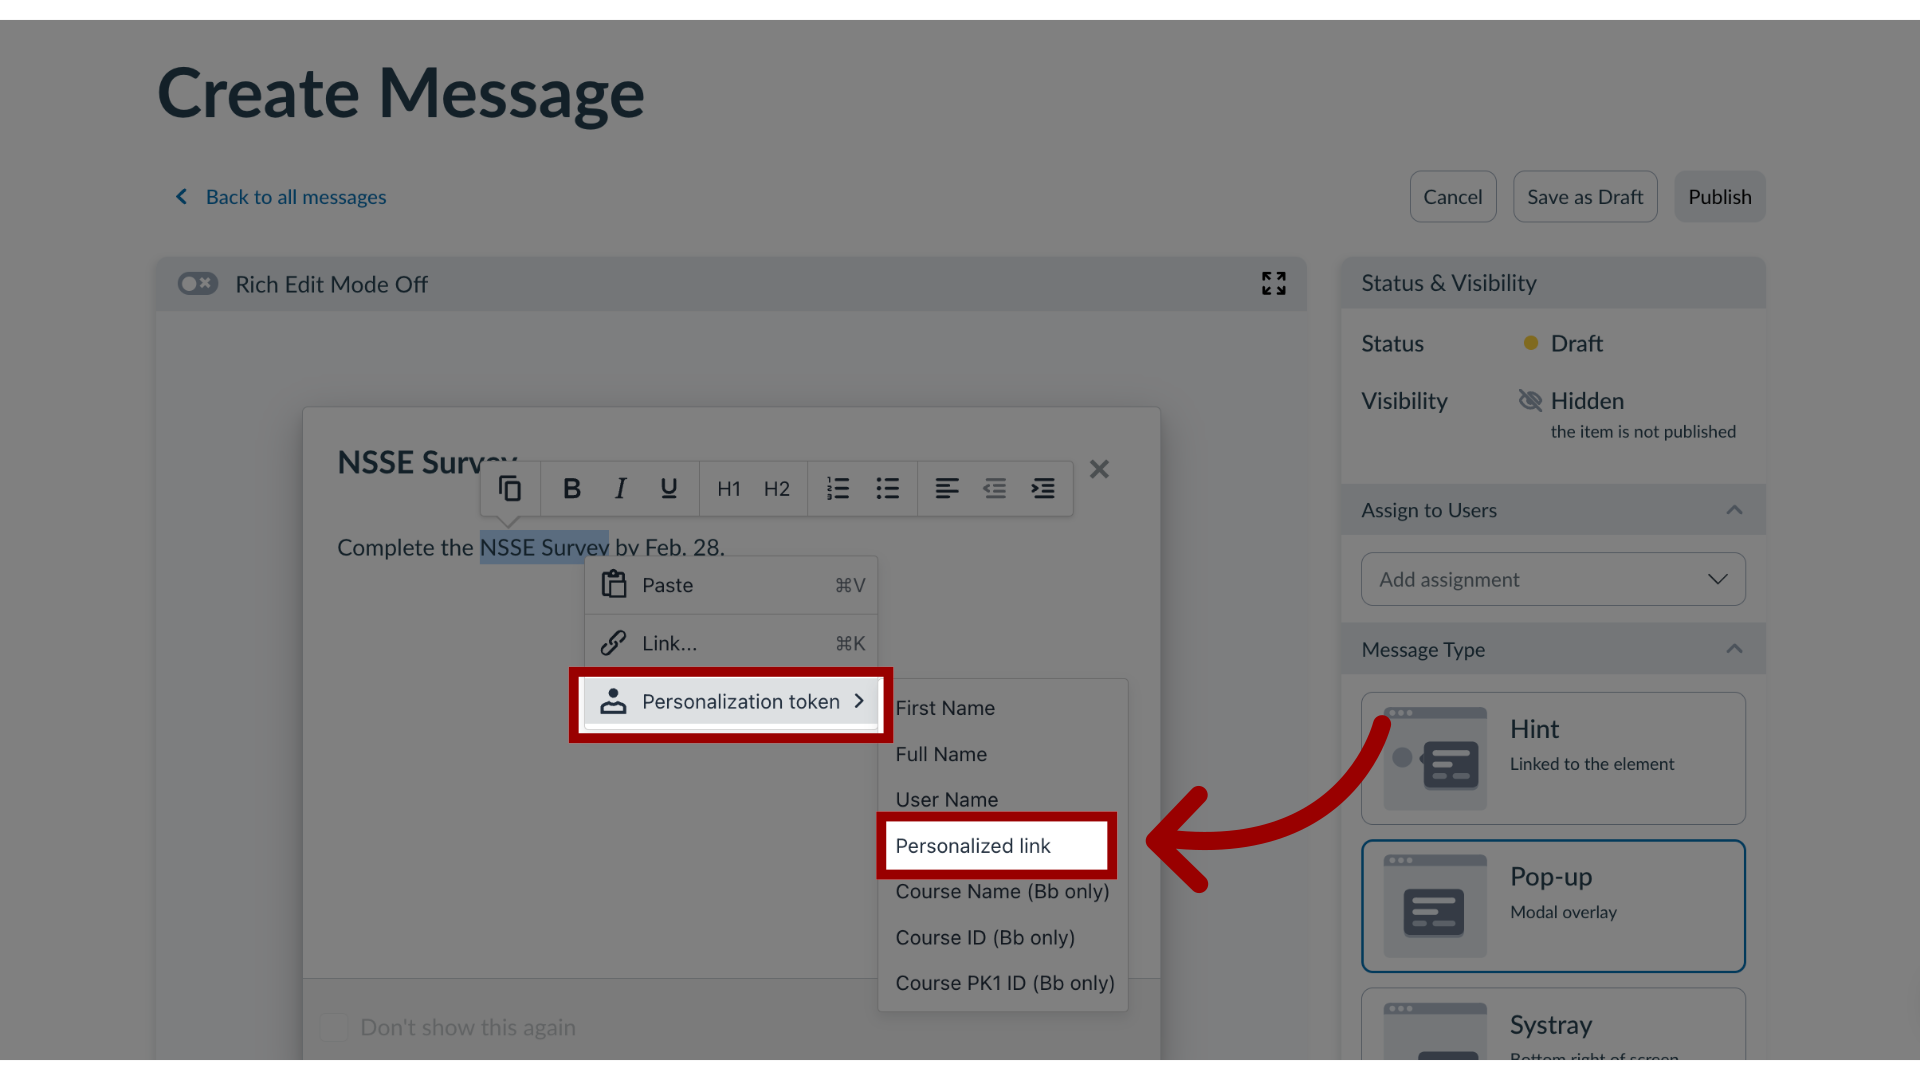
5. Add Personalized Link via Highlighting Text
You can also highlight the text and click the Personalization token drop-down menu. Then click the Personalized link button.
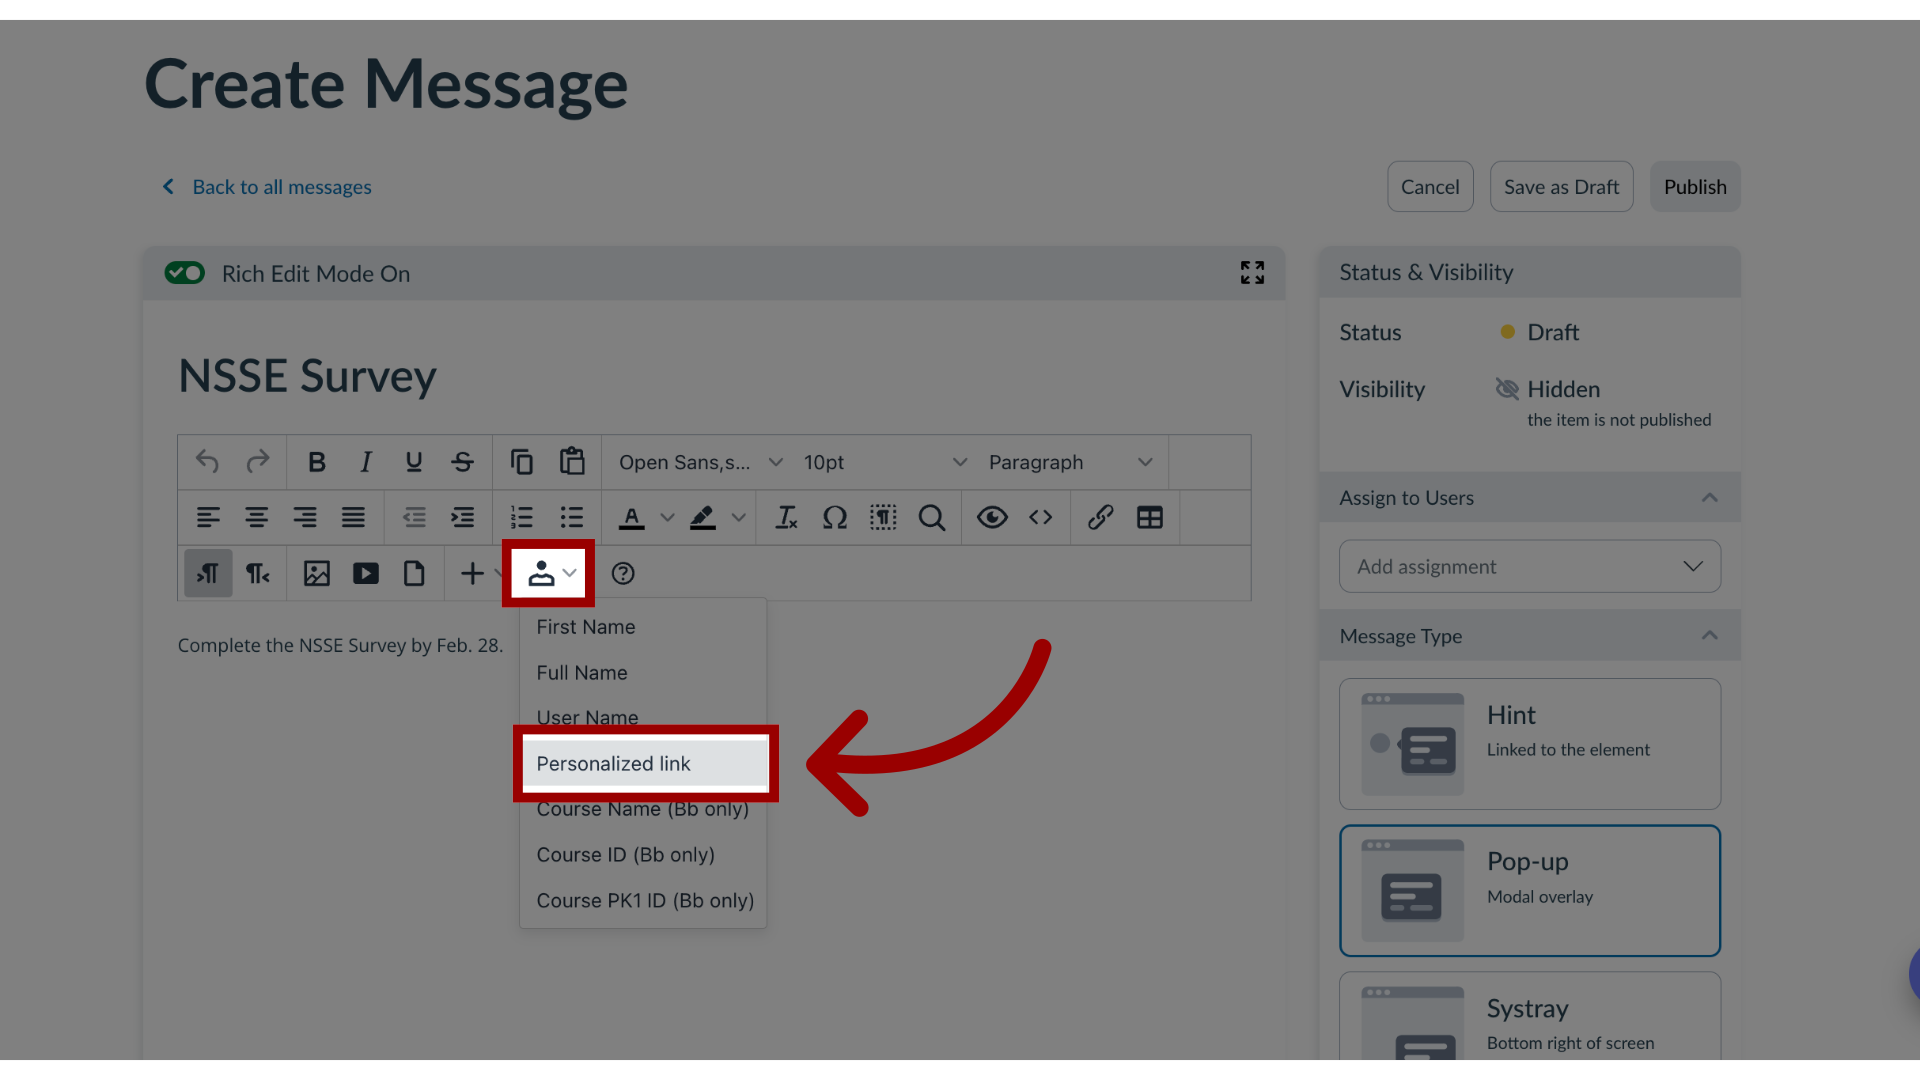
6. Add Personalized Link via Rich Content Editor
Additionally, you can add a Personalization token in the Rich Content Editor. Click the Personalization token drop-down icon and then click the Personalized link option.
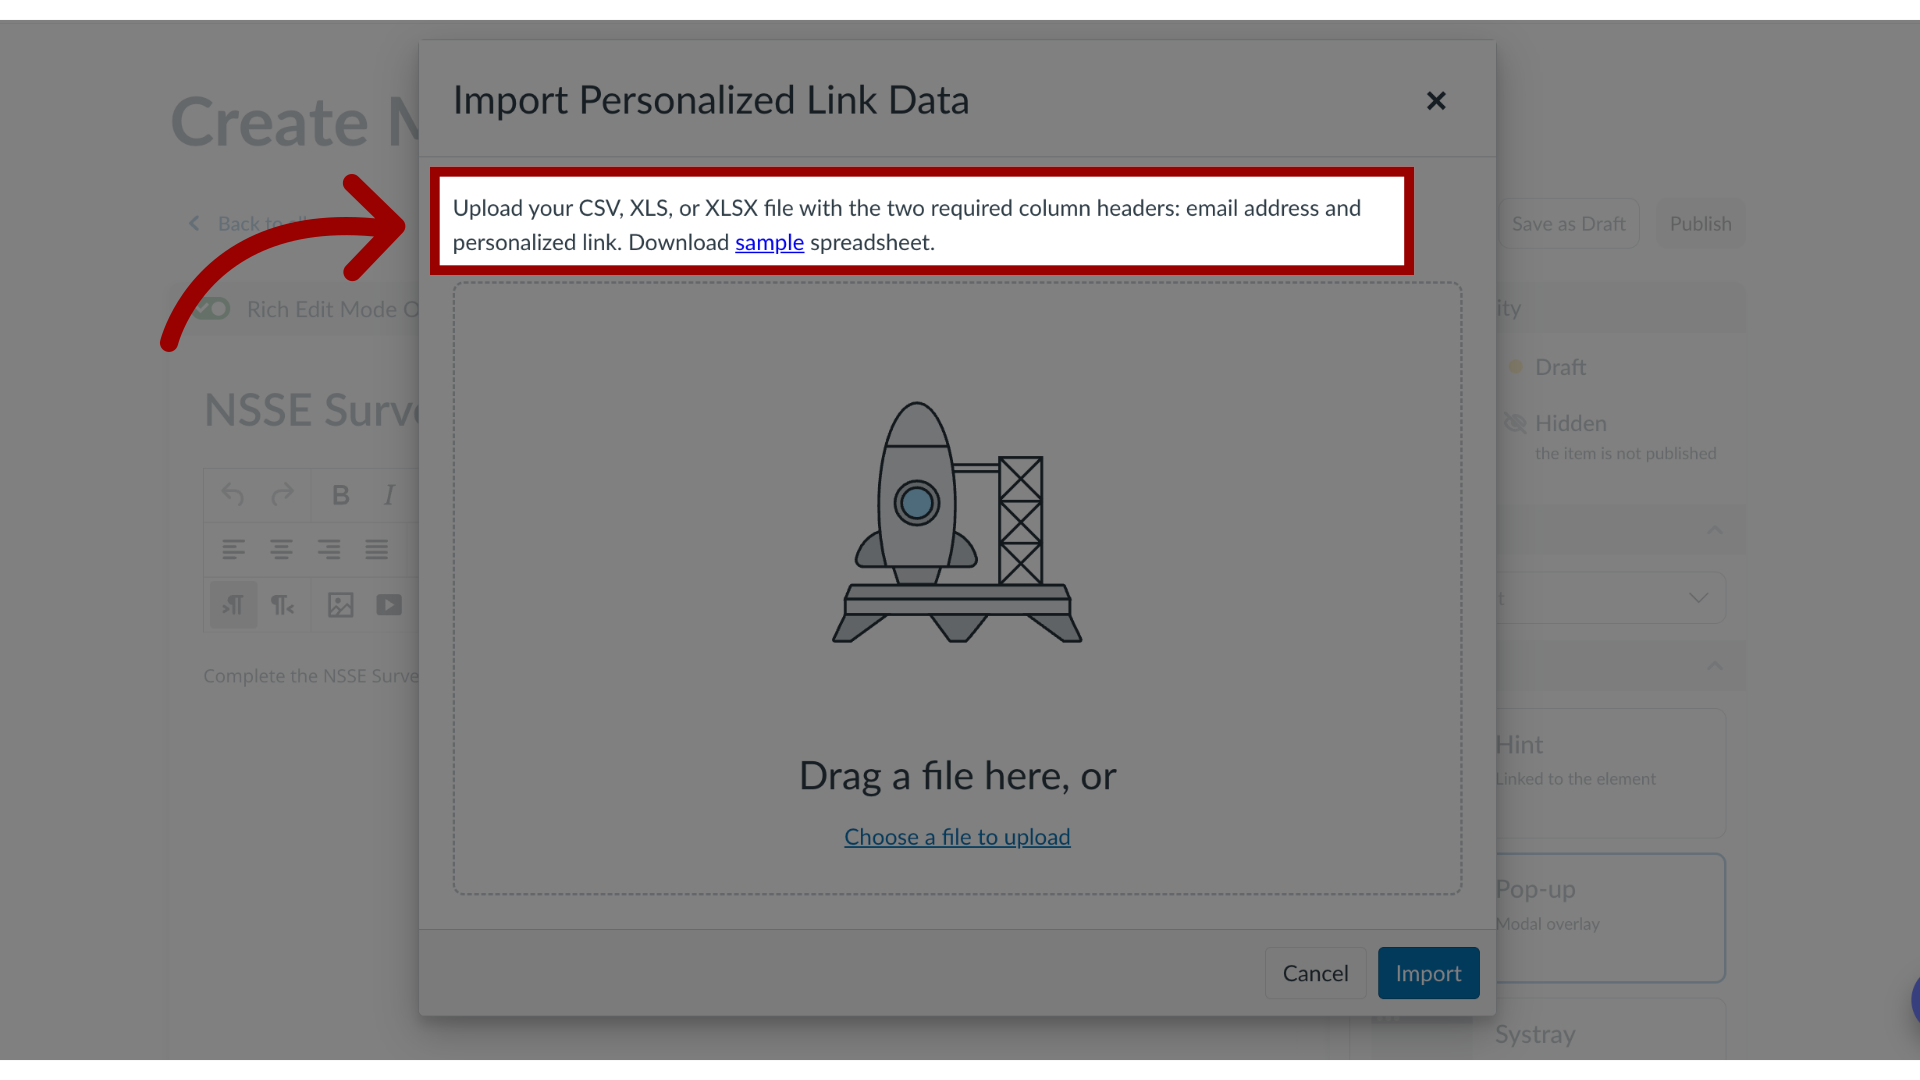
7. Import Personalized Link File
To download a sample spreadsheet, click the Download sample spreadsheet link.
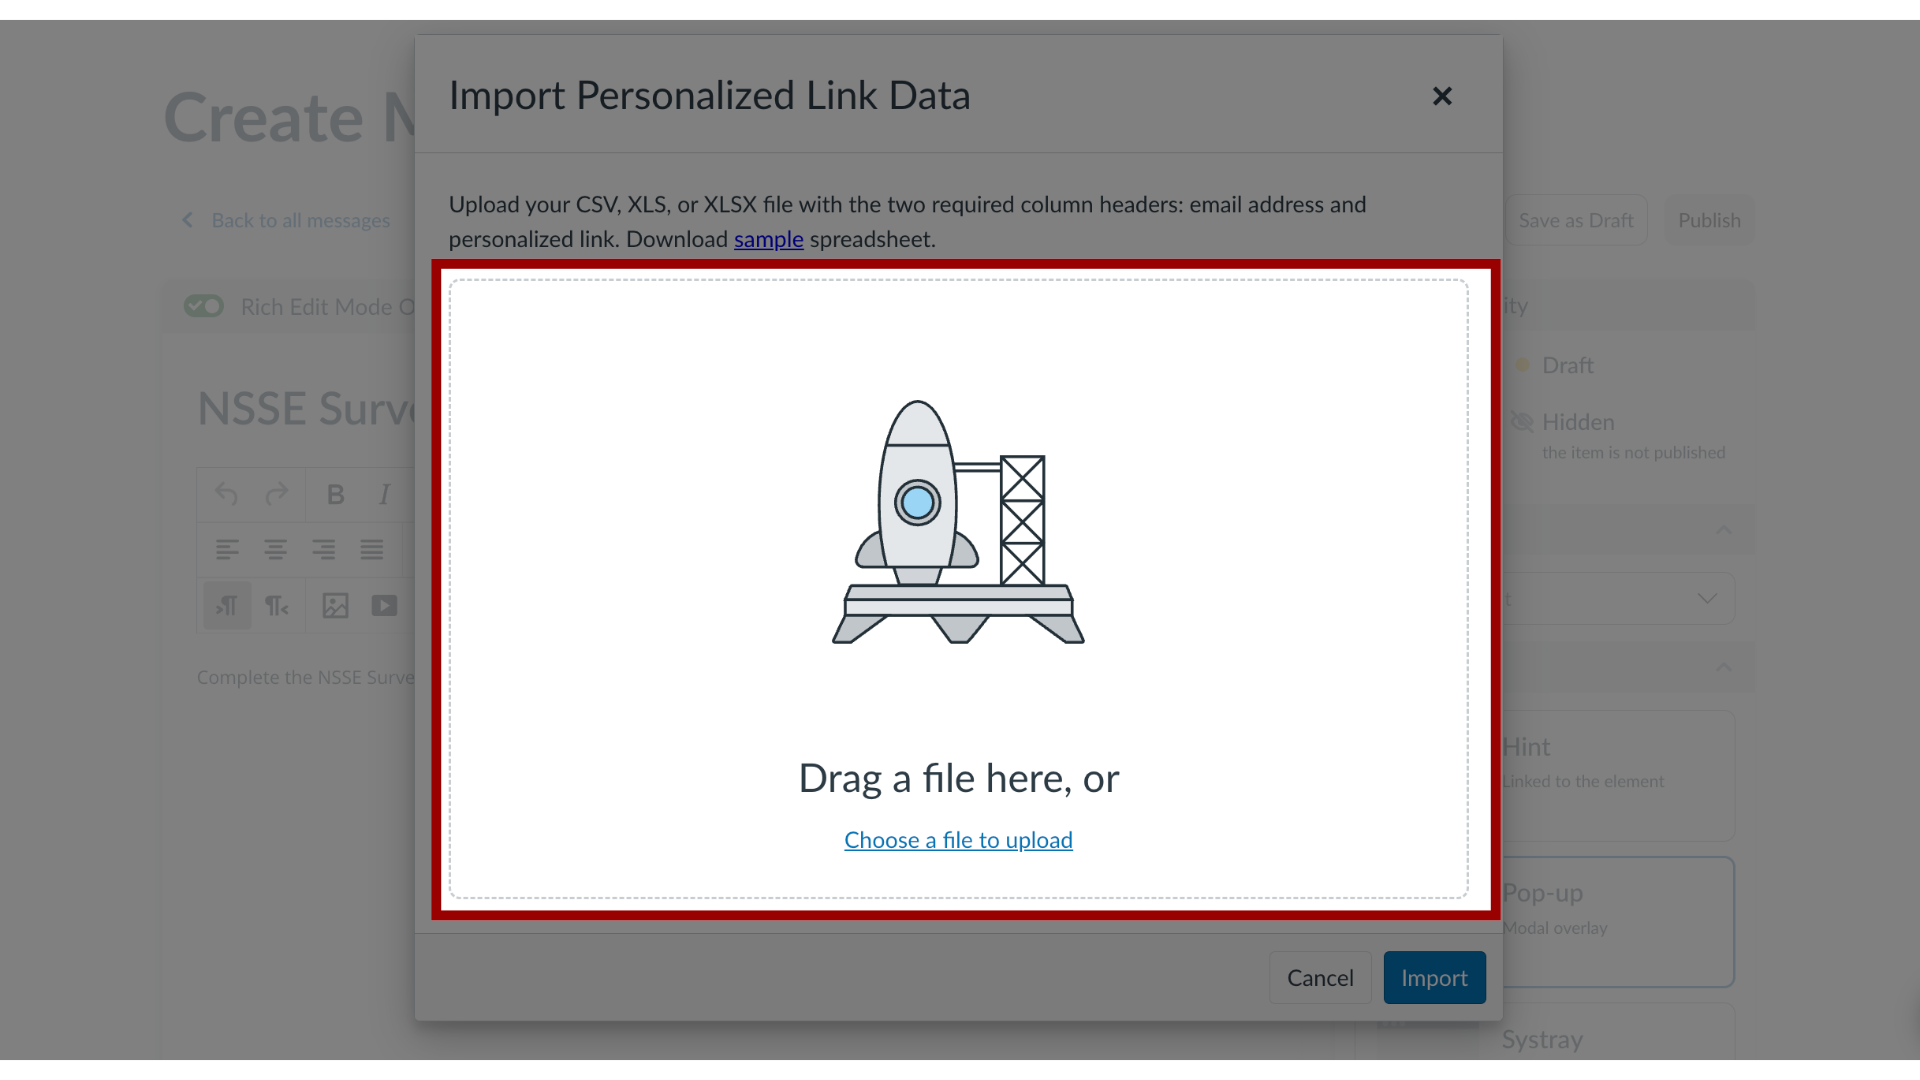
8. Upload File in Box
To upload your CSV, XLS, or XLSX file, drag a file in the upload box or click the Choose a file to upload link.
9. Import File
Then click the Import button.

10. Add Link Details
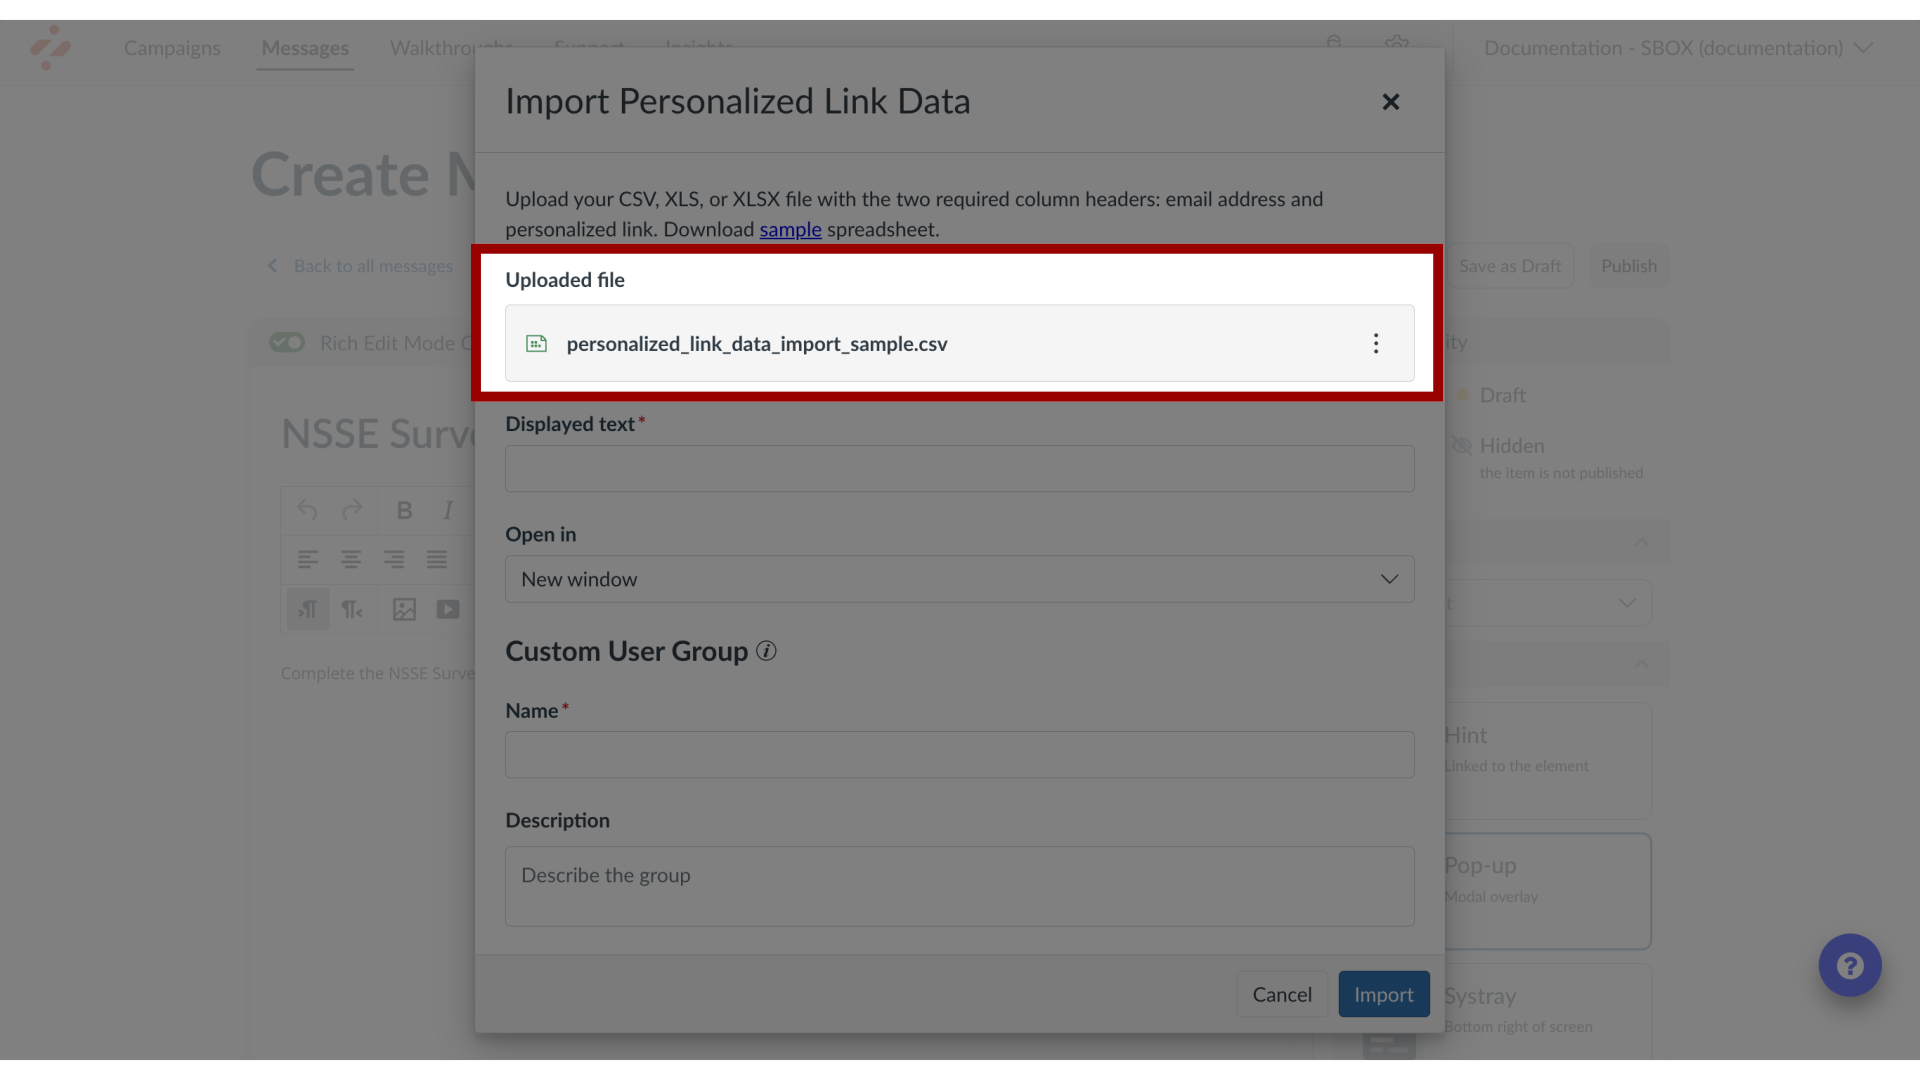
11. View Uploaded File
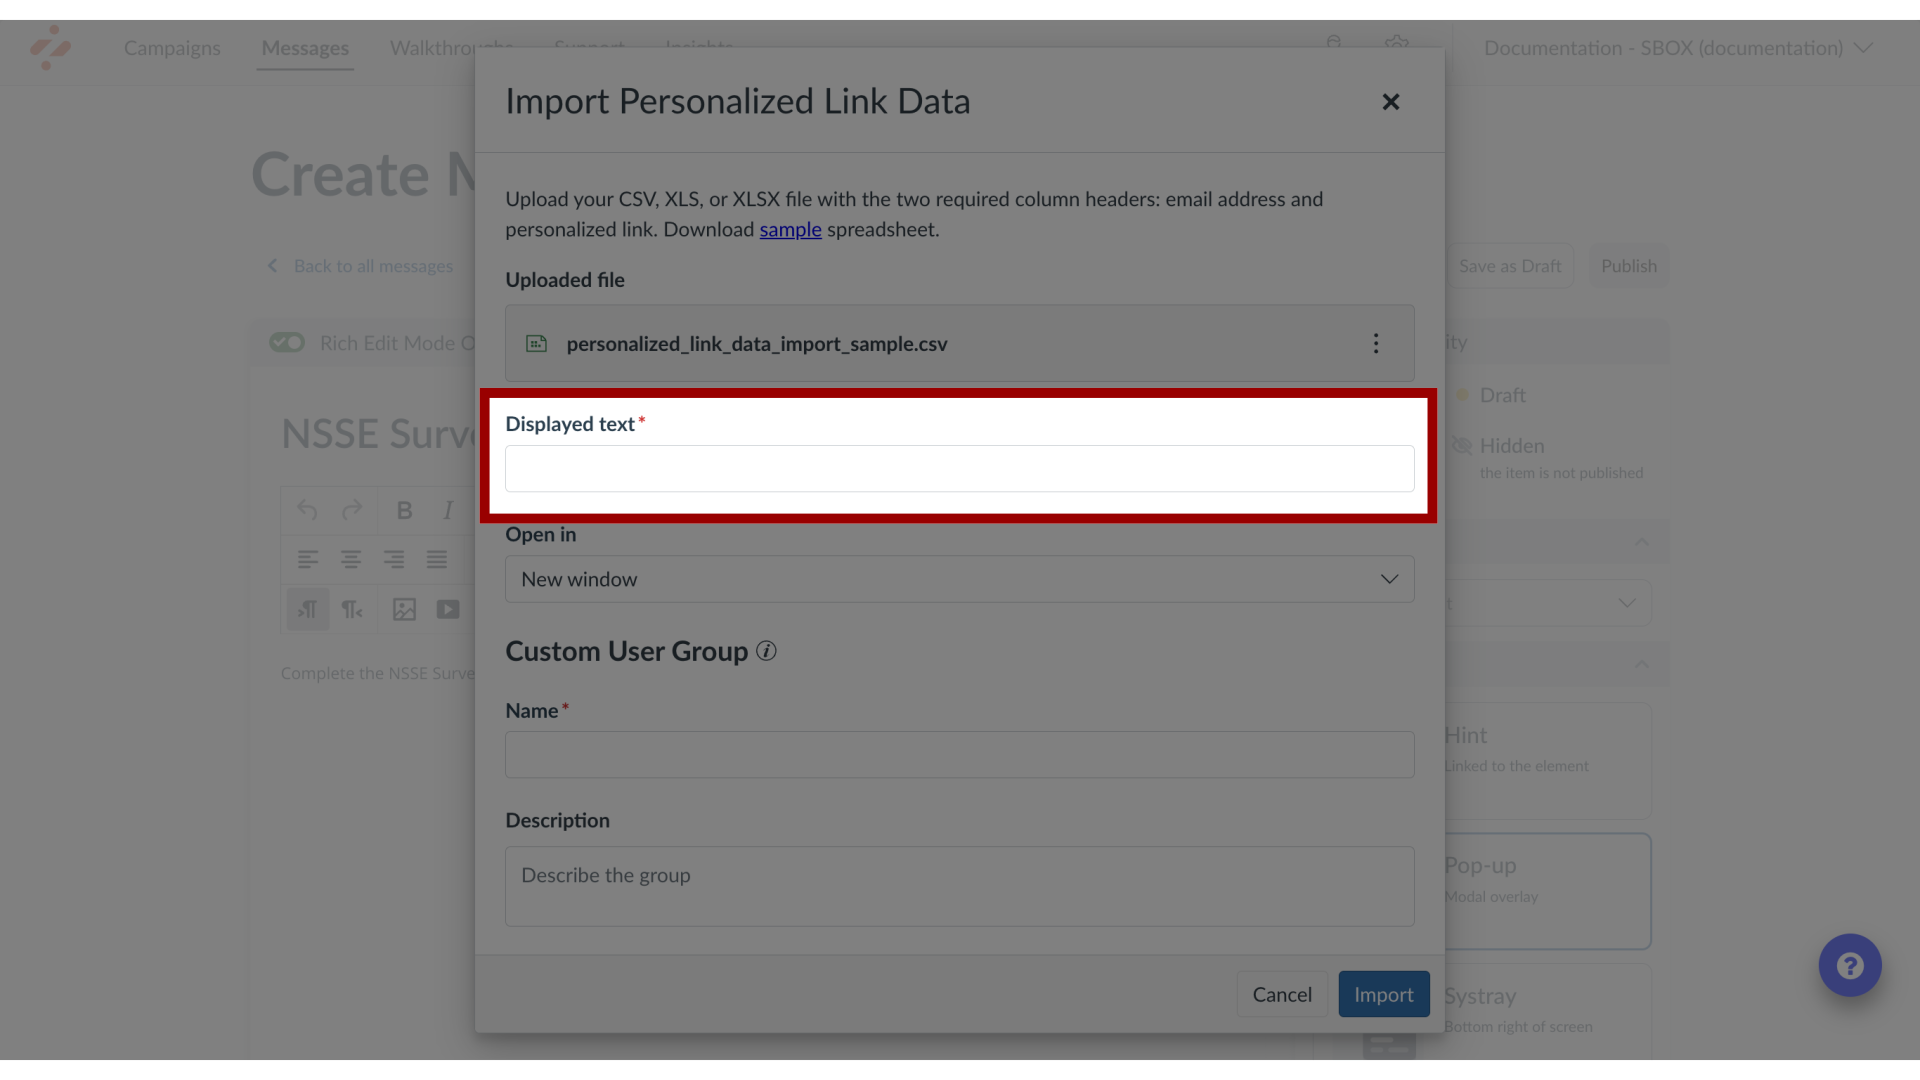
12. Enter Displayed Text
Enter a text to display in the message in the Displayed text field.
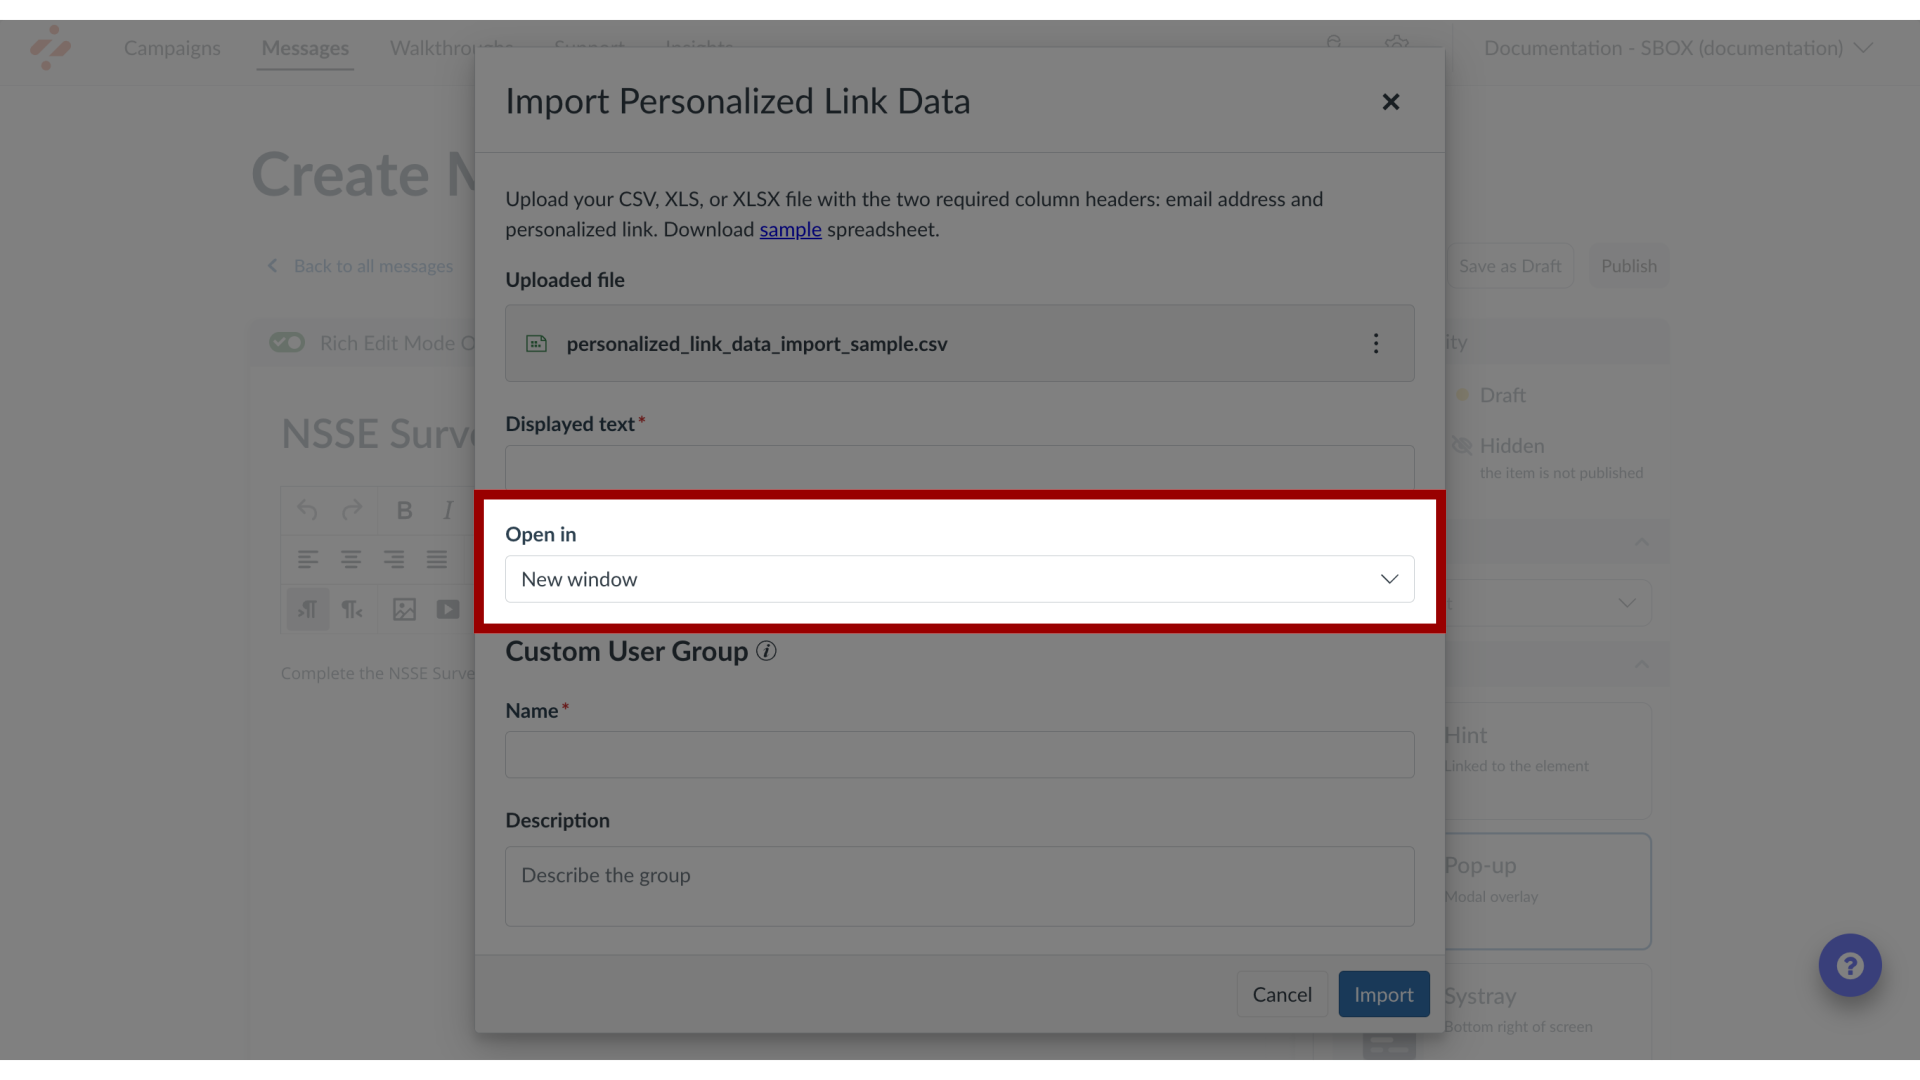
13. Select Display Setting
To specify the way the link will display, click the Open in drop-down menu to select New window or Same window. By default, it is set to open in a new window.
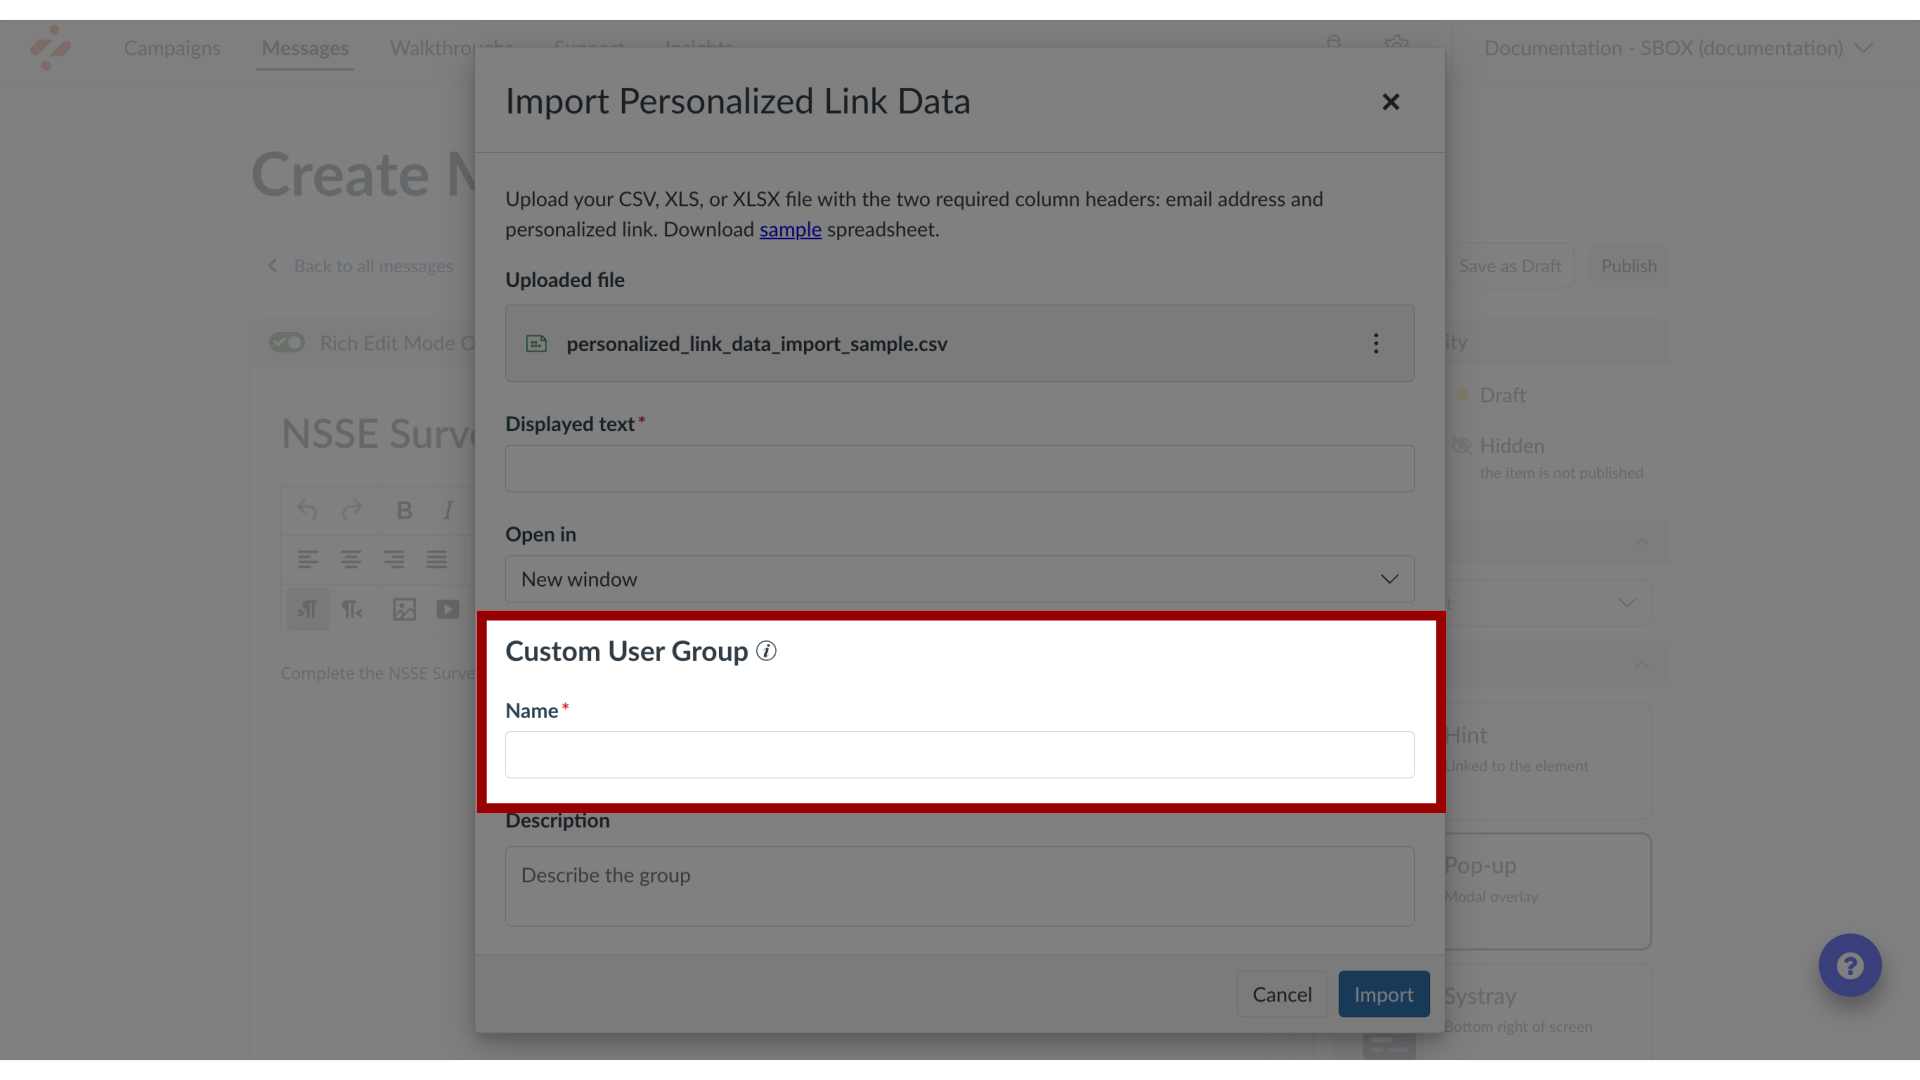
14. Enter Custom User Group Name
By uploading a file with personalized links, you are automatically creating a Custom User Group inside of Impact. This Custom User Group will appear from the Custom User Groups page and could be used for future use (if desired).
Enter a name for the Custom User Group in the Name field.
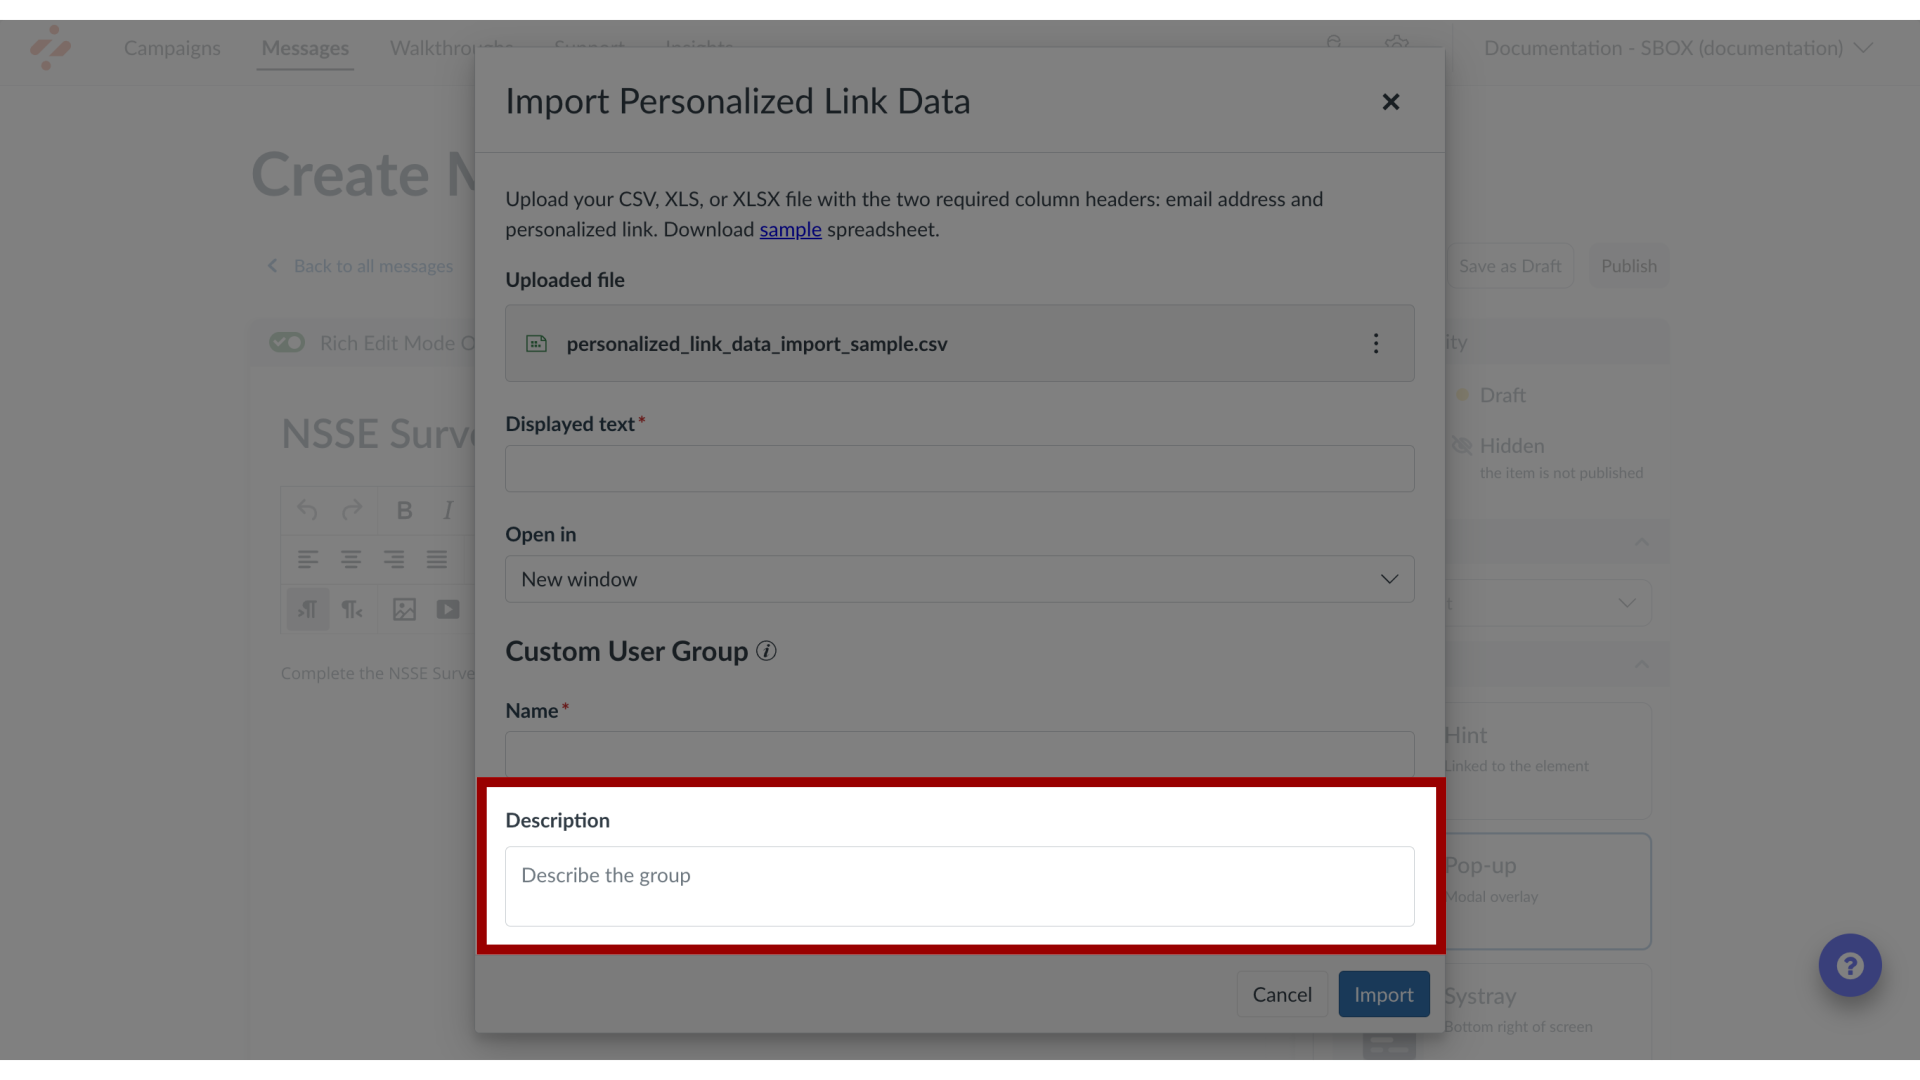
15. Enter Description
Enter a description to describe the group in the Description field.
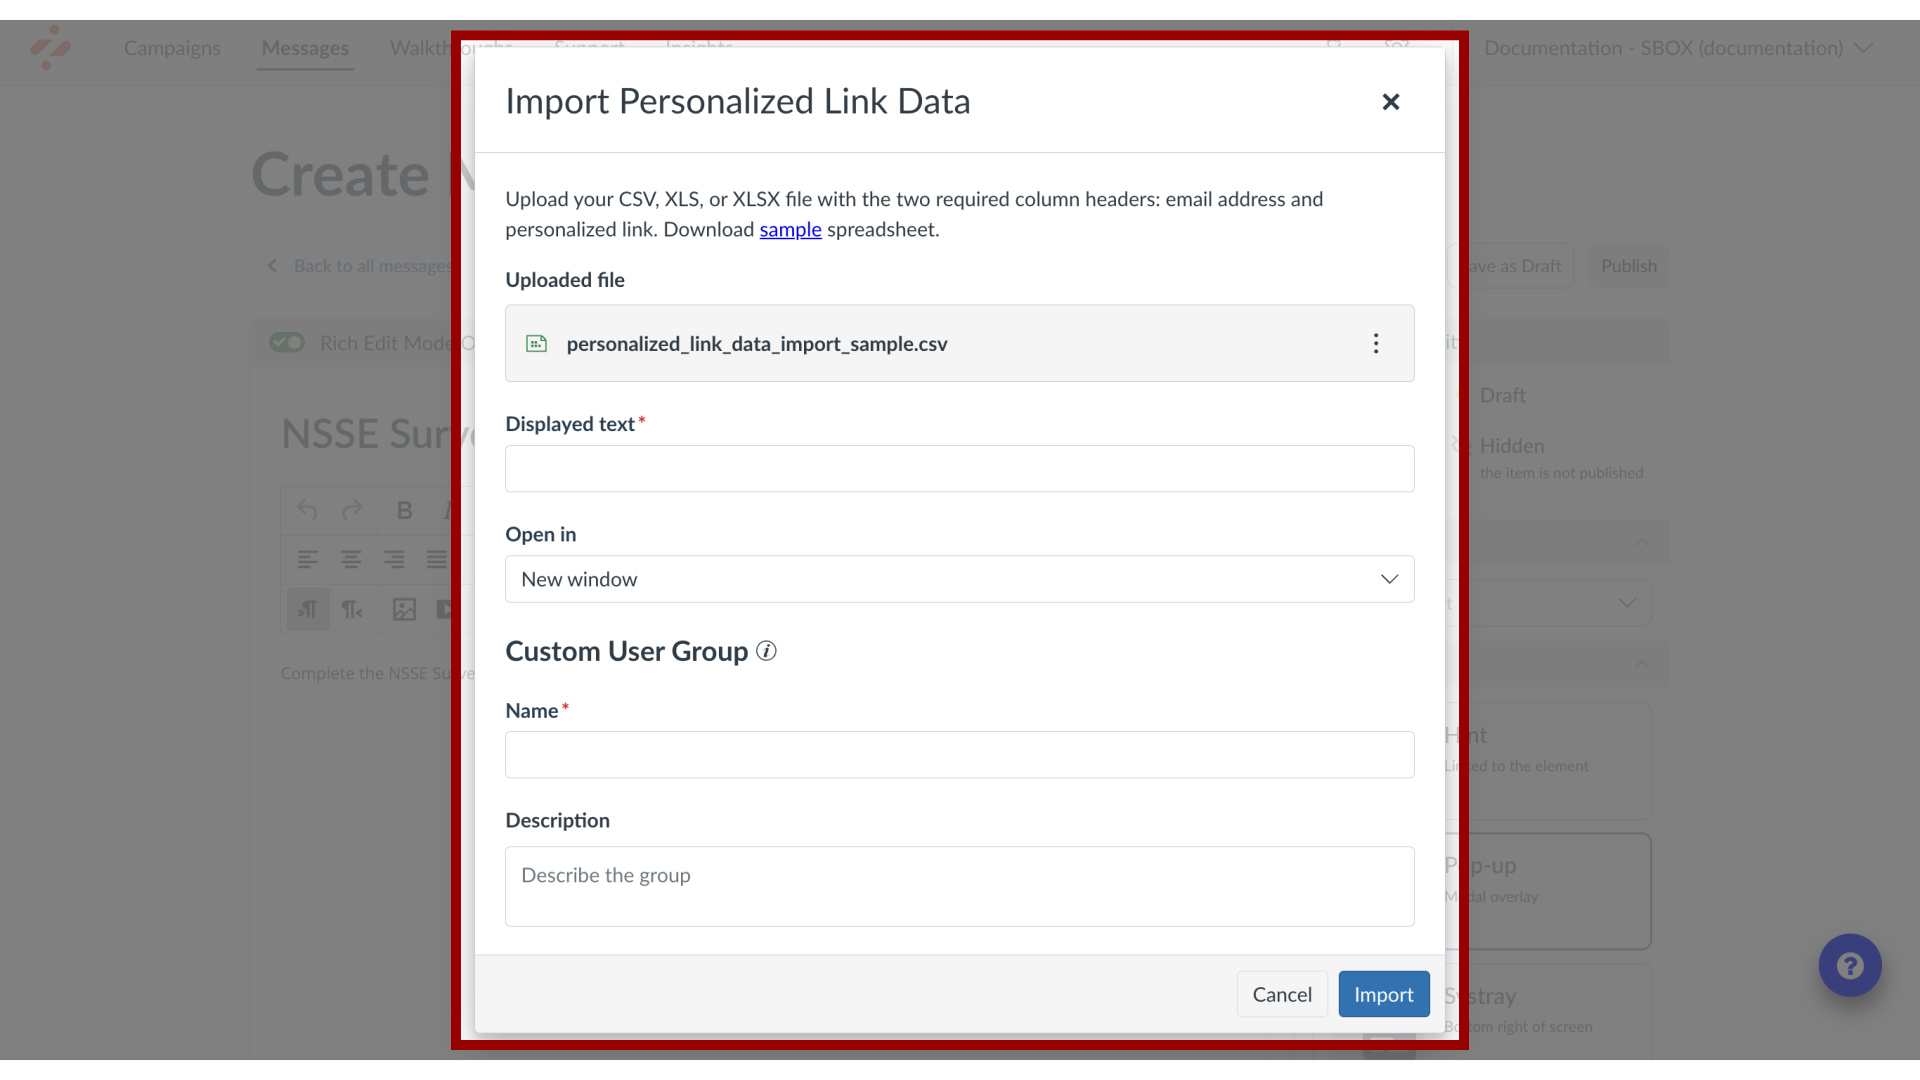
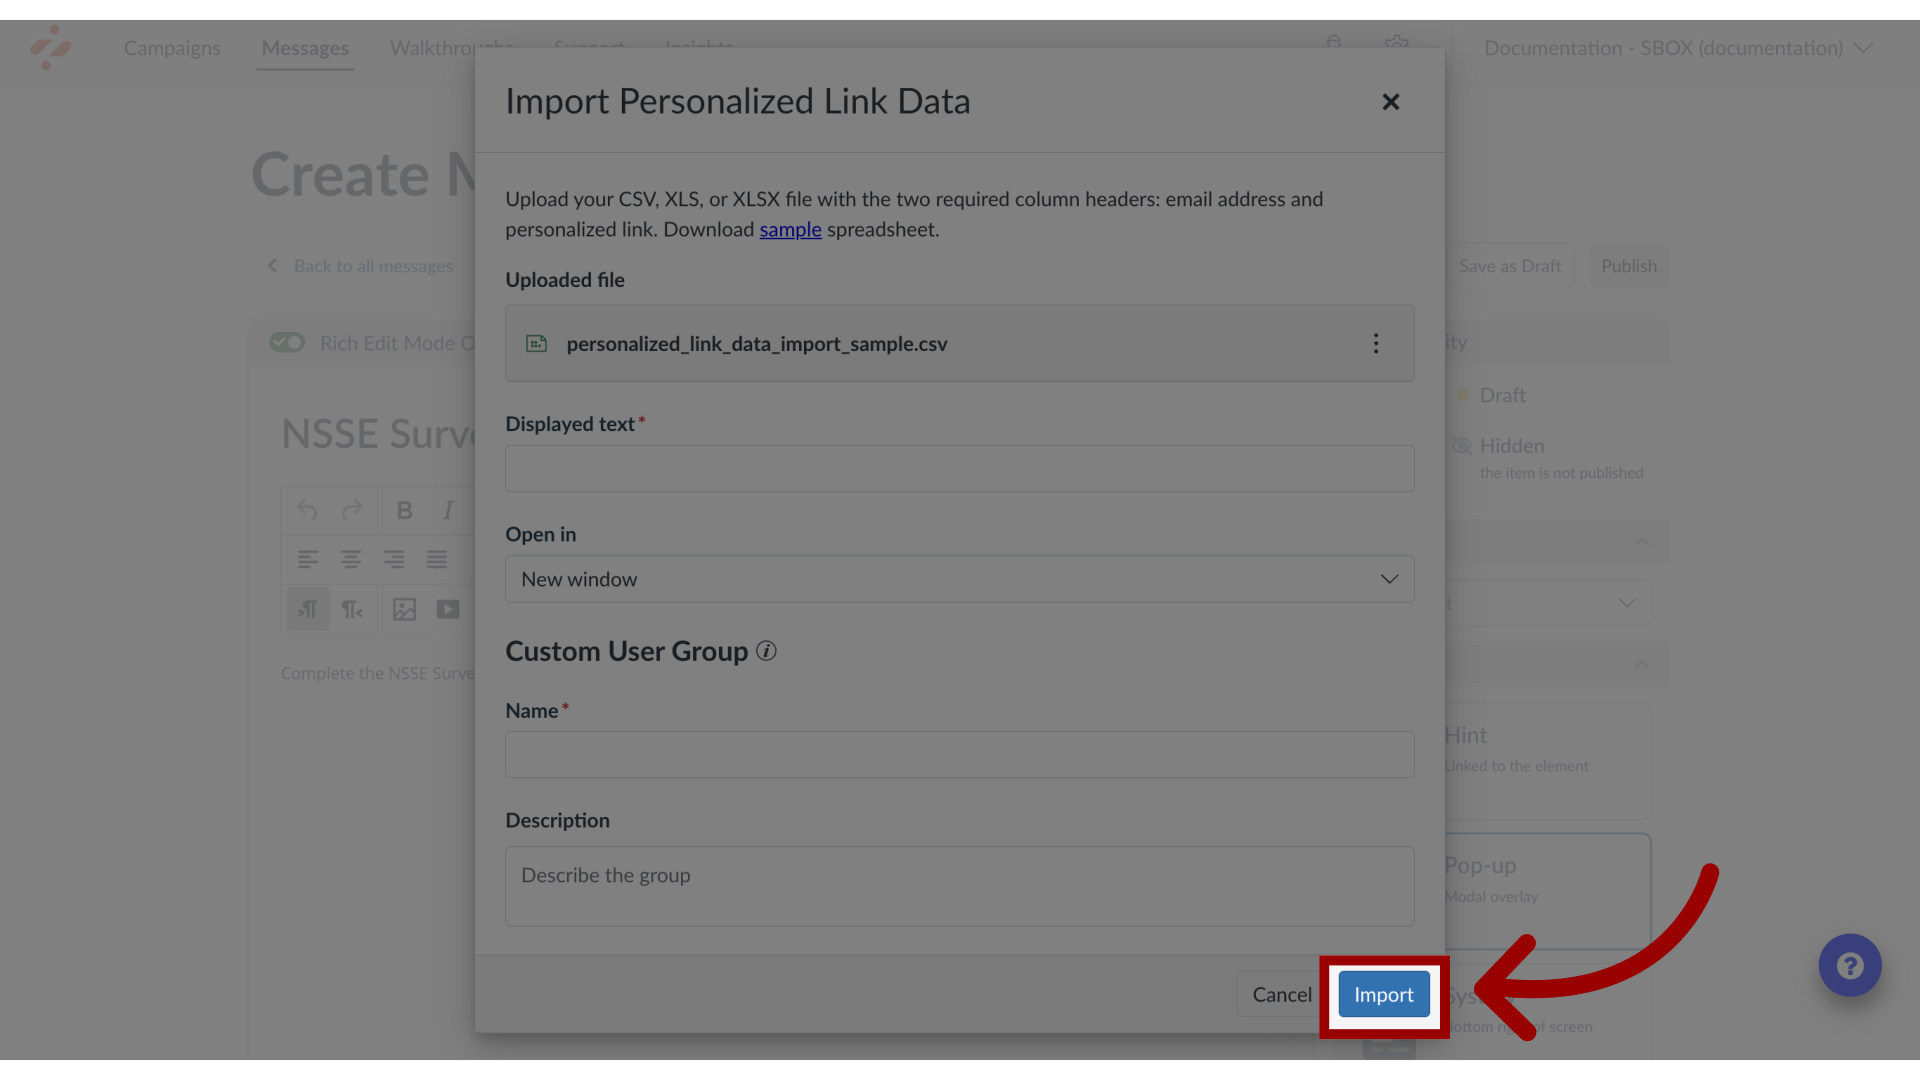
16. Import Personalized Link Data
Click the Import button.
17. Assigned Users
By creating a personalized link, you have created a Custom User Group that is now assigned to the message. This is visible in the Assign to Users section.

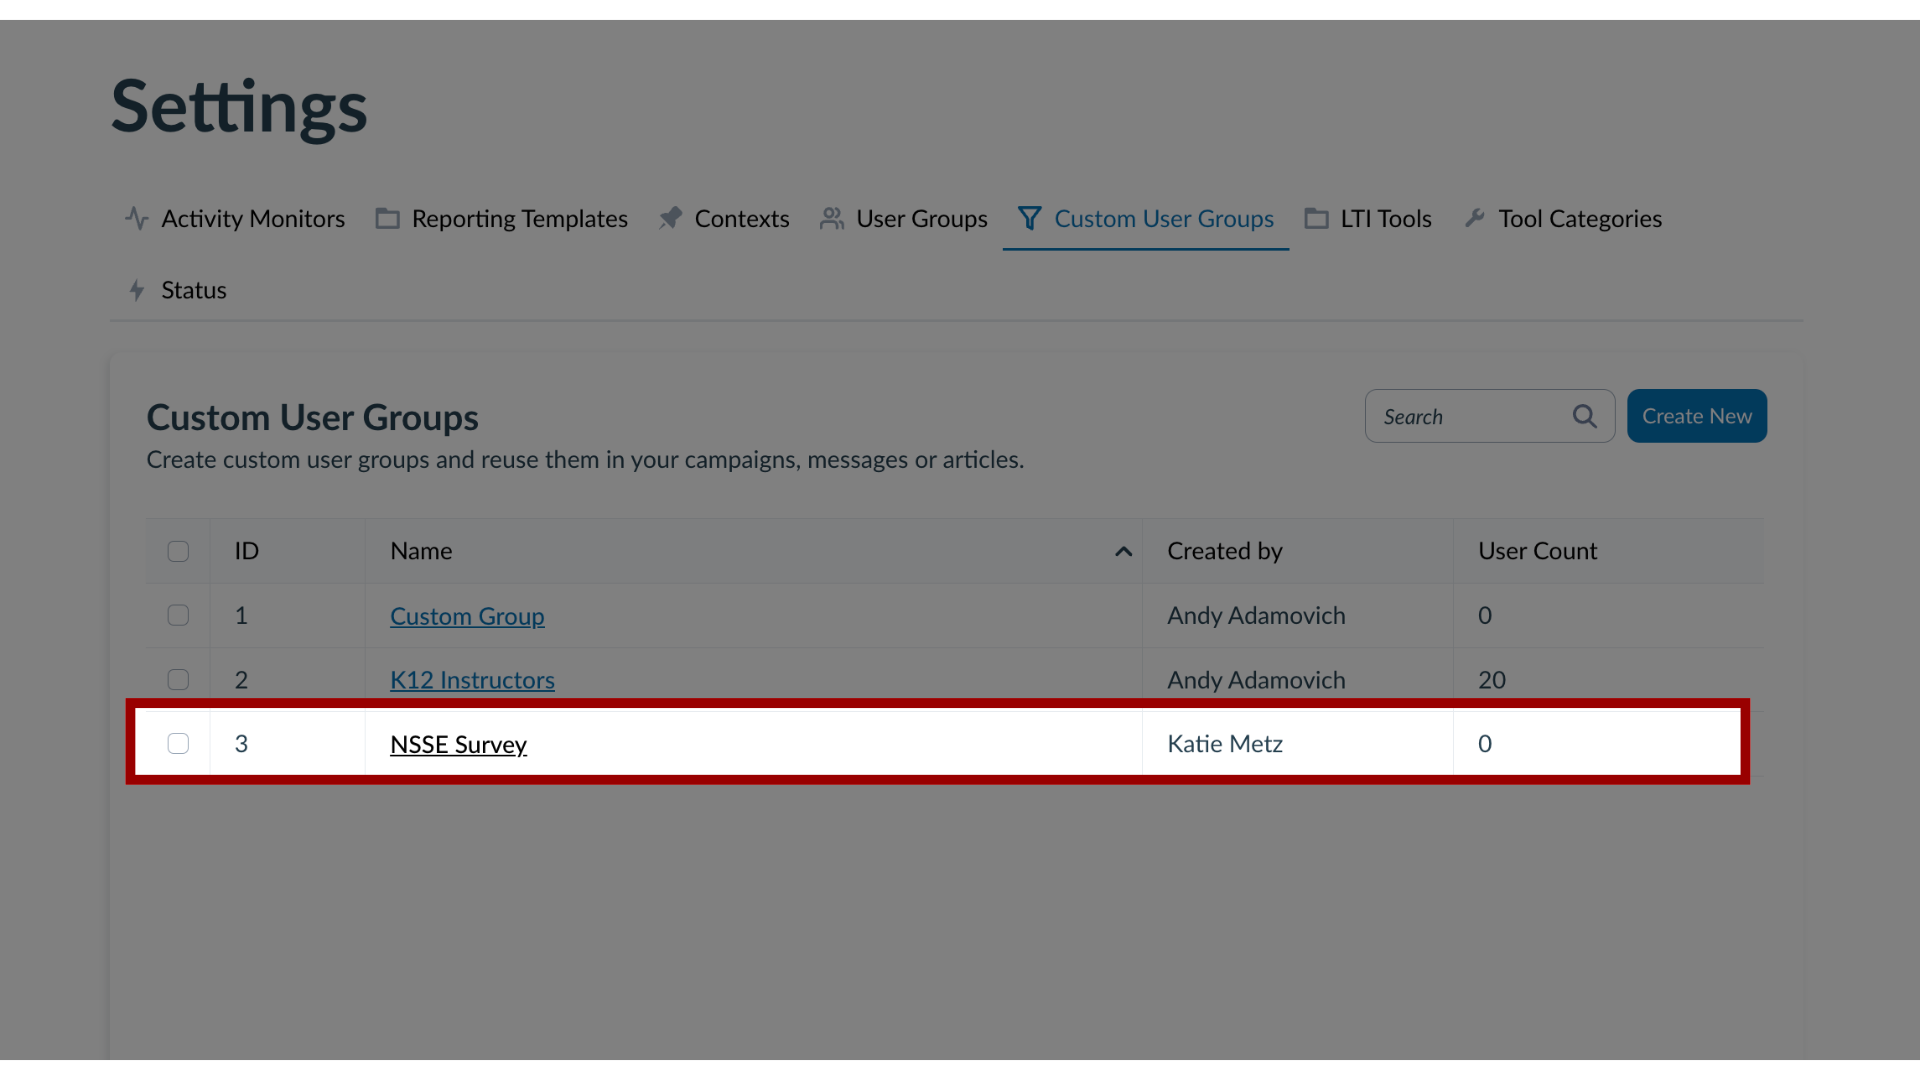
18. Custom User Groups
The Custom User Group for the Personalized link is visible in the Custom User Groups tab in Settings. View the created group in the Custom User Groups list.